How to Improve Kitchen Organization: Practical Strategies for Decluttering, Storage, and Workflow
You want a kitchen that works for you, not against you. I’ll show simple, practical changes that make cooking faster, reduce clutter, and keep everything easy to find. Start by clearing what you don’t use and then arrange tools and food where you reach for them most often to make your kitchen flow.
I’m Emma Reed, and I’ll guide you through straightforward steps that fit real life and small budgets. We’ll check your layout, declutter, and set up smart storage so the space stays useful day after day.
Key Takeaways
- Assess what you use and place items where you need them most.
- Remove excess items and keep surfaces clear to save time.
- Use simple storage fixes to keep the kitchen tidy long-term.
Assessing Your Kitchen Layout
I walk through my kitchen to find cramped spots, slow routes, and where I spend most of my time. I focus on how cabinets, appliances, and counters relate to each task so I can plan smart changes.
Identifying Problem Areas
I start by timing daily tasks: making coffee, unloading the dishwasher, and prepping dinner. I note places where I bump into people, reach too far for items, or set hot pans down with no space. Small observations matter — a drawer that won’t open because a trash can sits in front, or a spice rack two cupboards away from the stove.
I also map storage by function. I label cabinets “dishes,” “pots,” “pantry,” and move items into their nearest logical spot for a week. This shows me which storage is unused or overfilled and where I need shelves, pull-outs, or decluttering.
Optimizing Traffic Flow
I observe how family members move through the kitchen at peak times, such as breakfast and dinner prep. I look for cross-traffic paths that cut through my cooking zone and create bottlenecks. If the fridge door blocks the main walkway, that’s a clear fix.
I arrange high-use items along the easiest routes: snacks near the fridge, plates near the dishwasher, and cutting boards next to the prep counter. Simple changes — a step stool moved, a rug removed, or a trash can relocated — often open up flow without a remodel.
Understanding Work Zones
I define three key zones: Food Storage (fridge/pantry), Prep and Cooking (counter, stove, knives), and Cleaning (sink, dishwasher, trash). I make sure each zone has the tools and storage it needs within arm’s reach. For example, I keep cutting boards, knives, and bowls in the prep zone, not in a distant drawer.
I check distances between zones. Ideally, the path from fridge to prep to stove stays short and unobstructed. If I can’t move appliances, I use portable solutions like a prep cart or dedicated drawer inserts to keep tools where I use them most.
Decluttering and Streamlining
I focus on removing what I don’t use and placing what I do use where it’s easiest to reach. I clear counters, thin duplicates, and group items by how often I need them so cooking and cleanup move faster.
Sorting and Purging Unnecessary Items
I start by emptying one cabinet or drawer at a time and laying items on the counter. I sort into four piles: Keep, Donate, Trash, and Unsure. I make quick decisions—if I haven’t used something in a year or it’s broken, I remove it.
I label the Donate pile and put it in my car that day to avoid second-guessing. For the Unsure pile, I set a 30-day box in my pantry; if I don’t open it, I donate the box. I keep only the tools I use regularly and one good-quality version of each tool (no three spatulas).
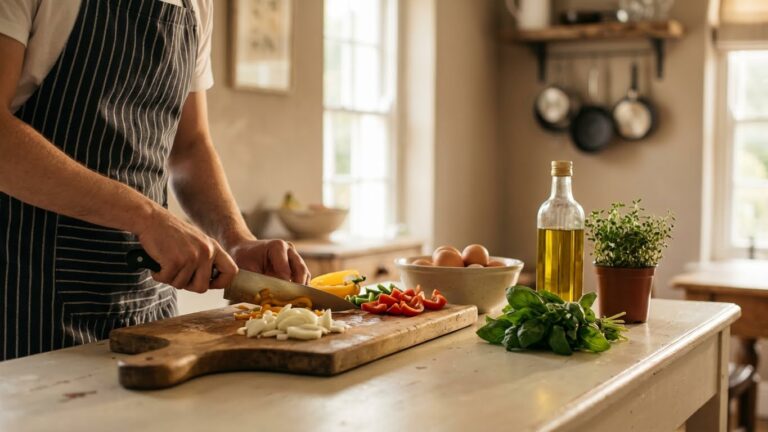
Maximizing Counter Space
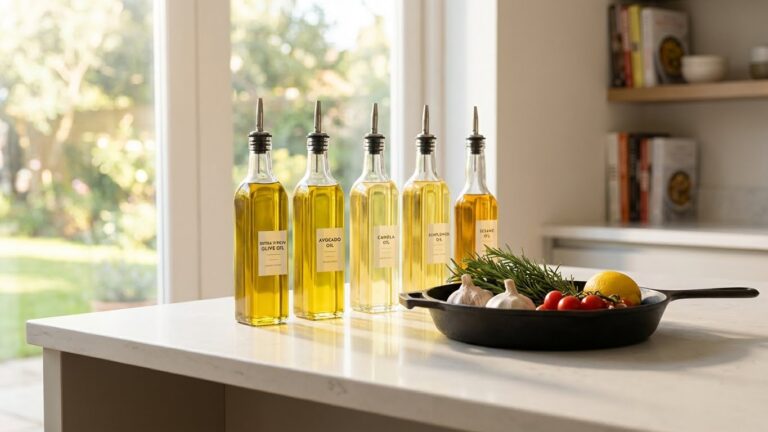
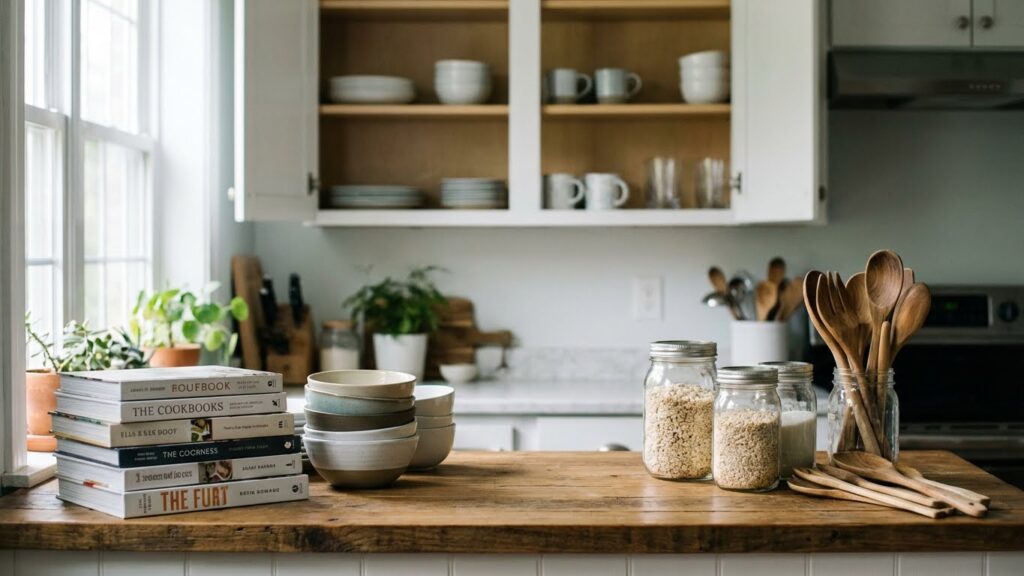
I clear counters by storing small appliances I use less than twice a week in cabinets or on a shelf. I keep the coffee maker, knife block, and a small cutting board on the counter for daily use. I use wall mounting and under-cabinet hooks to free up surface area.
I group frequently used items on a single tray so I can move them when I need space to prep. I also measure appliance depths before buying new ones, and I choose slim, vertical storage for baking sheets and cutting boards to reduce clutter.
Organizing Items by Use Frequency
I place daily-use items in the lowest, easiest-to-reach cabinets and drawers. Pots and pans live near the stove; plates and glasses live near the dishwasher. I store holiday or rarely used cookware on high shelves or in another closet.
I create zones: prep, cook, serve, and clean. Within each zone I use clear bins and labels so I can grab what I need without searching. For example, I keep measuring spoons in a small bin with measuring cups in the prep zone so both are always together.
Optimizing Kitchen Storage
I focus on making every inch count: using wall and cabinet height, picking the right organizers, and keeping containers clearly labeled so I can find things fast.
Utilizing Vertical Space
I use wall space above counters for magnetic knife strips and hanging rails with S-hooks for utensils. Installing open shelves up to the ceiling stores seldom-used items like holiday dishes. Inside cabinets, I add stackable shelf risers and tension rods to stack plates and bakeware vertically. For pan lids, a simple mounted rack on the inside of a cabinet door saves shelf depth. If floor space is tight, I hang a pot rack from the ceiling to free cabinet room. For small appliances, I store them on a high shelf and pull down only when needed. For tips on layout and measurements, I often check design guidelines from the National Kitchen and Bath Association (NKBA).
Choosing Storage Solutions
I pick storage by item size and frequency of use. Clear, stackable bins work best for snacks and packets; they keep items visible and prevent wasted space. For deep drawers, I use adjustable dividers so I can fit baking sheets and cutting boards upright. Pull-out cabinet shelves or roll-out trays let me reach heavy pots without kneeling. Corner cabinets get lazy Susans or pull-out carousels to eliminate dead zones. I prefer glass jars for bulk goods because they show quantities at a glance. When buying organizers, I measure cabinet depth and door swing first. For trusted product reviews and buying guides, I consult Consumer Reports.
Labeling Containers
I label everything I store, both dry goods and non-food items, using a clear system. I use waterproof, smudge-proof labels and a simple font so I can read them at a glance. On pantry shelves, I include the item name and a use-by date for opened products. For spices, I label both the top and front of small jars to speed up cooking. I keep a color code: blue for baking, green for snacks, and red for bulk staples. For reusable bags and bins, I include short contents lists instead of long descriptions. When I rotate stock, I move newest items to the back and update labels as I open packages.
Efficient Cabinet and Drawer Organization

I focus on placing items where I use them most and making each item visible and easy to grab. I use simple tools like risers, dividers, and pull-outs to cut search time and prevent clutter.
Arranging Pots and Pans
I keep pots and pans near the stove to speed cooking. I store heavy skillets on lower shelves or in deep drawers to avoid lifting above shoulder height. I place lids on a vertical rack or a dedicated lid organizer so I can match lids to pans quickly.
I stack similar-sized pans together with a protective pad between each to prevent scratches. For items I use often, I use a pull-out tray or a sliding organizer so I can see contents without bending and digging. I hang a few frequently used pans on a wall-mounted rail if I have wall space, keeping handles accessible and out of the way.
Storing Utensils and Tools
I group utensils by task: prep tools in one drawer, cooking tools near the stove, and baking tools in a separate drawer or container. I use drawer dividers or small bins to keep spatulas, tongs, and whisks separated so I find them at a glance.
For small tools like peelers, measuring spoons, and can openers, I use a shallow tray near the prep area. I keep rarely used gadgets in a labeled bin on a high shelf. Heavy or sharp tools go in the lower drawers with safety in mind, and I place cutting boards vertically in a slot or holder to save shelf space.
Organizing the Pantry
I keep the pantry easy to use by grouping items and rotating staples so nothing expires or gets lost. Clear zones, labeled containers, and a simple rotation routine cut waste and speed up meal prep.
Grouping Similar Foods
I sort the pantry into clear zones: baking, canned goods, grains, snacks, and spices. I use clear bins for snacks and baking mixes so I can see contents at a glance. Place heavier items like canned goods on lower shelves to prevent accidents and make them easy to grab.
I label each bin or shelf with a short name and an expiry check date. For spices, I keep daily-use jars at eye level and specialty spices higher or in a small drawer. Use risers for cans and tiered spice racks so labels face forward.
Quick checklist:
- Clear bins for loose items
- Labels with category and open date
- Heavier items low, lighter items high
- Tiered racks for spices and cans
Rotating Pantry Staples
I follow a strict first-in, first-out (FIFO) rule. When I bring new groceries home, I place them behind older items so the older ones get used first. This reduces expired food and keeps ingredients fresher.
I write the purchase or open date on perishable pantry items with a permanent marker. For long-term staples like rice and flour, I store in airtight containers with an oxygen absorber if I expect long storage. I check dates weekly and set aside anything close to its use-by date for meal planning that week.
Refrigerator and Freezer Management

I keep cold food safe, easy to find, and ready to use by using clear zones and regular checks. Small habits—labeling, rotation, and sensible placement—save time and cut waste.
Designating Storage Zones
I divide the fridge into specific zones so I know where everything belongs. I use the top shelves for ready-to-eat items like leftovers, deli meats, and prepared meals because those areas stay the most consistent in temperature.
The middle and lower shelves hold dairy, eggs, and taller bottles. I put raw meat and fish in a sealed container on the bottom shelf to stop drips and to keep them colder.
Doors warm up fastest, so I store condiments, sauces, and drinks there, not milk or eggs. Drawers get fruits and vegetables; I set the humidity drawer to high for leafy greens and low for apples and peppers.
I label shelves or use clear bins for breakfast items, snack packs, and meal kits so I can grab what I need quickly and spot empties at a glance.
Preventing Food Waste
I follow a simple rotation: first in, first out. I label cooked food and opened packages with the date and move older items to the front. This keeps me from forgetting things in the back.
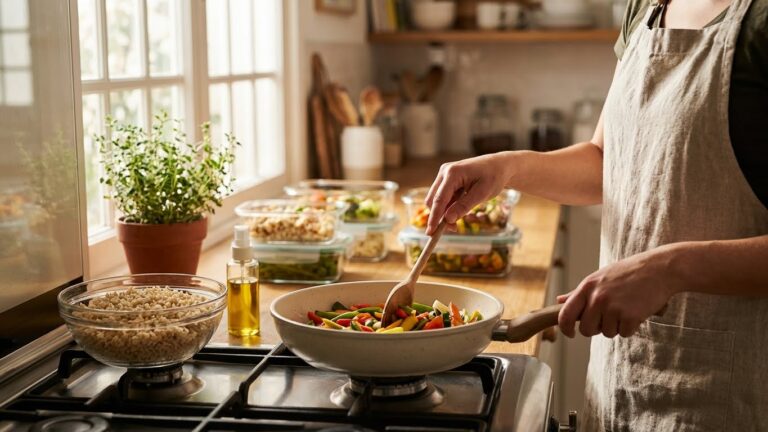
I set a weekly fridge check where I toss anything past its safe date and move near-expiry items to eye-level. For the freezer, I portion meals into meal-sized containers and write contents and date on each bag.
I also keep a small “use first” bin for items that must be eaten within a few days. This reduces waste and makes meal planning easier because I can see what needs to be used next.
Maintaining an Organized Kitchen
I keep my kitchen tidy by using small daily actions and a twice-yearly deep clean. These steps keep counters clear, food fresh, and tools easy to find without big weekend projects.
Establishing Daily Habits
I start by clearing counters every night. I wash dishes or load the dishwasher, wipe down surfaces with a multipurpose cleaner, and put items back in their assigned spots. This takes 10–15 minutes and prevents clutter buildup.
I also follow a simple restock routine after dinner. I check the pantry and fridge for low staples, toss expired items, and move leftovers to the front so I eat them first. For perishables, I label containers with the date to avoid waste.
I keep a small tray by the sink for daily items like salt, oil, and my go-to spatula. That keeps counters functional and reduces the time I spend searching while cooking. These habits save me time and stop small messes from turning into big tasks.
Scheduling Seasonal Cleanouts
I plan two deep clean sessions each year: spring and fall. I block a 2–3 hour slot for each session and focus on one zone at a time—pantry, cabinets, fridge, then drawers. Working in zones makes the job manageable and thorough.
My pantry cleanout follows a clear checklist: remove everything, wipe shelves, check expiration dates, group like items, and place frequently used goods at eye level. I donate unopened items I won’t use and compost spoiled food. For fridge cleaning, I pull all drawers and shelves, scrub with a baking soda solution, and reorganize by food type to reduce cross-contamination.
I keep a digital note of what I found and replaced during each cleanout. That note helps me track what I use most and prevents duplicate purchases. For storage tips and best practices I sometimes consult resources like the USDA food storage guidelines or an organization-focused site such as Real Simple for cabinet layouts.
Incorporating Kitchen Organization Tools

I focus on tools that make daily cooking faster and storage simpler. The right gadgets help me keep utensils, pans, and pantry items visible and within reach.
Using Drawer Dividers
I start by measuring drawers before buying dividers. I pick adjustable inserts for mixed utensils so forks, spatulas, and small gadgets each have a dedicated slot. This prevents jumbled drawers and saves time when I cook.
For silverware, I use bamboo trays with fixed compartments; they resist moisture and look clean. For deep drawers, I add horizontal trays or tiered organizers so lids and baking sheets stand upright. I secure non-slip liners under dividers to stop shifting.
When choosing materials, I prefer washable plastic or bamboo for food-contact drawers and metal mesh for tool drawers that need airflow. I arrange items by frequency of use: daily tools up front, rarely used gadgets in the back.
Selecting Shelf Organizers
I group shelves by category and then choose organizers that fit each space. For canned goods, I use clear, tiered risers so labels face forward. This cuts down on expired items and wasted time hunting for a specific can.
For plates and cutting boards, I use vertical dividers that let me pull one item without disturbing the rest. I add pull-out wire baskets in lower cabinets to access pots and pans without kneeling and lifting heavy stacks.
I label containers and keep similar items together: baking supplies in one zone, snacks in another. For small items, clear bins with handles make it easy to grab a whole group. I measure shelf depth and height first to avoid returns or wasted money.
Adapting Organization for Special Needs
I focus on practical changes that make the kitchen safer and easier to use for kids and people with mobility, vision, or memory challenges. I recommend simple fixes and specific products that fit daily routines.
Child-Friendly Solutions
I lock sharp items and hazardous chemicals in a high cabinet or a cabinet with a childproof latch. I store kid-safe utensils, plastic plates, and cups on a lower shelf or drawer they can reach.
I use clear bins labeled with pictures and words for snacks and lunch items. This helps kids find what they need and put things back. I keep a step stool with a wide base and rubber feet near the sink for safe access when needed.
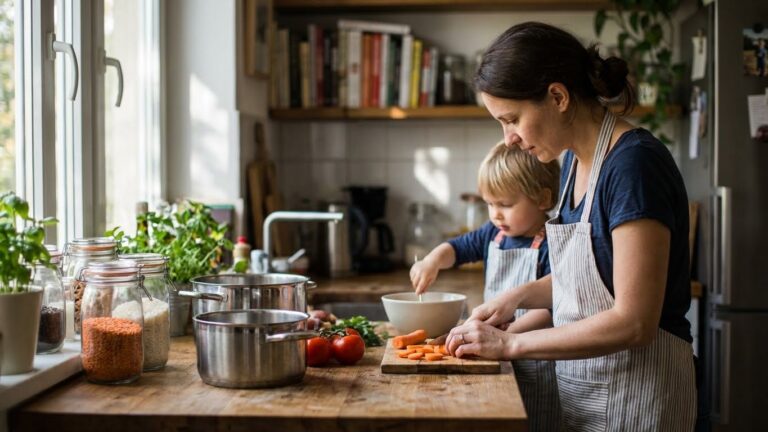
I create a dedicated snack station at about knee-to-waist height. I include single-serve containers, napkins, and a small trash bin. I teach simple chores by color-coding drawers and using one-task trays (e.g., baking tray with measuring spoons).
Accessibility Considerations
I lower at least one countertop area to 28–34 inches for wheelchair users and leave 30–36 inches clear knee space underneath. I install a roll-under sink and cooktop when possible, with lever or touch controls for easier use.
I move often-used items to reachable heights: 15–48 inches off the floor for seated users. I add pull-out shelves, lazy Susans, and drawer dividers so items come to me instead of me reaching back.
I improve lighting with under-cabinet LED strips and use high-contrast labels and tactile markers for vision loss. I place commonly used controls—like light switches and appliance buttons—within easy reach and add timers or voice assistants for memory and task reminders.
FAQs
What if I don’t have much storage space?
I use vertical storage, hooks, and shelf risers to add room without a remodel. Hanging pots and magnetic strips for knives free up drawers and counters.
How often should I declutter?
I check pantry and fridge monthly for expired items. I also do a quick sweep of counters and drawers every week to keep clutter from building up.
Which items belong on the countertop?
I keep only daily-use appliances and a few prep tools on the counter. Everything else goes into cabinets or a nearby cart to keep surfaces clear.
How do I make cooking more efficient?
I group tools and ingredients by task—baking, prep, or coffee—and store them near where I use them. Clear zones cut down on steps and time.
Can I organize without spending much money?
Yes. I repurpose jars, boxes, and baskets and use labels to make things clear. Small changes like drawer dividers or lazy Susans often make the biggest difference.
Do labels matter?
I find labels helpful, especially for shared kitchens. They make it faster to put things back in the right spot and help others follow the system.
Conclusion
I kept my approach simple: clear zones, fewer items, and easy access. Those three habits cut time and stress in my kitchen.
I suggest starting small. I remove one drawer or shelf of clutter each week. Little wins build steady momentum.
I use tools that match how I cook, not every trendy gadget. Pull-out shelves, drawer dividers, and clear containers make a big difference. They help me see what I have and reach what I need fast.
I also set a quick daily reset routine. Two minutes to wipe surfaces and put things back prevents piles from growing. That habit saves me longer cleanup sessions later.
If you want a checklist, try this short list:
- Declutter one area per week
- Group similar items together
- Store items near where you use them
- Use simple organizers and labels
- Do a 2-minute nightly reset
I believe small, repeatable actions matter more than a perfect layout. Keep changes realistic for your kitchen and cooking style. That makes the system stick and keeps your space functional and calm.