Are Cast Iron Skillets Non Stick The Real Story
Key Takeaways
- Seasoning is essential: Cast iron becomes non-stick through a layer of polymerized oil, not factory coatings.
- Preheating matters: Always heat your skillet properly before cooking for best non-stick results.
- Fat is your friend: Use adequate oil or butter to create a slick cooking surface.
- Avoid soap myths: Modern mild soap won’t ruin seasoning; harsh detergents can damage it.
- Patience pays off: Building a great non-stick surface takes multiple seasoning cycles.
- Maintenance is simple: Clean, dry thoroughly, and apply a thin oil layer after each use.
- Eggs test your seasoning: If eggs slide easily, your non-stick surface is working perfectly.
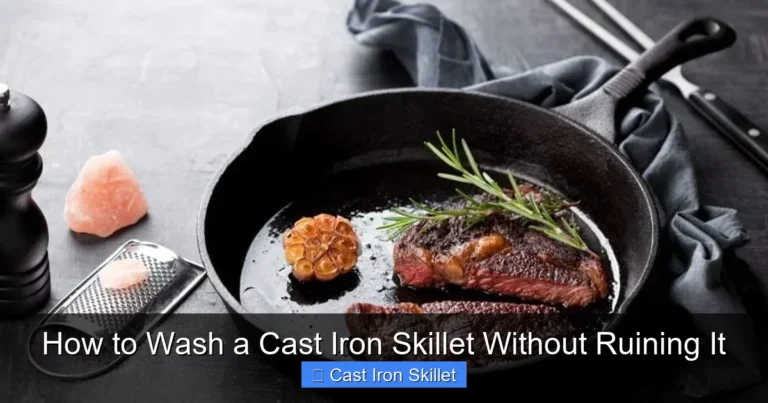
Are Cast Iron Skillets Non Stick? The Real Story
You’ve probably heard conflicting answers about whether cast iron skillets are non-stick. Some say yes, absolutely. Others claim no, they’re sticky nightmares. So what’s the truth? The real story is that cast iron can become beautifully non-stick, but it doesn’t work like your Teflon pan from the discount store. Cast iron’s non-stick ability comes from you, not the factory. It’s earned through proper seasoning and smart cooking habits. In this guide, you’ll learn exactly how to transform your cast iron into a naturally non-stick powerhouse that lasts generations.
The Truth About Cast Iron and Non-Stick Properties
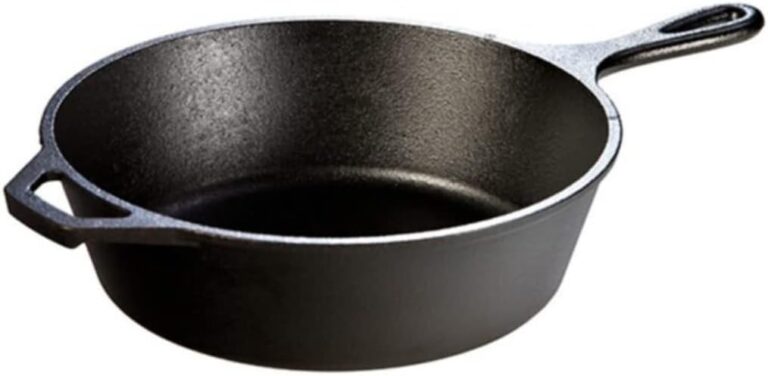
Modern non-stick cookware uses chemical coatings like PTFE (Teflon) or ceramic. These create a slick barrier between food and metal. Cast iron works differently. Raw cast iron is porous and rough. At a microscopic level, it’s full of peaks and valleys that grab onto food. This is why unseasoned cast iron sticks terribly.

Visual guide about Are Cast Iron Skillets Non Stick The Real Story
Image source: mom4real.com
But here’s the magic: when you season cast iron properly, you fill those valleys with polymerized oil. This creates a smooth, hard surface that food can’t grip. Think of it like building a non-stick layer one molecule at a time. Each time you cook with oil and clean properly, you reinforce this layer. Seasoned cast iron isn’t just non-stick; it’s naturally non-stick.
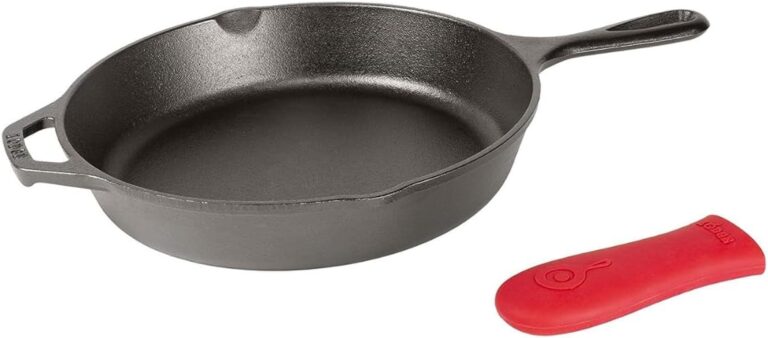
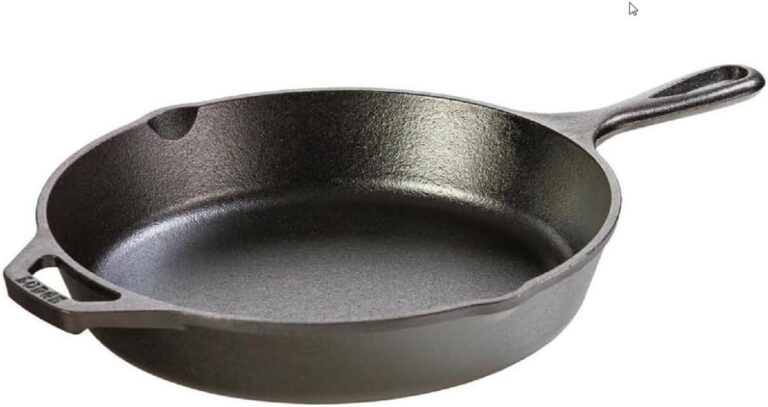
How Seasoning Creates a Natural Non-Stick Surface
Seasoning is the process that makes cast iron non-stick. It involves baking oil onto the metal until it polymerizes into a hard, protective layer. This isn’t a one-time event. It’s an ongoing relationship between you and your skillet.

Visual guide about Are Cast Iron Skillets Non Stick The Real Story
Image source: atraditionallife.com
The Science Behind Seasoning
When you heat oil to its smoking point, something amazing happens. The oil molecules break down and reconnect into long chains. These chains bond to the iron surface, creating a slick, durable layer. This process is called polymerization. Different oils work better than others. Flaxseed oil creates a hard, durable finish. Vegetable oil works well for maintenance. Olive oil? Not so much—it can become sticky.
The key is building multiple thin layers. One thick layer of oil will flake off. Ten thin layers will last years. Each layer fills in microscopic imperfections, creating that smooth non-stick surface you’re after.
Step-by-Step Seasoning Process
Ready to season your skillet? Here’s the foolproof method:
- Clean thoroughly: Wash your new skillet with warm water and a stiff brush. Remove all factory residue. Dry completely.
- Apply thin oil layer: Use a paper towel to spread a thin coat of oil over every surface—inside, outside, handle, everywhere. Use just enough to make it shiny. Wipe off excess.
- Heat it up: Place the skillet upside down in a 375°F oven for one hour. Put foil on the lower rack to catch drips.
- Let it cool: Turn off the oven and let the skillet cool completely inside. Don’t rush this step.
- Repeat: Do this 3-5 times for a new skillet. For maintenance, once every few months is plenty.
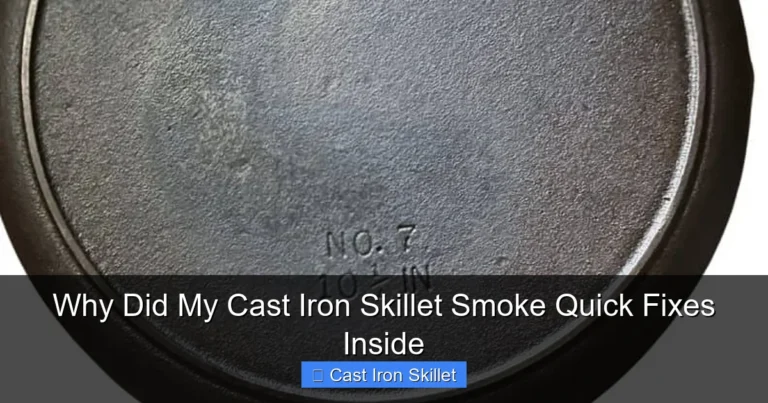
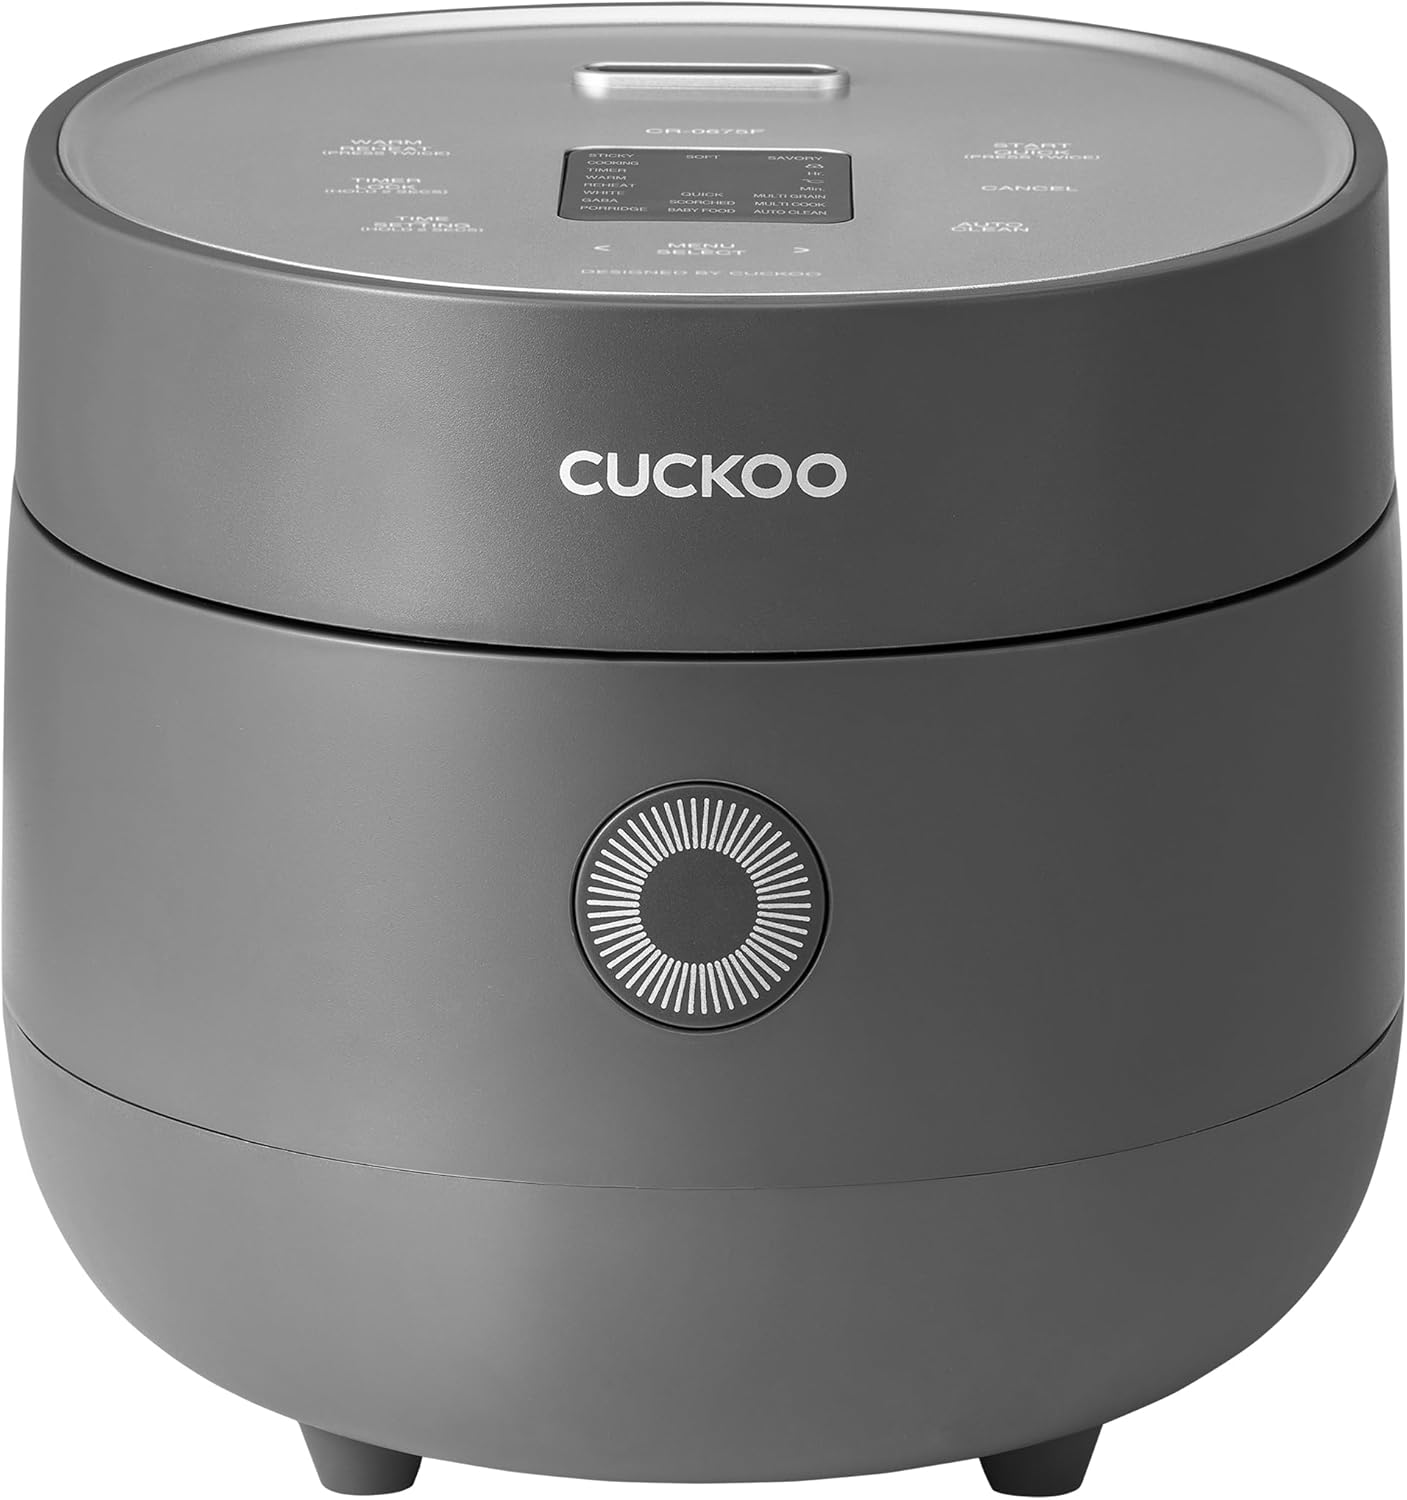
Proper Cast Iron Skillet Maintenance
Good maintenance keeps your cast iron non-stick and prevents rust. It’s simpler than you think.

Visual guide about Are Cast Iron Skillets Non Stick The Real Story
Image source: down-ph.img.susercontent.com
Cleaning Techniques That Preserve Non-Stick
After cooking, clean your skillet while it’s still warm. Pour out excess oil. Use hot water and a stiff brush or chainmail scrubber. Yes, you can use a little soap—modern dish soap won’t strip seasoning. The old myth about avoiding soap is outdated. Just don’t use harsh detergents or abrasive powders.
For stuck-on food, sprinkle coarse salt and scrub with a paper towel. The salt acts as a gentle abrasive. Never soak cast iron in water. Never put it in the dishwasher. These actions invite rust and destroy your non-stick surface.
Drying and Oiling After Cleaning
Drying is critical. Water is cast iron’s enemy. After washing, place the skillet on a stovetop over low heat for 2-3 minutes. Watch for steam and until no moisture remains. You can also dry in a warm oven.
Once completely dry, apply a paper towel with a thin coat of oil. Heat the skillet again for 1-2 minutes until the oil shimmers. This reseals the surface and maintains your non-stick layer. Let it cool before storing.
Cooking Techniques for Non-Stick Success
Your cooking technique makes or breaks the non-stick experience. Even a well-seasoned skillet will fail with bad habits.
Preheating Your Skillet
Always preheat your cast iron before adding food. This expands the metal slightly, closing pores and creating a smoother surface. Place your skillet on medium heat for 5-7 minutes. It should be hot enough that water droplets dance and evaporate quickly. Not smoking hot, but definitely hot enough.
A cold cast iron skillet is a sticky skillet. This is the most common mistake beginners make. Don’t rush this step. Good preheating ensures food releases naturally.
Fat and Oil Usage
Use enough fat. Cast iron needs lubrication to be non-stick. For eggs, use a generous pat of butter. For pancakes, brush with oil. The rule is simple: if food sticks, you probably needed more fat next time.
Don’t fear the calories. A well-seasoned cast iron skillet needs less oil than you think, but it still needs some. The oil fills microscopic gaps and creates steam that helps lift food.
Food Release Timing
Wait for food to release naturally. Don’t force it. When you flip a burger or pancake, it should let go easily. If it’s stuck, it’s not ready. Forcing it tears the seasoning and makes a mess. This is especially true for proteins. Let chicken or fish develop a good sear before trying to move it.
After cooking, let the skillet cool slightly before cleaning. Thermal shock can damage seasoning. But don’t let food sit and harden for hours.
Troubleshooting Common Problems
Even experts face issues. Here’s how to fix them.
Sticky Food Issues
If food keeps sticking, your seasoning might be damaged. First, check your preheating. Are you heating the skillet long enough? Second, check your oil. Are you using enough? Third, clean the skillet thoroughly and re-season it once. Sometimes you just need a fresh layer.
Eggs are the ultimate test. If eggs stick, your non-stick surface needs work. Try a higher heat next time and more butter. If that fails, strip and re-season your skillet completely.
Rust Prevention
Rust appears when iron meets water and oxygen. If you see orange spots, don’t panic. Scrub with steel wool until clean. Wash, dry thoroughly, and re-season. To prevent rust, never store cast iron wet. Keep it in a dry place. A light oil coating helps, but too much attracts dust.
Some light surface rust is normal if you live in humid areas. Just scrub and re-season. Heavy rust means the skillet was neglected. Prevention is always easier than cure.
Restoring Damaged Seasoning
If your seasoning becomes sticky or flaky, it’s time for a reset. Strip the old seasoning using oven cleaner or a lye bath. Scrub the skillet until bare metal. Then start fresh with the seasoning process above. This sounds drastic, but it gives you a clean slate. Your skillet will be better than new.
For minor issues, just clean and add a few seasoning layers. Build up gradually. Don’t try to fix everything at once.
Cast Iron vs. Modern Non-Stick Cookware
How does cast iron compare to Teflon or ceramic? Teflon is easier initially—just pour and go. But it degrades over time. Scratches release chemicals. It lasts 2-5 years with good care. Cast iron? It lasts forever. With proper care, your great-grandchildren will use it.
Ceramic non-stick is PFOA-free and eco-friendly. But it still wears out. Cast iron gets better with age. It adds iron to your food, which is great for health. It handles high heat without damage. You can sear, bake, broil, and even use it on a campfire. No modern non-stick pan can do all that.
The trade-off? Cast iron requires learning. It’s not instant gratification. But the reward is a cookware heirloom that performs beautifully.
Conclusion: Making Your Cast Iron Non-Stick
So, are cast iron skillets non-stick? Yes, but it’s a earned non-stick. It comes from understanding the process and committing to proper care. A well-seasoned cast iron skillet is more non-stick than most factory coatings when you master the technique.
Start with a simple seasoning routine. Cook with confidence. Clean with care. Your skillet will reward you with decades of perfect meals. The learning curve is worth it. Every time food slides effortlessly from your pan, you’ll know you’ve mastered the real story of cast iron.
🎥 Related Video: Nonsticky cast iron skillet in 2 minutes | Try this hack #castironskillet #castironcooking #skillet
📺 Pots and Pans India