Rice Cooker Settings Explained Complete Guide for Beginners
Rice cooker settings can seem confusing at first. This guide breaks down every function from basic cook and warm modes to advanced settings for different rice types. You’ll learn step-by-step instructions, pro tips, and how to troubleshoot common problems for perfect rice every single time.
Key Takeaways
- Understand your basic settings: “Cook” and “Keep Warm” are the essential functions every beginner needs to master first.
- Match settings to rice type: White rice, brown rice, and mixed grains each require different water ratios and cooking modes.
- Measure accurately: Use the correct rice-to-water ratio and the measuring cup that comes with your cooker.
- Let it rest: Always allow rice to sit for 10-15 minutes after cooking for best texture and moisture distribution.
- Clean regularly: Proper maintenance prevents sticking and ensures your rice cooker lasts for years.
- Troubleshoot smartly: Most issues are easily fixed by adjusting water, rice quantity, or cleaning the inner pot.
Introduction: Welcome to the World of Rice Cooker Settings
So you brought home a shiny new rice cooker. It looked so simple in the store. But now you’re staring at buttons like “Quick,” “Porridge,” “Steam,” and “Delay Timer.” What do they all mean? Don’t worry. You’re not alone. Most beginners feel overwhelmed by rice cooker settings at first. This guide will turn that confusion into confidence.
We’ll start with the basics. Then we’ll move to advanced functions. By the end, you’ll know exactly which button to press for any type of rice. You’ll also learn why certain settings matter. And how small mistakes can lead to mushy or crunchy rice. Let’s unlock the full potential of your rice cooker together.
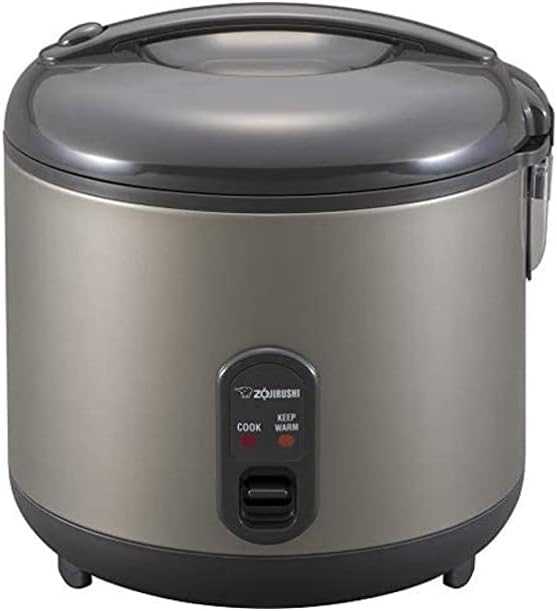
Understanding the Two Basic Rice Cooker Settings
Every rice cooker has these two essential functions. They’re the foundation of all cooking.
Visual guide about Rice Cooker Settings Explained Complete Guide for Beginners
Image source: ricearray.org
The “Cook” Button
This is your main button. Press it to start cooking. Most models have an automatic switch that flips to “Keep Warm” when done. The “Cook” setting uses high heat. It brings water to a boil fast. Then it simmers until all water absorbs into the rice.
Simple rule: Always press “Cook” for regular white rice. That’s it. No guesswork needed.
The “Keep Warm” Function
This setting keeps your rice ready to eat. It maintains a safe temperature after cooking. The heat is much lower than the “Cook” setting. It prevents burning while keeping rice fluffy.
Important tip: Don’t leave rice on “Keep Warm” for more than 12 hours. Quality starts to drop after that. Some newer models have a 24-hour timer. But for best taste, serve within a few hours.
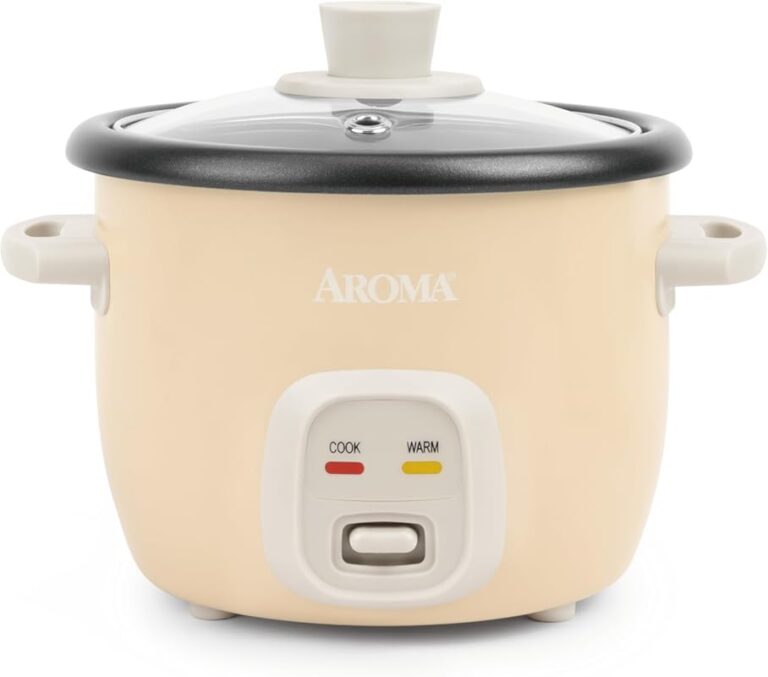
Exploring Advanced Rice Cooker Settings
Now let’s decode those mysterious buttons. These settings adjust time and temperature automatically.

Visual guide about Rice Cooker Settings Explained Complete Guide for Beginners
Image source: ricearray.org
White Rice Setting
This is the most common setting. It’s designed for regular white rice like jasmine or short-grain. The cooker uses high heat for a shorter time. White rice absorbs water quickly. So it needs less cooking time than brown rice.
When to use: Any time you cook white rice. This includes sushi rice, jasmine rice, and basmati rice.
Brown Rice Setting
Brown rice has a tough outer layer. It needs more water and longer cooking. This setting uses lower heat for a longer period. The extra time lets water slowly penetrate the grain. This prevents mushy outside and hard inside.
Water tip: Use 1.5 to 2 cups of water per cup of brown rice. Check your manual for exact ratios.
Mixed Rice/Other Grains Setting
This versatile setting handles quinoa, barley, and mixed rice blends. It finds a middle ground between white and brown rice settings. The timing is usually 20-25 minutes. It’s perfect for those “5-grain” rice packages from the store.
Great for: Quinoa, millet, barley, and pre-mixed rice blends.
Porridge/Oatmeal Setting
Porridge needs very low heat for a long time. This setting prevents boiling over. It creates creamy, smooth oatmeal or congee. The cooker cycles on and off to maintain gentle heat.
Try this: Use steel-cut oats with extra water. The porridge setting works wonders.
Steam Function
This setting uses the basket that came with your cooker. It steams veggies, fish, dumplings, and buns. The rice cooker boils water in the bottom. Steam rises through the basket. Food cooks without losing nutrients.
Pro tip: Place rice in the bottom while steaming veggies above. One-pot meal done.
Delay Timer
Want rice ready when you walk in the door? Use the delay timer. Add rice and water. Set the timer for up to 12-24 hours. The cooker waits to start cooking until the time you choose.
Important: Use this for white rice only. Don’t delay brown rice or mixed grains. They can develop off-flavors. And never delay rice with perishable add-ins like milk or eggs.
Quick Cook/Speed Setting
Need rice in a hurry? This setting cuts cooking time by 25-30%. It uses higher pressure and heat. But the texture might not be as perfect as regular settings. Use it when you’re in a time crunch.
Trade-off: Speed vs. perfection. For everyday meals, use regular settings. Save quick cook for emergencies.
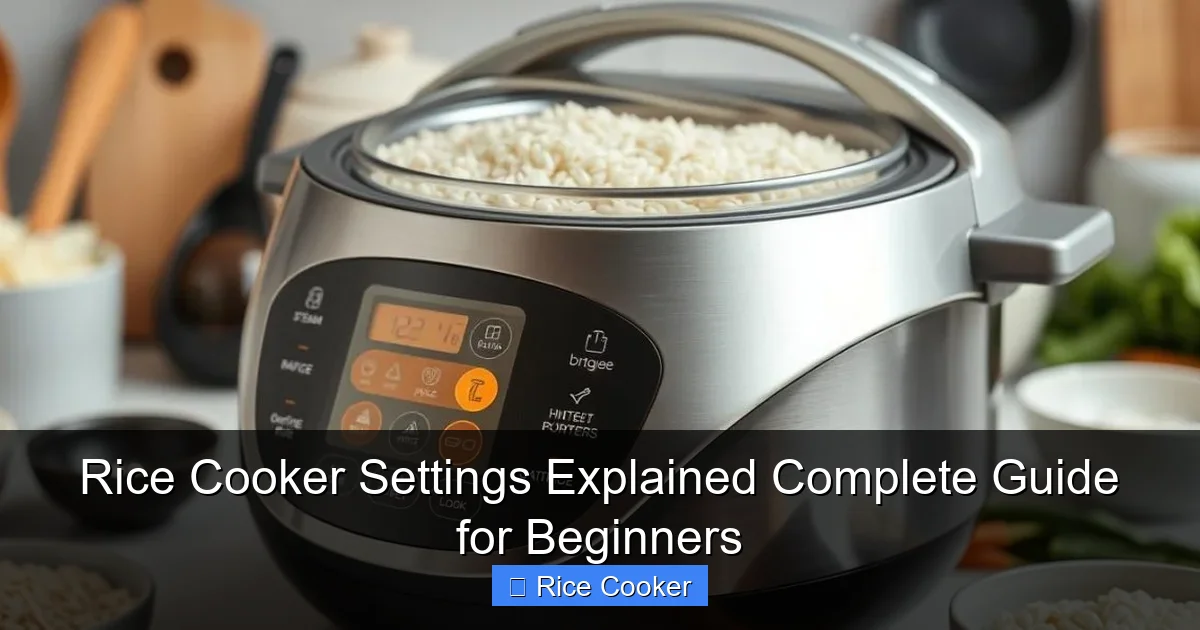
Step-by-Step: Cooking Perfect Rice Every Time
Follow these steps for foolproof results. We’ll use the types of rice and best uses guide as our reference.

Visual guide about Rice Cooker Settings Explained Complete Guide for Beginners
Image source: ricearray.org
Step 1: Measure Your Rice
Use the plastic cup that came with your cooker. It’s designed for perfect portions. One cup of uncooked rice feeds 2-3 people. Level off the top with a knife. Don’t pack it down.
Step 2: Rinse the Rice
Rinsing removes excess starch. This prevents gummy rice. Place rice in a fine mesh strainer. Run cold water for 30-60 seconds. Swirl gently. Let water drain completely.
Note: Some enriched rice shouldn’t be rinsed. Check the package instructions.
Step 3: Add Water
Pour rinsed rice into the inner pot. Add water using the 1:1.5 ratio for white rice. That’s 1 cup rice to 1.5 cups water. For brown rice, use 1:2 ratio. Use the markings inside your pot as a guide.
Soft water vs. hard water: Adjust slightly if you live in an area with very hard or soft water.
Step 4: Select the Right Setting
Match your setting to the rice type. White rice gets the white rice setting. Brown rice needs brown rice mode. Unsure? Check the how to cook rice perfectly every time guide for visual cues.
Step 5: Let It Rest
When the cooker switches to “Keep Warm,” wait 10-15 minutes. Don’t open the lid. This lets steam finish cooking the rice evenly. Fluff with a fork before serving.
Rice Cooker Settings for Different Rice Types
Not all rice is the same. Here’s your quick reference chart.
White Rice (Regular, Jasmine, Basmati)
Setting: White Rice or Regular Cook
Time: 15-20 minutes
Water ratio: 1:1.5 (1 cup rice to 1.5 cups water)
Tip: For basmati, soak 20 minutes first. This prevents clumping.
Brown Rice
Setting: Brown Rice
Time: 35-45 minutes
Water ratio: 1:2 (1 cup rice to 2 cups water)
Tip: Add a pinch of salt. It softens the outer bran layer.
Sushi Rice
Setting: White Rice or Sushi Rice
Time: 18-22 minutes
Water ratio: 1:1.25 (slightly less water)
Tip: Use short-grain Japanese rice. Season with rice vinegar after cooking.
Wild Rice
Setting: Mixed Grains or Brown Rice
Time: 40-50 minutes
Water ratio: 1:3 (1 cup rice to 3 cups water)
Tip: Wild rice expands a lot. Use a larger pot if mixing with white rice.
Congee/Rice Porridge
Setting: Porridge
Time: 60-90 minutes
Water ratio: 1:8 (1 cup rice to 8 cups water)
Tip: Stir occasionally if possible. Add chicken or pork for flavor.
Troubleshooting Common Rice Cooker Problems
Even with perfect settings, issues happen. Here’s how to fix them.
Problem: Rice is Too Mushy or Gummy
Cause: Too much water or overcooking.
Solution: Reduce water by 1/4 cup next time. Use the quick rinse method. Don’t skip the resting time. For sticky rice, try the “Mixed Grains” setting instead of “White Rice.”
Problem: Rice is Undercooked or Hard
Cause: Not enough water or wrong setting.
Solution: Add 1/4 cup water and press “Cook” for 5 more minutes. Ensure you’re using the correct setting for your rice type. Brown rice needs the brown rice setting, not white.
Problem: Rice Stuck to the Bottom
Cause: Non-stick coating damaged or insufficient water.
Solution: Clean the pot gently. Never use metal utensils. Add a bit more water next time. Consider lining with cheesecloth for sticky rice types.
Problem: Rice Cooker Won’t Turn On
Cause: Loose power cord or faulty thermostat.
Solution: Check that the inner pot is seated correctly. Ensure the power cord is plugged in. If still not working, contact the manufacturer. Don’t attempt repairs yourself.
Problem: Steam or Smoke Coming Out
Cause: Water boiling over or food debris.
Solution: Reduce water next time. Clean the steam vent with a toothpick. Wipe the heating plate. Never overfill the pot beyond the max line.
Pro Tips for Mastering Your Rice Cooker
These secrets will elevate your rice game.
- Toast your rice: Press “Cook” and let rice sit for 3 minutes before adding water. This creates nutty flavor.
- Flavor your water: Add bay leaves, garlic, or ginger to the water. Infuse rice with aroma.
- Double duty cooking: Steam veggies above while rice cooks below. Easy rice and beans recipe uses this technique.
- Clean immediately: Soak the inner pot in warm water right after use. Food won’t stick to the sides.
- Store properly: Leave the lid open after cleaning. This prevents moisture buildup and odors.
Conclusion: You’re Now a Rice Cooker Pro
Understanding rice cooker settings is easier than you thought. Start with the basics. Practice with white rice. Then experiment with brown rice and other grains. Remember to measure accurately. Always let your rice rest. And match the setting to your rice type.
Your rice cooker is a versatile kitchen tool. It can do so much more than plain rice. Try steaming fish, making oatmeal, or cooking quinoa. The possibilities are endless. With these skills, you’ll save time and eat better meals. Happy cooking!