How to Break in a New Cast Iron Frying Pan for Perfect Cooking
Breaking in a new cast iron frying pan is essential for creating a natural, non-stick surface that improves with use. This guide walks you through the simple process of seasoning and caring for your pan to ensure perfect cooking performance and long-lasting durability.
Key Takeaways
- Seasoning is key: Proper seasoning creates a natural non-stick surface and protects your pan from rust.
- Clean before use: Wash off any factory residues before starting the seasoning process.
- Use oil wisely: Apply a thin, even layer of high-smoke-point oil for best results.
- Bake to season: Heating the pan in the oven helps the oil bond to the iron surface.
- Repeat seasoning: Multiple seasoning cycles build a stronger, more durable coating.
- Maintain regularly: Clean gently and re-oil after each use to keep your pan in top shape.
- Be patient: Breaking in cast iron takes time but pays off with excellent cooking performance.
How to Break in a New Cast Iron Frying Pan for Perfect Cooking
Welcome! If you’ve just purchased a new cast iron frying pan, you’re about to start a rewarding journey. Breaking in your pan properly is essential to unlock its full cooking potential. In this guide, you’ll learn exactly how to season and care for your cast iron to develop a smooth, natural non-stick surface that improves with every meal.
Why Breaking in Your Cast Iron Pan Matters
Cast iron pans are beloved for their durability and versatility. However, a new pan straight from the factory often has a rough surface and protective coatings that need removal before cooking. Seasoning your pan builds a layer of polymerized oil that prevents rust and creates a slick cooking surface. Without this step, your food may stick, and your pan could degrade faster.
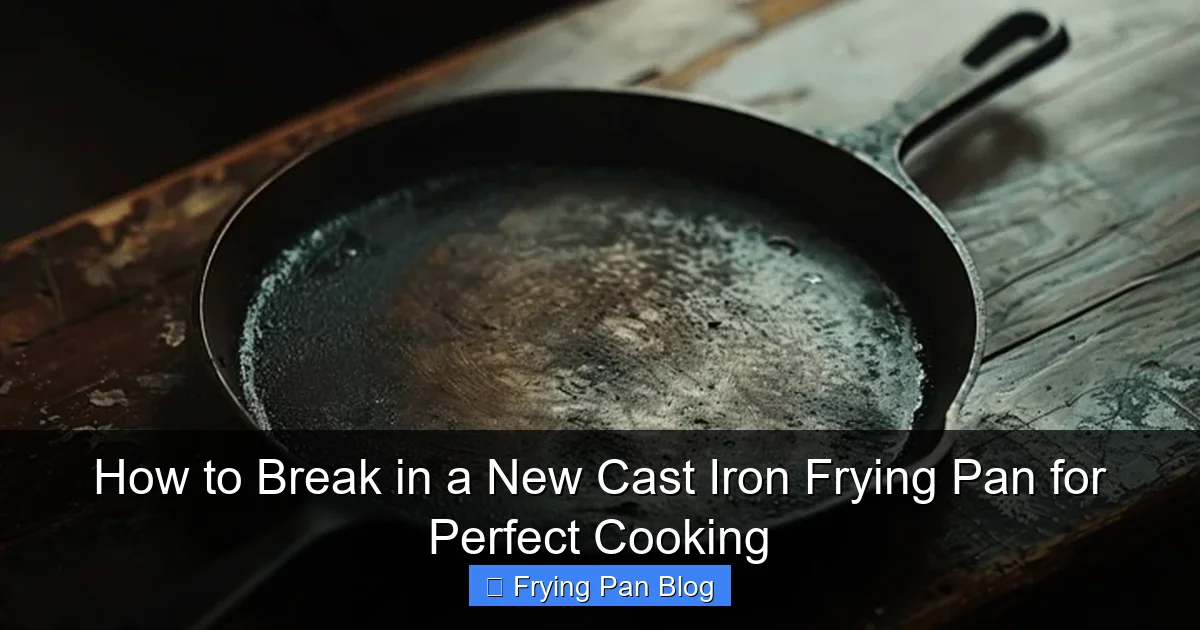
Visual guide about How to Break in a New Cast Iron Frying Pan for Perfect Cooking
Image source: png.pngtree.com
What You’ll Need
- New cast iron frying pan
- Hot water
- Non-metal brush or sponge
- Dry cloth or paper towels
- High-smoke-point oil (flaxseed, grapeseed, canola, or vegetable oil)
- Oven
- Aluminum foil or a baking sheet
Step 1: Clean Your New Pan
Remove Factory Residue
Many new cast iron pans come with a factory coating to prevent rust during shipping. This coating needs to be washed off before seasoning.
- Rinse the pan with hot water.
- Use a non-metal brush or sponge to scrub the surface gently.
- Avoid soap if possible, but a small amount is okay if necessary.
- Rinse thoroughly, then dry completely with a cloth or paper towels.
Dry Thoroughly
Cast iron is prone to rust when wet, so make sure your pan is fully dry. You can place it on the stove over low heat for a few minutes to evaporate any moisture.
Step 2: Apply Oil Evenly
Choose the Right Oil
Use oils with a high smoke point. Flaxseed oil is popular for its polymerizing properties, but canola, grapeseed, or vegetable oil works well too.
Coat the Pan
- Pour a small amount of oil onto the pan’s surface.
- Use a cloth or paper towel to spread a thin, even layer, including the sides and handle.
- Wipe off excess oil. The pan should not look greasy or sticky.
Step 3: Bake the Pan to Season It
Prepare Your Oven
Preheat your oven to 450-500°F (230-260°C). Place a sheet of aluminum foil or a baking sheet on the bottom rack to catch any drips.
Bake Upside Down
- Place the oiled pan upside down on the middle rack.
- Bake for 1 hour. This high heat bonds the oil to the pan, creating the seasoning layer.
- After one hour, turn off the oven and let the pan cool inside to room temperature.
Step 4: Repeat Seasoning Cycles
For best results, repeat the oiling and baking process 2-3 more times. Each layer strengthens the seasoning and improves non-stick performance.
Step 5: Maintain Your Cast Iron Pan
Cleaning After Use
- Rinse with warm water immediately after cooking.
- Use a brush or sponge to remove stuck-on food. Avoid soap if possible.
- Dry thoroughly and apply a thin layer of oil before storing.
Tips for Longevity
- Avoid soaking your pan or putting it in the dishwasher.
- Cook fatty foods initially to build seasoning quickly.
- If rust appears, scrub it off with steel wool and re-season.
Troubleshooting Common Issues
Sticky or Gummy Surface
This happens when too much oil is applied or the pan isn’t heated enough during seasoning. To fix, scrub the pan with hot water and a brush, dry well, and re-season using a thin oil layer.
Rust Spots
If you notice rust, scrub with steel wool or a stiff brush to remove it, then clean, dry, and re-season immediately. Keep your pan dry and oiled after every use to prevent rust.
Food Sticking
Food may stick if the seasoning is incomplete or uneven. Cook fatty foods and continue seasoning cycles to build a stronger surface. Also, preheat the pan well before adding food.
Conclusion
Breaking in your new cast iron frying pan is a simple but crucial process that sets the stage for years of amazing cooking. With patience and proper care, your pan will develop a natural, non-stick coating that enhances every dish. Follow these steps to season, maintain, and troubleshoot your cast iron, and enjoy perfect cooking results every time.
🎥 Related Video: What to do when buying a BRAND new cast iron pan! #howtocook
📺 Jose.elcook