Essential Kitchen Tools for Home Cooking: Must-Have Gear and Smart Tips for Everyday Meals
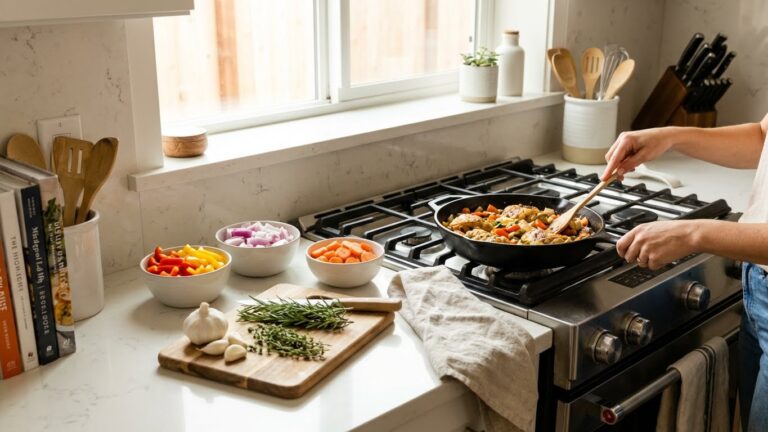
You want a kitchen that makes cooking easier and more fun. I’ll show the essential tools that give you the biggest payoff so you can cook well without clutter or guesswork. A few quality knives, a reliable set of pans, basic bakeware, and a handful of prep tools and small appliances will cover most meals and save you time.
I’m Emma Reed, and I use these tools every week—I’ll share what matters, what to skip, and how to get the most value for your counter and cabinets. We’ll focus on items that work for everyday cooking, keep cleanup simple, and grow with your skills.
Key Takeaways
- Choose a few high-quality tools that handle most tasks.
- Prioritize cookware and knives that last and clean easily.
- Add a couple of small appliances and storage items to speed prep and save space.
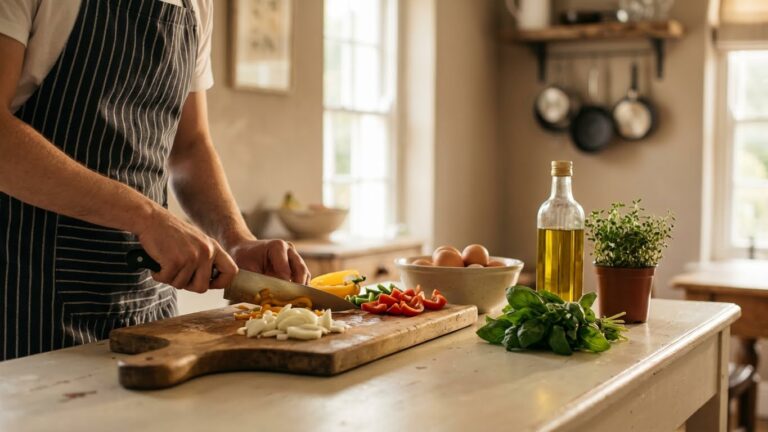
Must-Have Cutting Tools
I recommend three basics that handle most prep work cleanly: a good chef’s knife for chopping and slicing, a small paring knife for detail work, and a sturdy cutting board that protects blades and the countertop.
Chef’s Knife
I use a 8–10 inch chef’s knife as my primary blade for vegetables, meat, and herbs. Look for a full-tang blade with a comfortable handle so the knife feels balanced in your hand. A high-carbon stainless steel blade holds an edge well and resists rust.
Keep the edge sharp with a whetstone or a quality sharpener; a dull knife is more dangerous than a sharp one. Learn basic grips: pinch the blade between thumb and forefinger and curl the other fingers on the handle for control. Clean by hand and dry immediately to preserve the steel and handle.
Paring Knife
I keep a 3–4 inch paring knife for peeling, trimming, and precise cuts like deveining shrimp or segmenting citrus. Its short blade lets me work close to the food and make small, controlled motions. Choose a straight, sturdy tip rather than a flimsy blade.
Use the paring knife for tasks that would be awkward with a chef’s knife, such as cutting small garnishes or paring apples. Store it in a block or magnetic strip to avoid dulling the edge. Replace it if the tip bends or the blade chips.
Cutting Board
I recommend two boards: one for raw proteins and one for produce to prevent cross-contamination. Hard plastic boards are easy to sanitize and suit raw meat. End-grain or thick maple boards are gentler on knife edges and work well for chopping vegetables.
Keep boards flat and replace them when deep grooves develop, since grooves harbor bacteria. Clean plastic boards in the dishwasher if rated safe; wash wooden boards by hand with warm soapy water and oil them occasionally with mineral oil. Use a non-slip mat or damp towel under the board to keep it steady while you cut.
Essential Cookware for Everyday Use
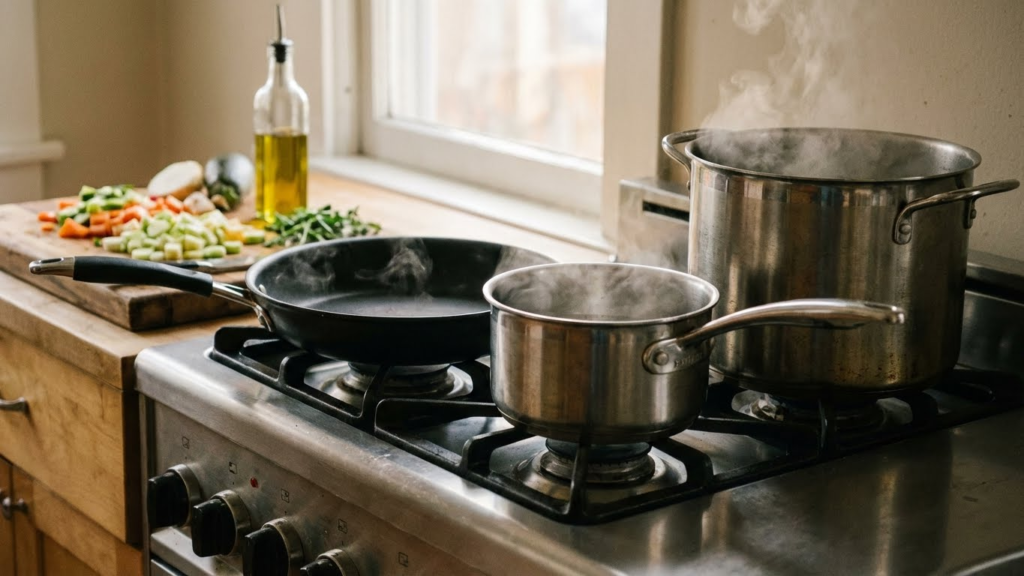
I focus on a few versatile pieces that handle most home cooking tasks. Each one should be durable, easy to clean, and sized for your typical meals.
Nonstick Skillet
I rely on a 10–12 inch nonstick skillet for eggs, pancakes, and delicate fish. Look for a heavy-gauge aluminum base and a high-quality nonstick coating like ceramic or PFOA-free PTFE to get even heat and easy release. A sloped side makes flipping and stirring simple, while a flat bottom ensures full contact with the burner.
Use medium heat most of the time to protect the coating. Wash by hand with a soft sponge to extend its life. I keep one with a heat-safe handle and oven rating to finish dishes under heat. For care tips and safety info, see guidance from the Cook’s Illustrated test kitchen and the EPA on safe cookware use.
Saucepan
My go-to saucepan is 2–3 quarts with a tight-fitting lid. This size works for rice, simmering sauces, reheating soups, and blanching small batches of vegetables. Choose stainless steel with an aluminum or copper core for quick, even heating and no reactive taste.
A long handle and a helper handle make pouring and carrying easier. I use the lid to trap steam and speed cooking, and I prefer measurement marks inside the pot for accuracy. Clean with a non-abrasive scrub and remove stains with a paste of baking soda and water when needed. For technique and maintenance tips, I reference resources like America’s Test Kitchen.
Stockpot
I keep a 6–8 quart stockpot for broths, large batches of soup, and boiling pasta. Stainless steel with an encapsulated base prevents hot spots and holds up to long simmering. A wider diameter shortens boil time and gives better evaporation control when reducing liquids.
A heavy lid, strong handles, and clear volume capacity matter when you cook for family or batch-cook. I avoid thin, flimsy pots that warp under high heat. After long simmering, soak and clean promptly to prevent burnt-on residue. For building good stock and pot choices, I follow best practices from culinary schools and reputable cookbooks.
Fundamental Bakeware
I list bakeware that I use most often and trust for consistent results. These pieces handle roasting, sheet-baked dinners, and batch-baked goods with little fuss.
Sheet Pan
I keep at least two heavy-duty sheet pans: one rimless baking sheet (half-sheet size, about 18 x 13 inches) and one rimmed baking sheet. The rimless pan gives the best airflow and crisping for cookies, crackers, and roasted vegetables. The rimmed pan catches juices for sheet-pan dinners and makes it easier to move food in and out of the oven.
Look for pans made of thick aluminum or aluminized steel. Thicker metal resists warping and spreads heat evenly. I avoid cheap, thin pans that bow under high heat.
Care and use tips:
- Line pans with parchment or a silicone mat for easier cleanup and even baking.
- Preheat the pan with the oven for crisp bottoms on breads and pizza.
- Hand-wash to prolong life; avoid harsh scrubbing that removes nonstick surfaces.
Muffin Tin
I rely on a 12-cup muffin tin (standard 2.5-inch cups) for muffins, cupcakes, individual quiches, and mini frittatas. A metal pan with a nonstick coating or a well-seasoned steel tin releases baked goods cleanly and gives even browning.
Choose pans with deep cups if you like tall muffins, or shallower cups for cupcakes. Silicone tins offer easy release but give less browning and can flex when full. For best results, I use paper liners for cupcakes and grease tins lightly for other batter.
Practical tips:
- Fill cups two-thirds full for standard rise and to avoid overflow.
- Rotate the tin halfway through baking if your oven has hot spots.
- Cool tins on a rack for a few minutes before removing muffins to keep their shape.
Critical Food Prep Utensils
I rely on a few simple tools to get recipes right and work fast. Each tool below helps with accuracy, speed, and cleanup in different ways.
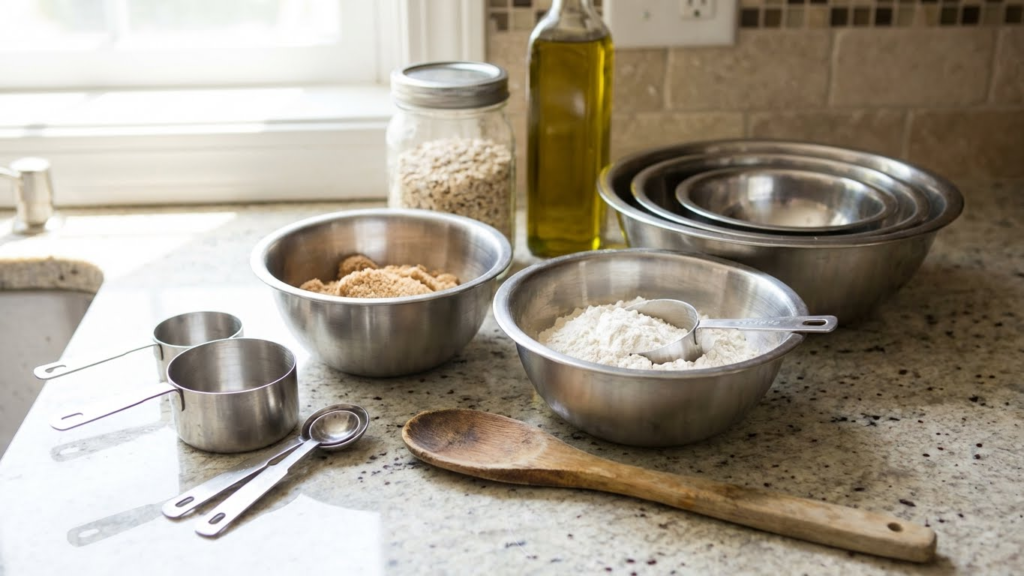
Measuring Cups and Spoons
I keep two sets of measuring cups: one metal/pyrex dry-cup set and one liquid-measure cup with a spout. Dry cups (1 cup, 1/2, 1/3, 1/4) give consistent volume for flour, sugar, and grains. A clear liquid cup with measurement marks to the side helps me pour water, milk, or oil without spilling.
Measuring spoons (1 tbsp to 1/8 tsp) must nest and stay calibrated. I use metal spoons for heat resistance and plastic for sticky ingredients. For accuracy, I level dry measures with a flat edge and use a small funnel or a spatula to transfer sticky ingredients.
I wash these right after use to prevent residue build-up. If a recipe is sensitive, I weigh ingredients on a scale instead of relying only on cup measurements.
Mixing Bowls
My mixing bowls are a set of three: small (1–1.5 qt), medium (2–3 qt), and large (4–5 qt). I prefer stainless steel for durability and glass for microwave use and seeing mixes from the side. Bowls with non-slip bottoms cut down on movement when I whisk or beat.
I use the small bowl for sauces and dressings, the medium for batters and salads, and the large for dough or when I toss large amounts. Nesting bowls save cabinet space. I keep one bowl clean and ready for measuring wet ingredients to avoid cross-contamination.
If a recipe calls for temperature control, I chill the metal bowl in the fridge first. This helps when I need to keep ingredients cool, such as for pastry or whipped cream.
Wooden Spoon
I reach for a wooden spoon for stirring hot mixtures, folding batter, and scraping pots. Its thick handle gives a good grip, and the wooden head won’t scratch nonstick or stainless surfaces. A solid, one-piece spoon lasts longer than hollow-handled ones.
I choose a spoon with a slightly rounded head and a length that keeps my hand away from steam. Wood does absorb flavors, so I reserve one spoon for savory dishes and another for sweet preparations. I hand-wash and thoroughly dry wooden spoons to prevent cracking and warping.
When a recipe needs high heat and vigorous stirring, the wooden spoon outperforms plastic and won’t melt or transfer heat quickly to my hand.
Indispensable Small Appliances
I pick appliances that save time and improve results. I focus on tools that handle everyday tasks, last for years, and justify their counter space.
Blender
I use a blender for smoothies, soups, and sauces. Choose a model with at least 700–1000 watts for hot soups and tough ingredients. Look for a jar marked in ounces or liters and a secure lid with a pour spout to reduce spills. A pulse setting and variable speeds let me fine-tune texture, from chunky salsas to silky purees.
For safety, I never blend hot liquids in a sealed container; I vent the lid or let food cool slightly. Glass jars resist staining and hold heat better, while BPA-free plastic is lighter and less likely to shatter. If I need a tool for single servings, I consider a personal blender with travel cups. For recipe tests and care tips, I consult resources like the USDA kitchen safety guidelines or product guides from Consumer Reports.
Stand Mixer
I rely on a stand mixer for consistent doughs, batters, and whipped creams. I choose models with a planetary mixing action and multiple speeds. A 4.5–5.5 quart bowl suits most households; go up to 6–7 quarts for frequent bread baking or large batches. Key attachments include a paddle for cookies, a whisk for meringues, and a dough hook for yeast doughs.
I weigh ingredients and scrape the bowl between additions to avoid pockets of dry flour. Tilt-head mixers make bowl removal easy; bowl-lift designs offer steadier mixing for heavy doughs. Metal construction lasts longer than plastic. For recipes and accessory ideas, I check manufacturer manuals and baking guides from trusted sites like King Arthur Baking.
Tools for Safe and Efficient Cooking
I focus on tools that protect my hands and food while making tasks quicker. Each tool below helps prevent burns, cross-contamination, and guesswork during cooking.
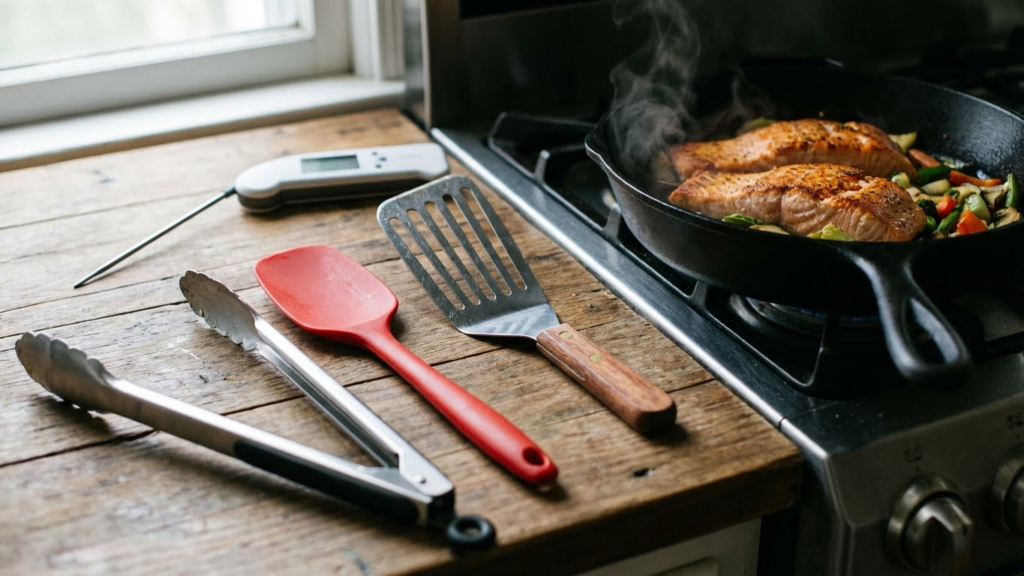
Tongs
I use tongs to grip hot food without piercing it, which keeps juices inside and prevents splatter burns. Look for a pair about 12 inches long with scalloped tips and a secure locking mechanism. Stainless steel with silicone tips works well for nonstick pans and high heat.
I clean tongs after raw meat use to avoid cross-contamination. If the handle isn’t dishwasher-safe, wash by hand with hot, soapy water and dry immediately. For oilier tasks I choose longer tongs; for salads and serving, I prefer shorter, lighter ones.
Keep concern for leverage and control in mind. Cheap tongs can bend or lose grip, so I replace them when the spring weakens. A small hook or loop for hanging saves drawer space and keeps them within reach.
Spatula
I have two spatulas: a heat-resistant silicone turner for nonstick pans and a thin metal fish spatula for delicate flips. The silicone turner (3–4 mm thick edge) slides under food without scratching cookware and tolerates stovetop heat up to 450°F. The fish spatula’s offset head and thin blade lift fragile fillets or omelets cleanly.
Choose a spatula with a comfortable, non-slip grip and a slightly angled head for better leverage. Avoid wide, rigid plastic spatulas that warp under heat. For baking and folding, I keep a flexible silicone spatula (bench scraper style) to scrape bowls and fold batters.
I replace spatulas when edges crack or discolor. Store them standing in a jar or hanging so they dry fully and don’t collect grime.
Thermometer
I rely on a probe thermometer to confirm doneness and prevent undercooking. A fast-read digital probe gives accurate temperatures in 2–5 seconds for thin cuts and 10–15 seconds for larger roasts. For ground meat and poultry I check the center; for steaks I check the thickest part away from bone.
I calibrate mine monthly by plunging the probe into ice water (should read 32°F/0°C) and boiling water (212°F/100°C at sea level). Use the oven-safe probe for long cooks and the instant-read for quick checks. Clean the probe with hot, soapy water after each use and avoid immersing the display unit.
I don’t rely on color or time alone. Temperature gives a clear, repeatable result that reduces foodborne illness risk and prevents overcooking.
Storage and Organization Solutions
I focus on practical tools that keep food fresh, cut down meal prep time, and free up counter and shelf space. The right containers, wraps, and shelf systems fit the way I cook and store food every week.
Food Storage Containers
I use airtight, stackable containers in multiple sizes to cover leftovers, meal prep, and pantry staples. Glass containers with snap lids resist staining and go from fridge to oven, so I reheat without changing dishes. For dry goods, clear plastic or glass jars with wide mouths make scooping flour, rice, and oats simple; I label each jar with the item and date.
I keep a set of shallow, rectangular containers for casseroles and meal portions because they stack neatly and fit in the fridge door. Small, square containers work well for chopped herbs and sauces. I separate freezer containers from daily-use ones and choose BPA-free plastics for anything that will see frequent use.
Plastic Wrap and Aluminum Foil
I keep both plastic wrap and aluminum foil within easy reach because they serve different jobs. I use plastic wrap to tightly cover bowls, wrap cut fruits, and protect salads from air exposure. For freezer storage, I wrap foods in plastic first, then foil to prevent freezer burn when needed.
I reserve aluminum foil for high-heat tasks like covering roasting pans and lining baking sheets. Heavy-duty foil holds shape around irregular cuts of meat and seals better for longer baking. I store both in a drawer-mounted dispenser so I can cut straight, avoid wasted sheets, and keep the kitchen tidy.
Cleaning Tools for the Kitchen
I focus on tools that cut scrubbing time, keep bacteria away, and last through heavy use. The two essentials below cover washing dishes and keeping surfaces dry and streak-free.
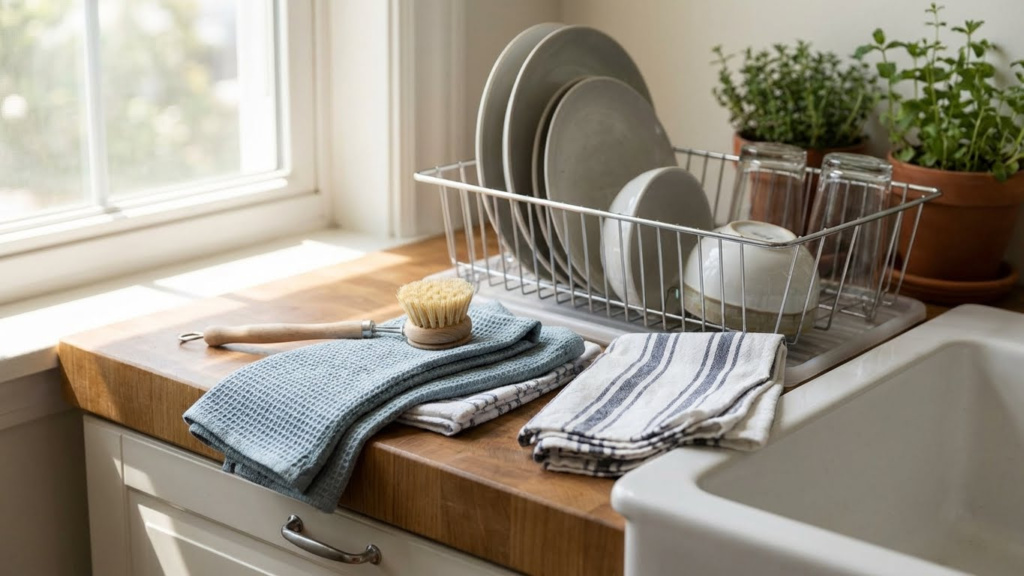
Dish Brush
I keep a sturdy dish brush for most hand-washing tasks. Choose a brush with a long handle and firm, heat-resistant bristles to reach into pots and scrub burned-on food without bending. A replaceable head or durable nylon bristles extend the tool’s life and save money.
Use the brush with a small bead of dish soap and hot water to remove grease quickly. For nonstick pans, I switch to a soft-bristled head to avoid scratching. Clean the brush weekly by rinsing, soaking briefly in a vinegar solution, or running it through the dishwasher if it’s dishwasher-safe.
Store the brush upright on a draining holder so water doesn’t pool at the base. This prevents smell and bacterial growth. For hygiene, swap the head or brush every 2–3 months if you use it daily.
Kitchen Towels
I use several types of kitchen towels and assign each a job. Cotton towels work best for drying dishes and hands because they absorb well. Microfiber towels are my go-to for wiping counters and polishing glass—they trap grease and leave fewer streaks.
Label towels or keep them in separate baskets to prevent cross-contamination between raw food prep and general cleaning. Wash towels after 2–3 days of heavy use or immediately after cleaning raw meat juices. Use hot water and a full detergent cycle, and avoid fabric softener because it reduces absorbency.
Keep a small stash of scrubbing cloths for greasy spills and a few lint-free towels for glass and stainless steel. For guidance on safe towel hygiene and laundering, I consult trusted sources like the CDC’s food safety tips and textile care advice from industry experts.
Specialty Tools for Advanced Cooking
I focus on tools that save time and add precision. I choose items that deliver a clear result: uniform cuts and true flavor extraction.
Mandoline Slicer
I use a mandoline when I need perfectly even slices or thin julienne cuts fast. A good stainless-steel mandoline has adjustable blades, a safety guard, and a non-slip base. These features let me slice potatoes, cucumbers, and radishes consistently for gratins, salads, and chips.
Safety matters most with a mandoline. I always use the hand guard or a cut-resistant glove to avoid nicks. I also set the thickness before slicing and keep fingers away from the blade.
Care and cleaning are simple if I remove the blade assembly and rinse right after use. For storage, I prefer models with blade covers or a compact design so the sharp parts stay protected.
Quick reference
- Best for: uniform slices, thin julienne, chips
- Look for: adjustable blade, safety guard, non-slip feet
Mortar and Pestle
I turn to a mortar and pestle when I want fresh, bright flavor from spices and herbs. A heavy granite or ceramic mortar gives the right weight and rough surface to grind seeds, peppercorns, garlic, or basil into pastes and spice blends.
I start by toasting whole spices lightly to wake up oils, then grind them in short, firm presses for even texture. For herbs, I use a circular grinding motion to release essential oils without bruising too much.
Cleaning depends on material: I rinse granite with warm water and let it air dry; I avoid soap if oils are absorbed. For ceramic, gentle soap is okay. I store mine in a dry spot to prevent odors and keep it ready for pesto, curry pastes, or chimichurri.
FAQs
I get asked which tools are absolutely necessary. I say start with a good chef’s knife, a cutting board, a skillet, and a saucepan. These cover most everyday cooking tasks.
People ask if cheap tools are OK. I recommend spending a bit more on a sharp knife and a sturdy pan. For items you use less often, budget options work fine.
Readers wonder what to buy first for a small kitchen. I tell them to prioritize tools that serve multiple purposes: a chef’s knife, a mixing bowl, and a spatula. They save space and handle many jobs.
I get asked how to care for tools to make them last. Clean knives by hand, dry pans right away, and season cast iron occasionally. Proper care keeps tools safe and effective.
Some ask which small appliance I’d recommend. I often suggest a microwave or a blender depending on habits. Choose one that fits your cooking style and counter space.
I’m asked how many knives someone needs. I say two to three: a chef’s knife, a paring knife, and optionally a serrated bread knife. That covers most slicing and prep tasks.
I include a quick checklist to help you shop:
- Knife (chef’s)
- Cutting board
- Skillet (nonstick or stainless)
- Saucepan
- Mixing bowl
- Spatula and wooden spoon
- Measuring cups and spoons
If you want tool recommendations for a specific diet or limited space, tell me what you cook and I’ll tailor suggestions.
Conclusion
I chose tools that make cooking safer, faster, and more fun. A few good knives, sturdy pans, accurate measuring tools, and basic gadgets cover most recipes I cook.
I recommend buying quality where it matters and saving on items used less often. Replace worn tools promptly to keep food safe and to avoid frustration.
I keep a short checklist on my phone so I know what to buy next. It helps me avoid duplicates and focus on items that fill real gaps in my kitchen.
If you start with the essentials and add tools as needed, you’ll build a practical, useful kitchen. This approach saves money and helps you cook more confidently.