How to Reduce Oil in Everyday Cooking — Practical Tips for Healthier, Flavorful Meals
You can cut a lot of oil from everyday cooking without losing flavor or texture. I explain simple swaps, smarter techniques, and quick tricks that save calories and keep meals tasty, so you spend less time worrying about fat and more time enjoying food. You’ll learn practical steps you can use tonight to cook with less oil and still get great results.
I write this as Emma Reed and I’ll walk you through easy changes like using nonstick pans, switching to broths or citrus, and choosing cooking methods such as roasting, steaming, and grilling. We’ll also cover small recipe tweaks and smart ingredient choices that make lower-oil eating feel natural, not like a sacrifice.
Key Takeaways
- Small technique swaps let you use much less oil while keeping flavor.
- Choose tools and ingredients that naturally reduce the need for oil.
- Simple recipe tweaks and methods deliver healthier meals without extra effort.
Understanding Cooking Oils
I explain how oils differ by source, cooking use, and health effects so you can pick and use less oil without losing flavor. Read the key facts about oil types, smoke points, and practical choices to cut oil in everyday cooking.
Types of Cooking Oils
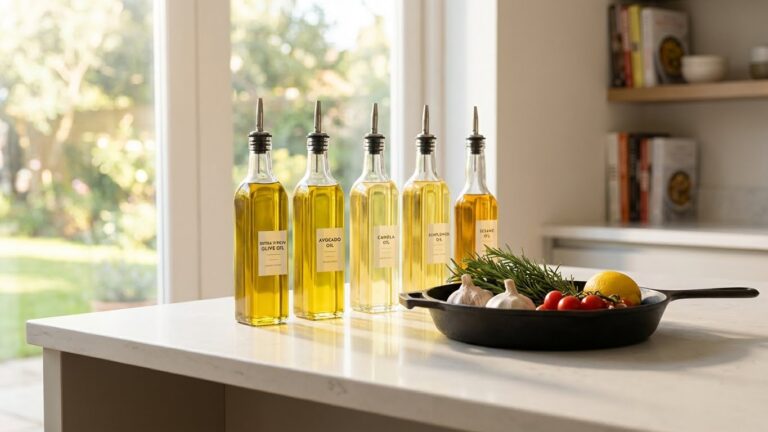
I sort oils into three practical groups: vegetable/seed oils, nut and fruit oils, and specialty animal or flavored oils.
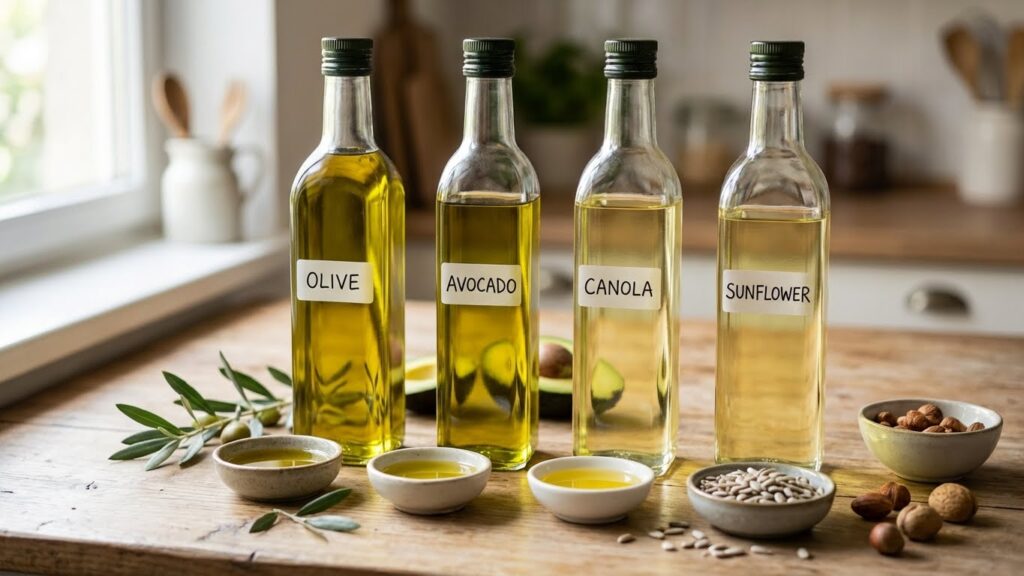
- Vegetable/seed oils: canola, sunflower, and soybean oils are common. They have neutral taste and are cheap. I use them for everyday frying or baking.
- Nut and fruit oils: olive, avocado, and peanut oils give more flavor. Extra virgin olive oil adds a grassy, peppery note to salads and low-heat cooking.
- Animal and specialty oils: butter, ghee, and lard add richness and aroma. I use these sparingly because they are calorie-dense and high in saturated fat.
I keep small bottles of high-flavor oils for finishing and a larger neutral oil for high-heat tasks. This helps reduce total oil use while keeping taste.
Smoke Points and Health Impacts
I check smoke points to avoid off-flavors and harmful compounds. Smoke point is the temperature when oil starts to break down and smoke.
- Low smoke point (up to ~350°F / 175°C): extra virgin olive oil, butter. Good for dressings, low-heat sauté.
- Medium (350–400°F / 175–205°C): avocado oil (refined), light olive oil. Good for pan-frying.
- High (>400°F / 205°C): refined canola, sunflower, peanut oil. Best for deep-frying and high-heat searing.
When oils exceed their smoke point, they form free radicals and bad-smelling compounds. I limit repeated heating and avoid reusing oil too many times. For heart health, I favor oils higher in monounsaturated fats (olive, avocado) and limit trans and excess saturated fats (partially hydrogenated oils, excessive butter).
Choosing the Right Oils
I match oil to cooking method, flavor, and health goals to use less oil effectively.
- For salads and finishing: choose extra virgin olive oil or walnut oil for strong flavor. A small drizzle adds big taste.
- For sautéing and pan-frying: use a medium smoke point oil like refined olive or avocado oil. Use a non-stick pan and a measured tablespoon to limit oil.
- For high-heat frying: pick a high smoke point oil such as refined canola or sunflower. Filter and store oil properly if you reuse it, but avoid multiple reuses.
I also watch labels for “refined” versus “virgin.” Refined oils handle heat better but have less flavor. I keep oils in dark bottles, store them cool, and buy smaller quantities to keep them fresh.
Practical Tips to Reduce Oil Usage
I focus on small changes that save oil without changing meals. These tips help control how much oil goes into the pan, onto food, and into recipes.
Portion Control When Pouring Oil
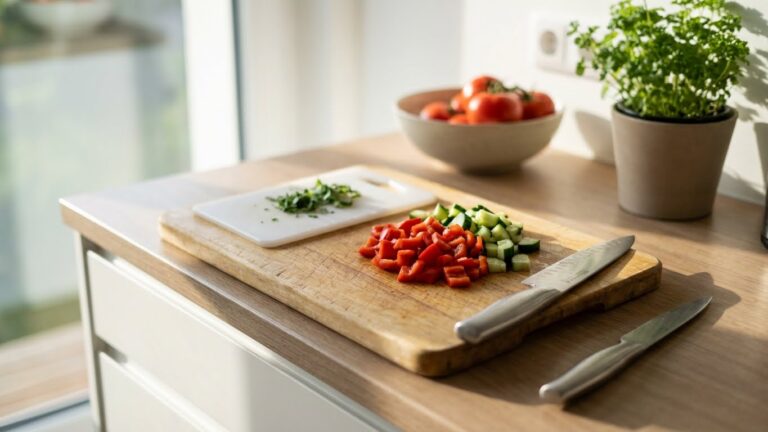
I start by limiting how much oil I pour from the bottle. Instead of tipping the whole bottle, I pour into a small ramekin or shot glass so I see the exact amount. For frying, I use 1–2 tablespoons and add more only if food sticks.
When cooking for one or two, I pour no more than 1 teaspoon per serving for sautéing. For dressings, I measure with a tablespoon or scale — 1 tablespoon of oil equals about 14 grams. This cuts calories and keeps flavor balanced.
I keep a marker on my favorite bottles at the 1 tbsp and 2 tbsp levels. That visual cue stops overpouring when I’m moving fast.
Applying Oil With Brushes or Spray Bottles
I use an oil mister or refillable spray bottle to coat pans and bakeware. A spray gives a thin, even layer and avoids puddles. For roasting vegetables, a quick spray replaces several teaspoons of poured oil.
A silicone brush works well for marinades and grilling. I dip the brush and tap off excess on the rim before brushing meat or veg. That spreads flavor without drenching the food.
If you buy a commercial spray, check ingredient lists for propellants. For a DIY mist, fill a glass spray bottle with light oil and a little water; shake well before each use. The result: less oil and the same crisp, golden finish.
Using Nonstick Cookware
I rely on a good nonstick skillet for eggs, pancakes, and delicate fish. These pans need little to no oil to prevent sticking. Clean the surface gently and replace pans that show deep scratches.
For high-heat searing, I use a well-seasoned cast-iron pan and a very small amount of oil — just enough to wet the surface. The seasoned layer reduces sticking and lets me use less fat.
Nonstick doesn’t suit every job, so I pair pans: nonstick for low to medium heat, cast iron or stainless for browning with measured oil. This mix keeps oil use low while delivering the textures I want. See guidance on cookware care at the FDA’s cooking basics page for safe use.
Measuring Oil Accurately
I keep a set of measuring spoons and a digital kitchen scale near the stove. Measuring spoons ensure I add a teaspoon or tablespoon, not a vague splash. The scale gives precise grams for recipes that list oil by weight.
When following recipes, I convert volume to weight if needed: 1 tablespoon ≈ 14 g, 1 teaspoon ≈ 4.7 g. I write conversions on a small card near my prep area to avoid guessing. This helps especially in baking, where excess oil changes texture.
For recipes that say “to taste,” I start with half the suggested oil and add in small increments. That way I match flavor without overshooting. For more tips on healthy oil portions, I consult nutrition resources like the American Heart Association.
Healthier Cooking Techniques
I focus on methods that cut oil but keep good texture and taste. You’ll get concrete steps for switching frying to dry-heat methods, using steam or grill heat, and replacing oil when sautéing.
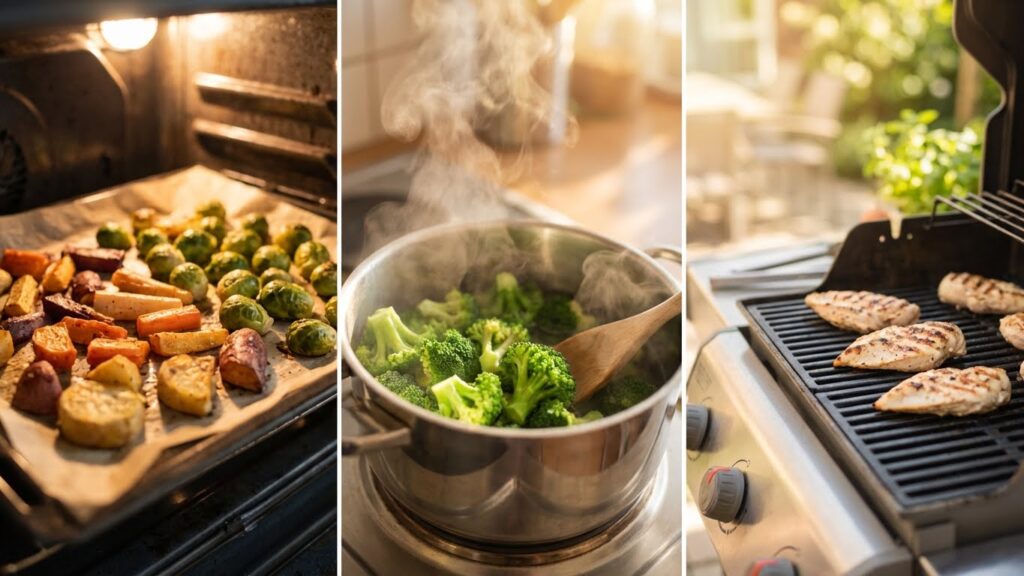
Baking and Roasting Instead of Frying
I use baking and roasting when I want crisp edges without a deep-fry bath. I preheat the oven to 400–450°F (200–230°C) so foods brown quickly. For vegetables and proteins, I toss them with a tablespoon or less of oil, or brush lightly—this gives a golden surface without excess fat.
I spread pieces in a single layer on a rimmed sheet or roasting pan to allow hot air to circulate. For extra crisp, I use a wire rack on the pan so air hits all sides. I also toss items halfway through cooking to promote even browning.
If I need a crunchy crust, I use panko, cornmeal, or a light breadcrumb mix and spray once with oil, or bake on high heat for a short time. For tender results, I cover with foil for part of the roast, then uncover to finish. Small changes like these cut oil but keep flavor.
Steaming and Grilling Methods
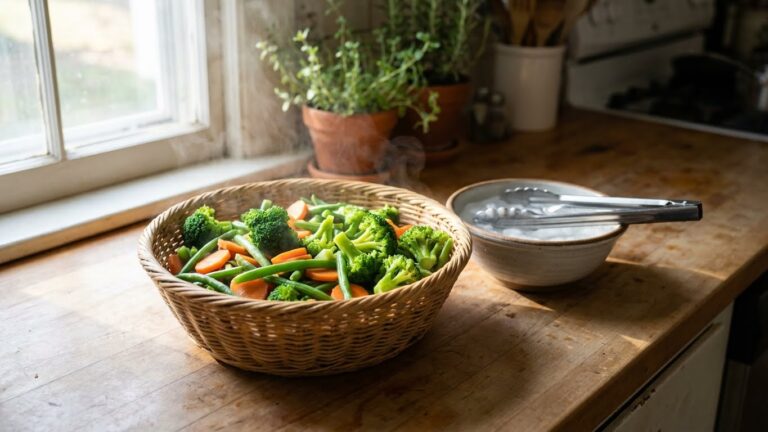
I turn to steaming when I want foods that stay moist with zero added fat. I steam fish, shellfish, and vegetables for a few minutes until just done—this preserves nutrients and texture. I also use a bamboo steamer or a tight-fitting pot lid for even steam distribution.
Grilling gives smoky flavor and lets fat drip away from meat. I preheat the grill so searing seals juices fast. I marinate lean meats in citrus, vinegar, or yogurt to add flavor and keep meat tender without oil. I place thicker cuts toward indirect heat to cook through without charring.
For vegetables, I brush them lightly or skip oil and place them directly on a hot grate or use a grill basket. I watch timing closely; quick, high heat caramelizes surfaces and keeps insides tender.
Sautéing With Broth or Water
I replace some or all oil with low-sodium broth or water when I sauté aromatics and vegetables. I heat the pan, add a few tablespoons of liquid, and keep it at a gentle simmer so ingredients cook and soften without sticking. I add more liquid as needed, scraping browned bits to build flavor.
For browning, I let the pan get hot, add a splash of broth, and let it reduce until food picks up color. This mimics the fond from oil cooking. I often finish with a teaspoon of oil or a small pat of butter for richness if the dish needs it.
When cooking proteins, I start with a quick sear in a nonstick or well-seasoned pan using minimal oil, then finish with broth. This method lowers fat while keeping a savory, browned finish.
Recipe Modifications for Lower Oil
I show simple swaps and small changes that lower oil while keeping texture and taste. These fixes fit baking, frying, and marinades and use common ingredients you likely have.
Substituting Oil With Yogurt or Applesauce
I replace part or all of the oil in many baked goods with plain yogurt or unsweetened applesauce.
For muffins, quick breads, and cakes, swap 1 cup oil for 1 cup plain yogurt or 3/4 cup applesauce plus 1/4 cup yogurt for moisture and lift. The yogurt adds protein and keeps crumb tender. Applesauce works best in sweeter recipes; reduce added sugar by 10–20% when using it.
Use full-fat yogurt for richer texture or low-fat to cut calories. If a recipe relies on oil for crisp edges (like some cakes), keep 1–2 tablespoons oil to preserve browning. Stir gently and avoid overmixing; these swaps can make batter denser if overworked.
Reducing Oil in Batters and Marinades
I cut oil in batters and marinades by adding low-fat liquids and flavor boosters.
For marinades, reduce oil to 1–2 tablespoons per 1 pound of protein and add 1/4 cup plain yogurt, buttermilk, or citrus juice to tenderize. Use minced garlic, soy sauce, mustard, herbs, and a teaspoon of honey for flavor balance.
For battering and pan-frying, I thin batter with cold seltzer or beer instead of extra oil; this keeps coating light. Use a nonstick pan and a high smoke-point spray to brown items with 1–2 tablespoons oil total. For oven “fried” foods, toss in a tablespoon of oil with breadcrumbs and bake at high heat to crisp without deep frying.
Smart Ingredient Choices
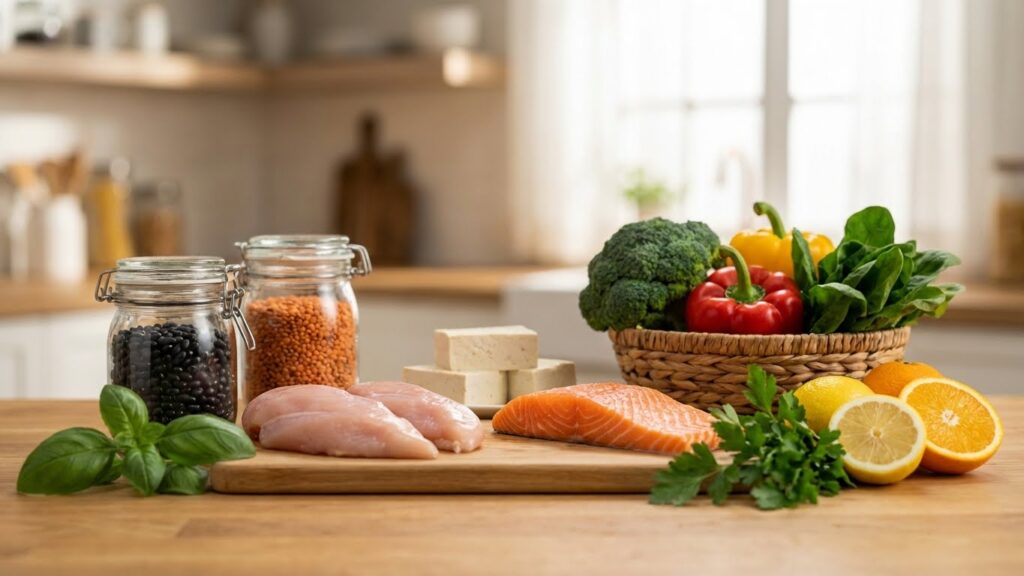
I focus on ingredients that add flavor and texture without extra oil. Small swaps—like lean cuts and steamed veg—cut calories and keep meals satisfying.
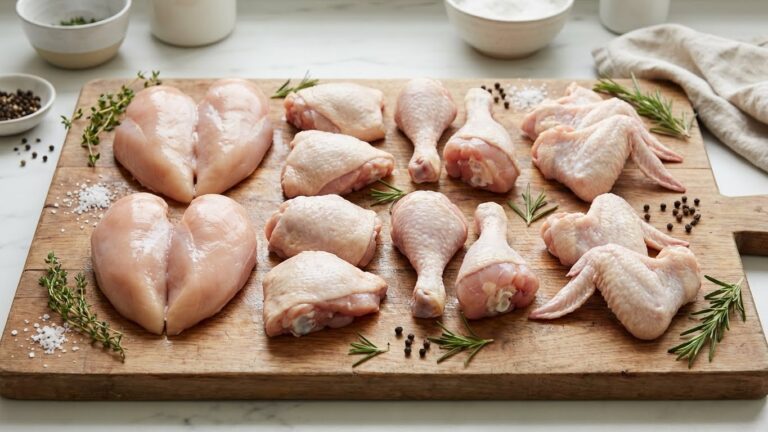
Selecting Lean Proteins
I pick lean cuts of meat such as skinless chicken breast, pork tenderloin, and trimmed beef sirloin. These release less fat when cooked, so I need only a light brush of oil or a nonstick pan. For ground meat, I use 90% lean or higher and drain any fat after browning.
I also use fish like salmon or cod, which cook quickly and stay moist with minimal oil. For plant proteins, I add beans, lentils, and firm tofu. I press tofu to remove water, then marinate and bake or air-fry it for crispness without deep frying.
Helpful quick tip: cook proteins in broth, citrus juice, or a small amount of olive oil sprayed from a mister. For cooking times and safe temperatures, I refer to USDA guidelines (https://www.usda.gov) to ensure food safety.
Using Fresh or Steamed Vegetables
I choose fresh or frozen vegetables and steam them until just tender to keep natural moisture and flavor. Steaming needs no oil and preserves vitamins and texture better than long simmering.
When I want a roasted finish, I toss vegetables in a tablespoon of oil for a whole sheet pan, or use a light oil spray to coat evenly. I boost taste with garlic, lemon zest, fresh herbs, and a splash of balsamic vinegar so I don’t rely on oil for flavor.
If I need creaminess, I puree cooked veg like cauliflower or carrots with a little vegetable broth instead of butter or cream. For steaming tips and steaming times by vegetable type, I often check resources like the Harvard T.H. Chan School of Public Health (https://www.hsph.harvard.edu).
Storing and Reusing Oils Safely
I keep used oil clean and check it often so it stays safe to reuse. Proper filtering, airtight storage, and clear signs for tossing help me avoid bad taste, smoke, and health risks.
Filtering and Storing Used Oils
I filter oil right after it cools to remove crumbs and bits that cause off-flavors and faster breakdown. I pour oil through a fine mesh strainer lined with cheesecloth or a coffee filter into a clean container. For large batches I use a funnel and a nylon stocking as a reusable filter.
I store oil in a clean, dry, airtight glass jar or stainless steel container. I label the jar with the date and type of food fried, so I track reuse. I keep the container in a cool, dark cupboard away from heat and sunlight to slow oxidation. For long-term keeping, I refrigerate vegetable or nut oils; they may cloud but clear at room temperature.
Best practice checklist:
- Cool fully before filtering
- Use only dry, clean containers
- Label with date and use
- Store airtight, dark, and cool
- Limit reuse to like-for-like foods (sweet vs. savory)
Knowing When to Discard Oil
I discard oil at the first sign of strong off-odors, persistent foaming during heating, or a lower smoke point than when new. If oil smokes at a lower temperature than usual or has a sharp, rancid smell, it has degraded and can produce harmful compounds when heated.
Visible clues matter: dark color, thick texture, or many suspended particles mean it’s time to toss. If I fried breaded or heavily seasoned foods, I usually discard after one reuse because flavors transfer. As a rule, I limit reuse to 2–3 times for neutral oils and only once for delicate oils like extra-virgin olive oil. I never pour oil down the drain; I seal it in its container and put it with household waste or take it to a recycling/collection program.
Lifestyle Benefits and Long-Term Strategies
I explain how small cooking changes can improve heart health, weight control, and meal cost. I also show practical habits that make low-oil cooking easy every day.
Maintaining a Balanced Diet
I focus on replacing oil with whole foods that add nutrients and flavor. For example, I increase vegetables, beans, and whole grains to add fiber and bulk so meals feel satisfying without added fat. I use mashed avocado, plain yogurt, or nut butters in controlled amounts to keep healthy fats while cutting cooking oil.
I track simple targets: aim for at least half your plate to be vegetables, include a lean protein at each meal, and choose whole grains like brown rice or quinoa. These swaps keep calories steady and support steady energy. I also watch portion sizes of concentrated fats (nuts, seeds, cheese) so the diet stays balanced.
Building Sustainable Cooking Habits
I create habits that make low-oil cooking routine, not a chore. I use a non-stick pan and a simple spray bottle for oil to prevent overpouring. I batch-roast vegetables with a light mist of oil or use stock, citrus juice, or vinegar to add moisture and flavor.
I plan two oil-light meals per week and increase as I get comfortable. I keep quick tools on hand: a steamer basket, an air fryer, and a good blender for dressings and sauces. I also prep staples—cooked beans, roasted veggies, and grain batches—to speed low-oil meals on busy days.
FAQs
I get asked which cooking methods cut the most oil.
Baking, steaming, grilling, and broiling use little to no oil. I also use nonstick pans and a little broth for sautés to keep food from sticking.
Can I replace oil in baking without changing texture?
Yes, often. I swap applesauce, mashed banana, yogurt, or pureed avocado for part of the oil. I usually replace up to half the oil and test the recipe first.
How do I keep food flavorful with less oil?
I rely on herbs, spices, citrus, vinegar, and aromatics like garlic and onions. Roasting vegetables concentrates their natural flavors so I need less oil.
What tools help reduce oil use?
Nonstick skillets, baking sheets with silicone mats, air fryers, and a good brush or sprayer for oil help me use very small amounts. A thermometer avoids overcooking and wasted fat.
Will cutting oil make food dry?
It can, but I prevent dryness by adding liquids (stock, citrus juice) and watching cooking time. I also add small amounts of healthy fats, like olive oil, at the end for mouthfeel.
Conclusion
I tested these tips in my own kitchen and found small changes add up fast. Swapping pans, using sprays, and trying air frying cut oil without losing flavor.
I recommend keeping simple tools on hand: a non-stick pan, an oil mister, and a good thermometer. These make it easier to use less oil consistently.
I suggest replacing some oil with broth, citrus, or yogurt when a recipe allows. That keeps food moist and lowers calories without strange flavors.
I track servings and habit changes to see progress. Measuring oil and noting results helped me keep dishes tasty while using less.
I encourage you to start with one change at a time. Try a week of stovetop swaps or oven-crisping and notice how your meals feel and taste.
Bold moves aren’t needed. Small, steady steps will help you cook healthier food that still satisfies.