What Does a Garlic Press Do Quick Easy Garlic Prep
A garlic press is a kitchen tool designed to crush and mince garlic cloves quickly and with minimal effort. With just a squeeze, it turns whole cloves into fine paste, perfect for seasoning dishes. Whether you’re cooking for one or prepping for a crowd, using a garlic press saves time and enhances flavor in every recipe.
Key Takeaways
- Crushes garlic instantly: A garlic press transforms whole cloves into finely minced paste with just one press, saving time and effort.
- Enhances flavor and aroma: Crushing garlic releases its essential oils, boosting the taste of sauces, marinades, and stir-fries.
- Reduces mess: Unlike traditional chopping, a garlic press keeps your hands and workspace cleaner by containing the garlic inside the tool.
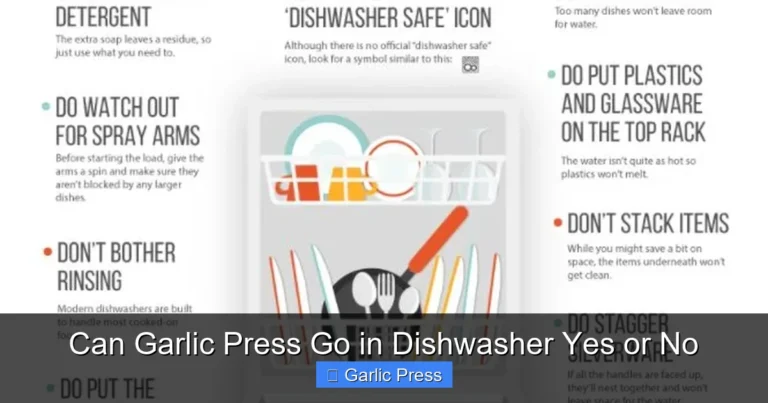
- Easy to clean: Most garlic presses are dishwasher-safe or can be disassembled for quick cleaning.
- Ideal for small quantities: Perfect for home cooks who use garlic regularly but don’t need large amounts at once.
- Improves consistency: Ensures even distribution of garlic flavor across your dish without over- or under-chopping.
- Versatile for other soft ingredients: Can be used for ginger, shallots, or herbs when adjusted properly.
What Does a Garlic Press Do? Quick Easy Garlic Prep
Have you ever been in the middle of cooking dinner, reaching for a clove of garlic, only to realize you’re dreading the next 20 minutes of chopping, peeling, and smashing? You’re not alone. Garlic is a kitchen staple—used in everything from pasta sauces to marinades and soups—but preparing it can be time-consuming and messy. That’s where the garlic press comes in. This simple yet powerful tool is designed to crush and mince garlic cloves with just a squeeze, turning a tedious task into a one-second job.
In this guide, we’ll explore exactly what a garlic press does, how it works, why it’s worth having in your kitchen, and how to use it like a pro. Whether you’re a beginner cook or a seasoned chef, you’ll learn how this handy gadget can simplify your meal prep and elevate your dishes. Let’s dive in!
Why Use a Garlic Press?
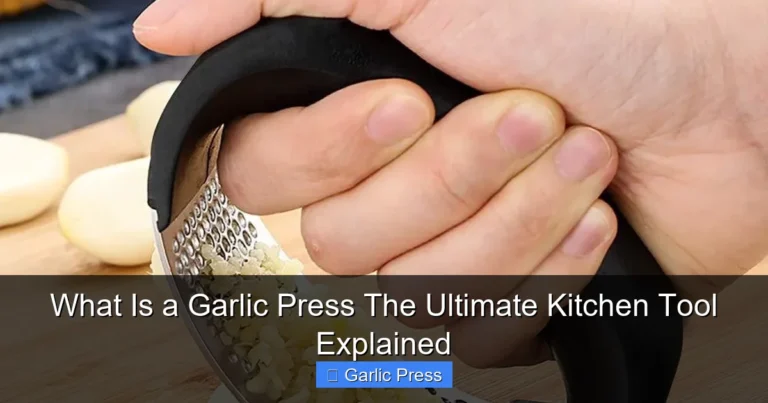
Garlic adds depth, aroma, and flavor to countless recipes. But peeling and mincing it by hand takes time and effort. A garlic press solves this problem by allowing you to process garlic in seconds. Instead of slicing or crushing cloves with a knife, you simply peel the clove, drop it into the press, and squeeze. The result? A smooth, evenly minced paste ready to mix into your dish.
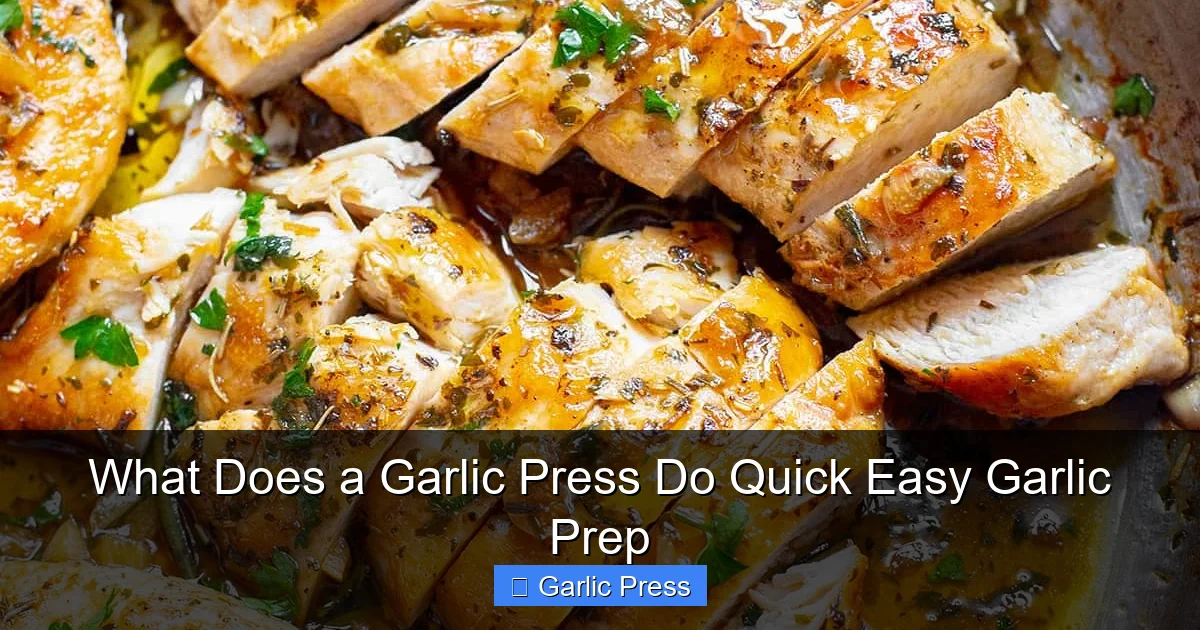
Visual guide about What Does a Garlic Press Do Quick Easy Garlic Prep
Image source: wholesomeyum.com
But the benefits don’t stop at speed. Using a garlic press also helps preserve the garlic’s natural oils and enzymes, which are released when the clove is crushed. This enhances the flavor and aroma of your food more effectively than chopping, which can sometimes dull the taste. Plus, because the press keeps the garlic contained, your hands stay clean and your workspace stays tidy.
Let’s break down the process step by step so you can start using your garlic press like a pro right away.
How to Use a Garlic Press: Step-by-Step Guide
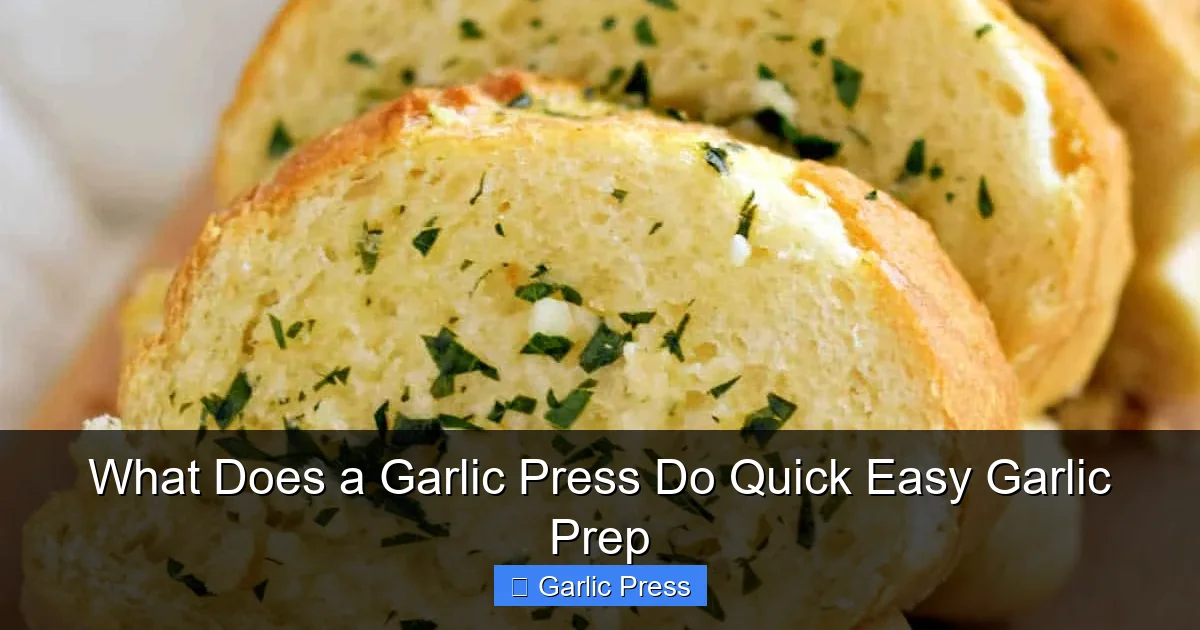
Step 1: Choose Fresh Garlic
Start with fresh garlic cloves. Look for plump, firm bulbs with papery, unbroken skin. Avoid cloves that are shriveled or soft—they won’t press well and may damage your tool.

Visual guide about What Does a Garlic Press Do Quick Easy Garlic Prep
Image source: thecomfortofcooking.com
Step 2: Peel the Garlic Clove
Peeling garlic can be tricky. To make it easier, try one of these methods:
- Knife method: Cut off the root end of the clove, place it on a cutting board, and press down with the flat side of a knife to crack the skin.
- Rubbing method: Peel the clove and rub it against a dry cutting board or your palm to loosen the skin.
- Microwave shortcut: Place a clove in the microwave for 5–10 seconds, then peel quickly.
Peeling just one or two cloves at a time is usually easier than peeling a whole head.
Step 3: Load the Garlic Press
Open the garlic press by squeezing the handles apart. Most models have a chamber where you place the peeled clove. Make sure the clove is fully inside and positioned over the pressing mechanism.
Step 4: Press and Release
Squeeze the handles firmly together. The internal blades will crush the garlic into a fine paste. Release the handles, and the paste will drop into the collection chamber or directly into your dish.
Step 5: Clean the Press
After use, disassemble the press (if possible) and rinse it under warm water. Use a small brush or toothpick to remove any garlic residue from the blades and chamber. Most parts are dishwasher-safe, but check the manufacturer’s instructions.
Types of Garlic Presses: Which One Is Right for You?
Not all garlic presses are created equal. There are several types on the market, each with its own advantages. Let’s explore the most common ones so you can choose the best one for your kitchen.
Visual guide about What Does a Garlic Press Do Quick Easy Garlic Prep
Image source: cookingwithcurls.com
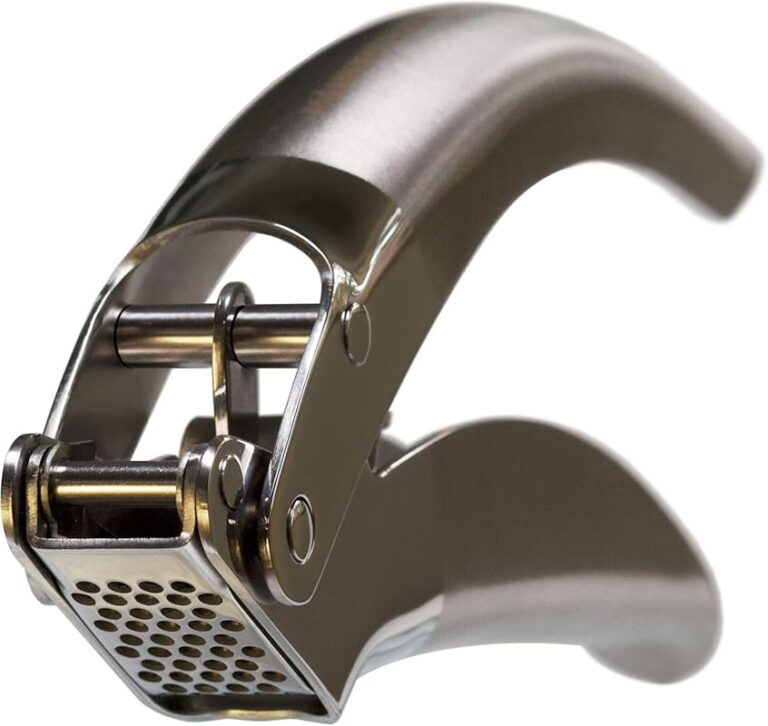
Manual Garlic Presses
These are the most common type—hand-powered and compact. They work by squeezing two handles together, which activates internal blades to crush the garlic. They’re affordable, easy to use, and take up little storage space. However, they can be difficult to clean if the mechanism is tightly sealed.
Electric Garlic Presses
For those who want maximum efficiency, electric presses are a game-changer. Simply insert the clove and press a button. They’re ideal for people with arthritis or limited hand strength. However, they’re more expensive and require batteries or a power source.
Garlic Crushers vs. Mincers
Some presses are designed to crush garlic (like a nutcracker), while others mince it (like a grater). Mincing presses produce a finer texture, which is better for sauces and dressings. Crushing presses are better for bold, chunky flavors in stews or roasts.
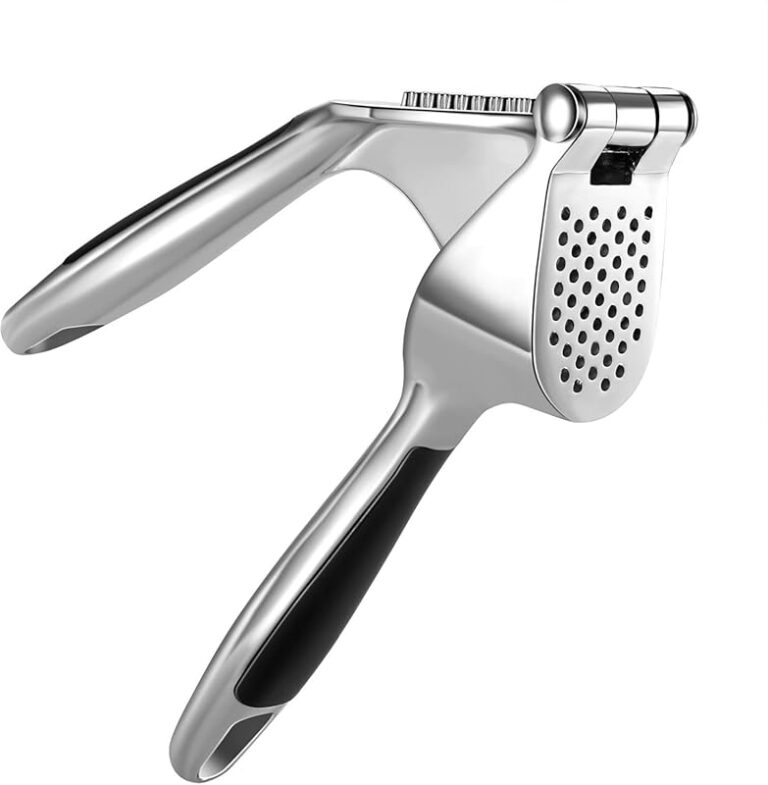
Stainless Steel vs. Plastic
Stainless steel presses are durable, rust-resistant, and easy to clean. Plastic models are lighter and cheaper but may wear out over time. Choose based on your budget and kitchen needs.
Benefits of Using a Garlic Press
Now that you know how a garlic press works, let’s talk about why it’s such a valuable tool in the kitchen.
1. Saves Time and Effort
Peeling and mincing garlic by hand can take 5–10 minutes for a single clove. A garlic press does it in under 10 seconds. This is especially helpful when you’re cooking multiple dishes or need garlic for a large meal.
2. Improves Flavor
Crushing garlic releases allicin, a compound responsible for its pungent, savory flavor. Chopping or slicing doesn’t release this compound as effectively, which means your food may taste milder.
3. Keeps Your Hands Clean
No more garlic-stained fingers! The press contains the garlic inside, so your hands stay clean and your workspace stays tidy.
4. Consistent Results
No more uneven chunks or mushy bits. A garlic press ensures every clove is processed the same way, giving your dish a uniform flavor.
5. Great for Small Batches
If you only need a little garlic for a recipe, the press is perfect. No need to peel and chop more than you need.
6. Easy to Clean
Most garlic presses come apart in a few pieces, making cleaning simple. Just rinse under water and dry thoroughly.
Common Mistakes and How to Avoid Them
Even the best tools can be misused. Here are some common mistakes people make when using a garlic press—and how to fix them.
Mistake 1: Using Too Much Garlic
Pressing too many cloves at once can clog the mechanism or make it harder to clean. Stick to one clove at a time for best results.
Mistake 2: Not Cleaning Immediately
Garlic residue dries and hardens, making it difficult to remove later. Clean your press right after use.
Mistake 3: Using Old or Dry Garlic
Dry or shriveled cloves are harder to press and may break the blades. Always use fresh garlic.
Mistake 4: Forcing the Handles
If the press doesn’t open easily, don’t force it. This can damage the spring or handle mechanism. Gently wiggle it or check for garlic buildup.
Mistake 5: Ignoring the Cleaning Brush
Most presses come with a small brush for cleaning. Use it to remove stubborn bits from the blades and chamber.
Tips for Getting the Most Out of Your Garlic Press
Want to use your garlic press like a pro? Try these tips to maximize efficiency and flavor.
Tip 1: Chill the Garlic
Refrigerating garlic for 15–30 minutes makes it firmer and easier to peel and press.
Tip 2: Use the Side Hole (If Available)
Some presses have a small hole on the side for adding oil or other ingredients while pressing. This is great for infusing garlic into oil for dressings or marinades.
Tip 3: Press After Cooking
For recipes where you want the garlic to mellow in flavor (like in sauces or soups), press the garlic just before adding it to the dish.
Tip 4: Store Garlic Press Properly
After cleaning, make sure the press is completely dry before storing. Moisture can cause rust on metal models.
Tip 5: Use for Other Ingredients
While designed for garlic, a garlic press can also handle soft ingredients like ginger, shallots, or herbs. Just be careful not to overfill.
Troubleshooting: Why Isn’t My Garlic Press Working?
If your garlic press isn’t working as well as it used to, don’t worry. Here are some common issues and how to fix them.
Problem: Garlic Sticks to the Blades
This usually happens if the press isn’t cleaned properly. Soak the disassembled parts in warm, soapy water for 10 minutes, then scrub with the cleaning brush.
Problem: Handles Won’t Open
This may be due to dried garlic residue or a stuck spring. Gently tap the press on the counter or use a small tool to loosen the mechanism.
Problem: Garlic Comes Out in Large Pieces
You may be using too much pressure or the blades are dull. Try pressing more slowly and firmly. If the blades are damaged, consider replacing the press.
Problem: Rust on Stainless Steel Models
Rust can form if the press isn’t dried properly. Clean with a vinegar solution (1 part vinegar to 3 parts water), rinse, and dry thoroughly.
Garlic Press vs. Garlic Grater: Which Is Better?
Some people prefer garlic graters—small tools with tiny holes that grate garlic into a paste. While they’re also fast and easy to clean, they have a few drawbacks compared to presses.
- Garlic Press: Crushes garlic, releasing more flavor. Works best with whole cloves. Can handle larger quantities.
- Garlic Grater: Grates garlic, creating a finer texture. Better for infusing oil or making pastes. Can be harder to clean.
For most home cooks, a garlic press offers the best balance of speed, flavor, and ease of use.
Garlic Press in Everyday Cooking
Garlic is used in so many recipes that having a press on hand makes cooking faster and more enjoyable. Here are some examples of when to use it:
- Pasta sauces: Add pressed garlic to olive oil and sauté for a rich base.
- Marinades: Mix pressed garlic with soy sauce, ginger, and sesame oil for a flavorful marinade.
- Salad dressings: Whisk pressed garlic into vinaigrettes for extra zing.
- Roasted vegetables: Toss broccoli or carrots with olive oil and pressed garlic before roasting.
- Garlic bread: Mix butter with pressed garlic and spread on bread before toasting.
Using a garlic press in these recipes ensures even distribution of flavor and saves you time during prep.
Can You Use a Garlic Press for Other Ingredients?
While the garlic press is designed for garlic, it can handle other soft ingredients—just with some adjustments.
- Ginger: Use fresh ginger, peeled and chopped into small pieces. Press gently to avoid clogging.
- Shallots: Small and soft, shallots work well in a garlic press. Press one at a time.
- Herbs: Basil, parsley, or chives can be pressed, but only use fresh, finely chopped leaves.
- Cheese: Hard cheeses like Parmesan can be pressed for a quick crumble.
Be cautious with fibrous or dry ingredients, as they may damage the blades or clog the mechanism.
Cleaning and Maintaining Your Garlic Press
Proper maintenance keeps your garlic press working smoothly and extends its lifespan. Follow these steps after each use:
- Disassemble: Take apart the press into its main components (handle, chamber, blades).
- Rinse: Rinse under warm water to remove loose garlic bits.
- Soak: Soak parts in warm, soapy water for 5–10 minutes if residue is stuck.
- Scrub: Use the cleaning brush or a toothpick to remove stubborn bits from the blades.
- Rinse and Dry: Rinse thoroughly and air-dry completely before storing.
For stainless steel models, avoid abrasive cleaners that can scratch the surface. Hand-washing is usually the safest option.
Final Thoughts: Is a Garlic Press Worth It?
If you use garlic regularly in your cooking, a garlic press is a small investment that pays off quickly. It saves time, improves flavor, and keeps your kitchen cleaner. Whether you’re making a quick weeknight dinner or preparing a gourmet meal, the press makes garlic prep effortless.
While some purists argue that pressing garlic doesn’t compare to chopping it by hand, the convenience and consistency a garlic press offers make it a favorite among home cooks. Plus, with so many styles and prices available, there’s a press for every budget and kitchen setup.
So the next time you reach for a clove of garlic, consider grabbing your press instead. You’ll be amazed at how much faster and easier meal prep can be.
🎥 Related Video: The Only Garlic Press You'll Ever Need #kitchengadget #garlicpress
📺 Unboxing Dad
Introducing the only garlic press you’ll ever need! Watch this review of the best garlic press for your kitchen. Say goodbye to …