Attaching a handle to a frying pan is a straightforward task that anyone can do at home with the right tools and knowledge. This guide will walk you through each step, from choosing the correct handle to securing it firmly, ensuring your frying pan is safe and comfortable to use.
Contents
- 1 Key Takeaways
- 2 How to Attach Handle to Frying Pan Easily and Securely
- 3 Understanding Frying Pan Handles
- 4 Tools and Materials Needed
- 5 Step-by-Step Guide to Attaching the Handle
- 6 Practical Tips for a Secure Handle Attachment
- 7 Troubleshooting Common Issues
- 8 Maintaining Your Frying Pan Handle
- 9 Conclusion
Key Takeaways
- Understanding handle types: Different frying pans require different handles, so knowing the type is essential before attachment.
- Gathering the right tools: Using the proper tools like screwdrivers, screws, and adhesives makes the process easier and more secure.
- Step-by-step attachment: Following a clear, methodical process ensures the handle is firmly attached and safe to use.
- Safety first: Securing the handle properly prevents accidents during cooking.
- Troubleshooting tips: Learn how to fix common issues like loose screws or incompatible handles.
- Maintenance advice: Regular checks can prolong the life of your frying pan’s handle.
How to Attach Handle to Frying Pan Easily and Securely
Welcome to your complete guide on how to attach a handle to a frying pan. Whether you have a brand-new pan without a handle or need to replace an old one, this guide will help you do it safely and effectively. You’ll learn about different handle types, the tools you need, step-by-step instructions, and tips for troubleshooting common issues. By the end, you’ll be able to attach a frying pan handle with confidence and ease.
Understanding Frying Pan Handles
Before you start, it’s important to understand the type of handle your frying pan requires. Handles come in different materials and attachment methods. Knowing this will make your task smoother and ensure a secure fit.
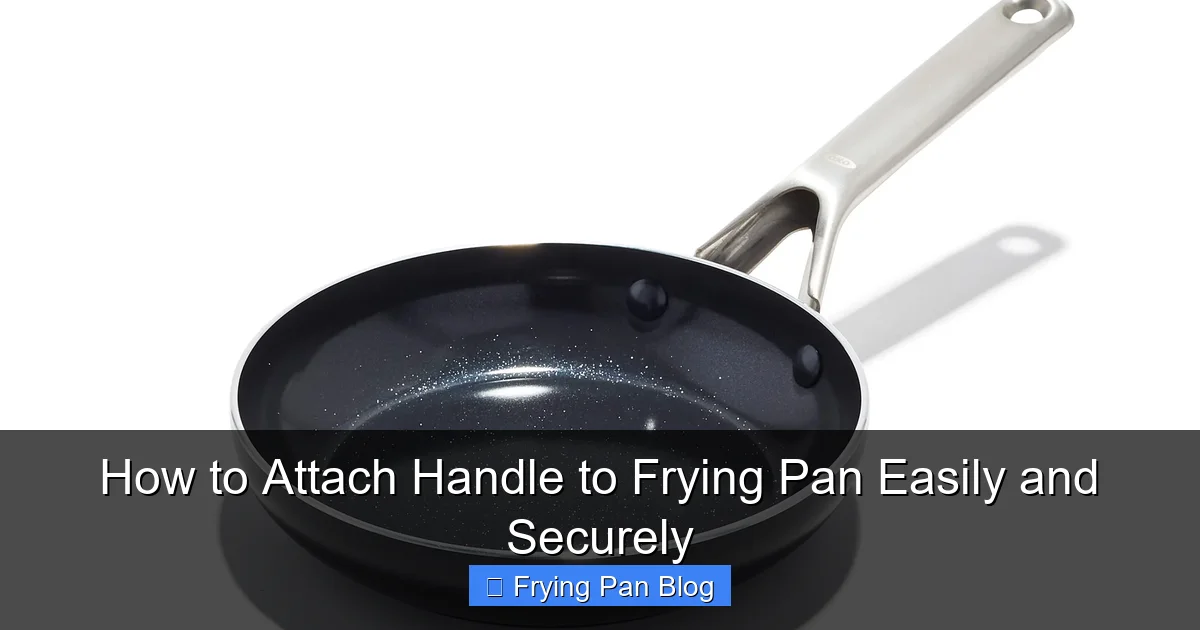
Visual guide about How to Attach Handle to Frying Pan Easily and Securely
Image source: static.slickdealscdn.com
Types of Handles
- Screw-On Handles: These are the most common and attach with screws through holes in the pan body.
- Riveted Handles: Permanently attached by rivets; usually not removable but can sometimes be replaced with professional help.
- Clamp or Clip-On Handles: These snap or clamp onto the pan and are often found on lightweight pans.
- Welded Handles: Permanently attached by welding; these are not replaceable at home.
For this guide, we will focus on screw-on and clamp-on handles as they are the most common and easy to attach yourself.
Tools and Materials Needed
Gather the following items before starting:
- Screwdriver set (typically Phillips and flathead)
- Replacement screws (if needed)
- Handle compatible with your frying pan
- Drill (optional, for pre-drilling holes)
- Thread locker (optional, to keep screws tight)
- Cleaning cloth and rubbing alcohol
- Protective gloves
Step-by-Step Guide to Attaching the Handle
Step 1: Remove the Old Handle (if applicable)
If you are replacing a broken or worn handle, start by removing the old one.
- Locate the screws or rivets holding the handle in place.
- Use the screwdriver to unscrew the screws carefully.
- For riveted handles, removal is more complex and may require professional tools.
- Once loose, gently pull the handle off the pan.
Step 2: Clean the Attachment Area
Before attaching the new handle, clean the area where it will connect.
- Use a cloth with rubbing alcohol to remove grease, dirt, and residue.
- Ensure the surface is dry to allow for a better fit.
Step 3: Align the New Handle
Place the new handle against the pan to check alignment.
- Match the holes on the handle with those on the pan.
- If holes are missing, you may need to drill pilot holes carefully.
Step 4: Attach the Handle Using Screws
Secure the handle firmly to the frying pan.
- Insert screws through the handle into the pan’s holes.
- Use the screwdriver to tighten screws evenly, alternating sides if there are multiple screws.
- Do not overtighten to avoid stripping the screws or damaging the pan.
- Optionally, apply a small amount of thread locker on screws for extra security.
Step 5: Test the Handle
Check the stability and comfort of the attached handle.
- Hold the pan by the handle and move it gently to test firmness.
- Make sure there is no wobbling or looseness.
- If loose, tighten screws further or check for alignment issues.
Practical Tips for a Secure Handle Attachment
- Match Handle Material: Choose a handle material that suits your pan and cooking style. Wooden handles stay cool but require care, while metal handles are durable but can get hot.
- Use Quality Screws: Using screws made of stainless steel or similar rust-resistant materials ensures durability.
- Regularly Check Tightness: Over time, screws may loosen. Periodically check and tighten to maintain safety.
- Avoid Over-Tightening: Excessive force can strip screws or damage the pan surface.
- Pre-Drill Holes if Needed: For pans without pre-drilled holes, carefully drilling pilot holes prevents the pan from cracking.
Troubleshooting Common Issues
Problem: Handle Feels Loose After Attachment
This usually means screws are not tight enough or stripped.
- Try tightening screws further.
- If screws strip, replace them with slightly larger screws or use thread inserts.
- Consider using thread locker for extra grip.
Problem: Screws Don’t Align with Pan Holes
This can happen with mismatched handles or pans.
- Double-check if the handle is designed for your pan model.
- If holes are missing, carefully drill pilot holes at the correct spots.
- Avoid forcing screws, which can damage the pan.
Problem: Handle Gets Too Hot During Cooking
This is common with metal handles.
- Use a silicone handle cover or oven mitts.
- Consider replacing with a wooden or heat-resistant handle.
Maintaining Your Frying Pan Handle
After attaching your handle securely, take care of it to extend its lifespan.
- Regularly check screws and tighten as needed.
- Clean the handle and attachment points to prevent rust or residue buildup.
- Avoid excessive moisture on wooden handles to prevent warping.
- Replace damaged handles promptly to maintain safety.
Conclusion
Attaching a handle to your frying pan is a simple task that improves safety and usability in the kitchen. By understanding the types of handles, using the right tools, and following our step-by-step guide, you can secure your frying pan handle easily and confidently. Remember to maintain your handle regularly and troubleshoot common problems to keep cooking enjoyable and safe. Happy cooking!
🎥 Related Video: How To Attach The Handle On Your New Pan Head Cookware Frying Pan
📺 Pan Head Cookware
In this video we show you just how simple and easy it is to attach the handle on your new Pan Head Cookware frying pan!