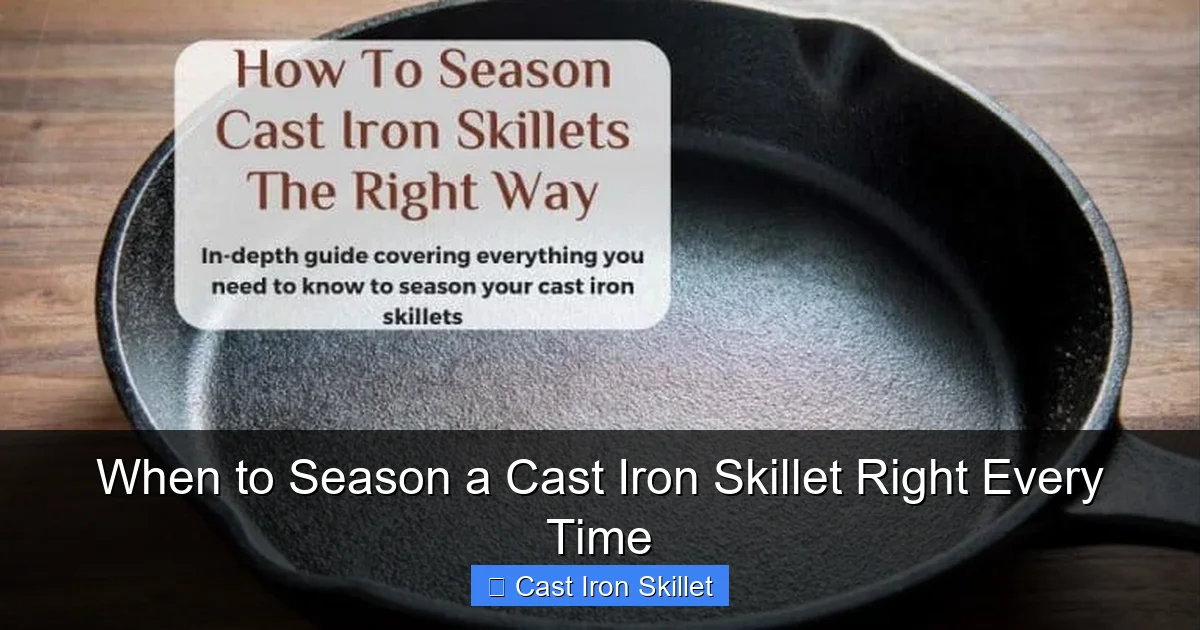
When to Season a Cast Iron Skillet Right Every Time
Seasoning your cast iron skillet at the right time is crucial for building a lasting non-stick surface and preventing rust. This guide reveals the exact moments your skillet needs seasoning, from initial setup to post-cooking maintenance. You’ll master the timing secrets that transform your cast iron from sticky and rusty to perfectly seasoned every single time.
Key Takeaways
- Season immediately after purchase – New skillets need initial seasoning before first use to create a protective layer
- Season after every wash – Always re-season when you clean with soap or water to maintain the oil polymer layer
- Watch for visual cues – Dull, dry, or rusty spots mean it’s time to season, regardless of usage frequency
- Season between high-acid cooking – After tomatoes or vinegar-based dishes, season to prevent metallic taste
- Monthly maintenance is essential – Even with light use, schedule a deep seasoning session monthly
- Store with seasoning – Always season before long-term storage to prevent moisture damage
- Use thin oil layers – Apply a light coat of high-smoke-point oil for best results, never a thick pool
[FEATURED_IMAGE_PLACEHOLDER]
When to Season a Cast Iron Skillet Right Every Time
You’ve got a beautiful cast iron skillet. Maybe it’s a family heirloom passed down for generations. Maybe it’s a brand-new piece fresh from the store. Either way, you know this pan could last forever if you just learn one crucial skill: when to season it properly.
Seasoning isn’t just something you do once and forget. It’s a rhythm. A timing dance that transforms your skillet from a simple piece of metal into a non-stick cooking miracle. Get the timing wrong, and you’ll end up with sticky, rusty, frustrating cookware. Get it right, and your cast iron will perform like a dream for decades.
In this guide, you’ll learn exactly when to season your cast iron skillet. No more guesswork. No more ruined pans. Just perfect timing every single time.
Understanding Cast Iron Seasoning: The Foundation
What Is Seasoning, Really?
Seasoning is the process of baking oil onto your cast iron skillet. The heat causes the oil to polymerize. This means the oil molecules bond together and form a hard, protective layer that sticks to the metal. Think of it as creating a natural non-stick surface that gets better with age.
Visual guide about When to Season a Cast Iron Skillet Right Every Time
Image source: desiredcuisine.com
But here’s the thing: this layer is fragile. It needs constant maintenance. You wouldn’t expect a car to run forever without oil changes. Your cast iron needs regular “oil changes” too.
Why Timing Matters So Much
Seasoning at the wrong time can actually damage your skillet. Season too often with too much oil, and you’ll get a sticky, gummy mess. Season too little or at the wrong intervals, and rust will attack your pan.
The key is reading your skillet’s signals. Your pan will tell you when it needs attention. You just need to know what to look for.
For more on preventing food from sticking, check out our guide on how to prevent food from sticking to pans.
Seven Clear Signs Your Skillet Needs Seasoning
1. Visual Dullness and Dryness
Run your hand across the cooking surface. If it feels dry and looks dull instead of slightly glossy, your seasoning has worn off. A well-seasoned skillet has a subtle sheen. When that disappears, it’s time to add another layer.

Visual guide about When to Season a Cast Iron Skillet Right Every Time
Image source: cdn.homecrux.com
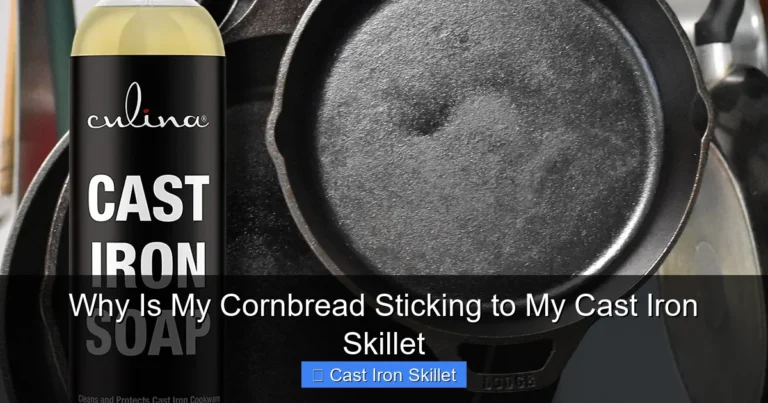
2. Food Starts Sticking
This is the most obvious sign. If your eggs are cemented to the pan or your pancakes tear apart, your seasoning has failed. A properly seasoned cast iron should release food with ease. When it doesn’t, you need to season immediately after cleaning.
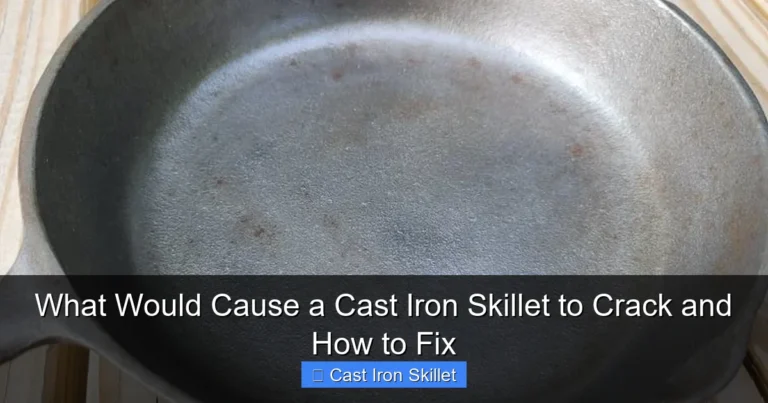
3. Rust Spots Appear
See any orange or brown spots? That’s rust. It means moisture got through your seasoning layer. You need to strip the rust and re-season right away. Small spots can be scrubbed off with steel wool, but you’ll need to season thoroughly afterward.
4. Metallic Taste in Food
Cooked a tomato sauce and it tasted metallic? That’s the iron leaching into your food because the seasoning layer is too thin. Acidic foods strip seasoning faster. After cooking anything acidic, inspect your pan. If the surface looks dull, season before your next use.
5. After Every Wash with Soap or Water
Even if your pan looks fine, washing with soap or water removes the oil layer. You must season after every single wash. Some people claim you should never use soap, but modern dish soaps are gentle. The real rule is: wash, dry, then season. Every time.
6. The Pan Feels Rough to Touch
A well-seasoned cast iron feels smooth like glass. If it feels rough or gritty, the seasoning has broken down. This often happens after cooking acidic foods or using metal utensils. Time for a fresh layer.
7. Monthly Maintenance Schedule
Even if you use your skillet daily and it looks great, schedule a deep seasoning session monthly. This is like preventive maintenance. It keeps the layers strong and prevents any small issues from becoming big problems.
The Perfect Timing Schedule for Seasoning
Initial Seasoning: Before First Use
Your very first step with a new skillet is seasoning. Most new pans come with a protective wax coating. You must remove this and apply your own seasoning layer before cooking anything.
Visual guide about When to Season a Cast Iron Skillet Right Every Time
Image source: allrecipes.com
Preheat your oven to 375°F. Wash the skillet with warm, soapy water to remove the wax. Dry it completely with a towel, then place it in the oven for 10 minutes to ensure no moisture remains. Apply a thin layer of oil and bake for one hour. This creates your foundation layer.
After Every Cooking Session
Here’s the golden rule: season after every use. But there’s a right way and a wrong way to do this.
Clean your pan while it’s still warm. Use minimal water and a stiff brush. Never let it soak. Dry it immediately and thoroughly over low heat on the stove. Then apply a tiny amount of oil and rub it with a paper towel. This quick seasoning maintains your layers between deep sessions.
Between Acidic Food Dishes
Tomatoes, wine, vinegar, citrus—these ingredients are seasoning killers. They strip the oil layer faster than anything else.
If you cook a tomato-based sauce or braise with wine, season your pan that same day. Don’t wait until tomorrow. The acid continues working even after cooking. A quick seasoning session protects your investment.
Before Long-Term Storage
going on vacation? Storing your skillet for a month or more? Season it before it goes into the cupboard.
Apply a slightly thicker layer than usual. This creates a protective barrier against moisture in the air. Store it with a paper towel inside to absorb any ambient humidity. Check it when you return, but this pre-storage seasoning prevents rust disasters.
When Switching Between Food Types
Used your pan for fish yesterday and want to cook pancakes today? The lingering fish smell might transfer to your breakfast. A quick seasoning session between different food types keeps flavors separate and maintains the seasoning layer.
This is especially important if you cook strong-smelling foods like garlic or onions. One 30-minute seasoning session refreshes the pan and eliminates odors.
What You Need for Perfect Seasoning
Choosing the Right Oil
Not all oils are created equal for seasoning. You need oils with high smoke points. These include:
- Flaxseed oil (creates a hard, durable layer)
- Vegetable shortening (traditional and reliable)
- Canola oil (affordable and effective)
- Grapeseed oil (light and neutral)
Avoid olive oil and butter. They have low smoke points and will smoke and burn, creating a sticky mess instead of a smooth seasoning layer.
Learn more about oil selection in our guide on what is olive oil and how to use it.
Essential Tools and Supplies
You’ll need:
- A clean, dry cast iron skillet
- Paper towels or lint-free cloths
- An oven
- A stovetop for drying
- Heat-resistant oven mitts
- Steel wool for rust removal
Keep everything ready before you start. Seasoning requires attention to timing. You don’t want to be searching for supplies in the middle of the process.
Step-by-Step Seasoning Process
Step 1: Clean Thoroughly
Start with a completely clean skillet. Scrub off all food particles. Use hot water and a brush. If needed, use a small amount of soap. The key is removing all debris before applying oil. Any leftover food will burn and ruin the seasoning layer.
Step 2: Dry Completely
This is critical. Water is the enemy of cast iron. Dry your skillet with a towel, then place it on low heat for 5-10 minutes. You should see no steam or moisture. Touch the surface—it should feel completely dry and slightly warm. Any moisture left will cause rust within hours.
Step 3: Apply Oil Correctly
Less is more. Pour a teaspoon of oil into your skillet. Use a paper towel to spread it across the entire surface—inside, outside, handle, everywhere. Then take a clean paper towel and wipe off all excess oil. Your pan should look almost dry with just a hint of shine. Too much oil creates a sticky, gummy layer.
Step 4: Bake Upside Down
Place your skillet upside down on the middle oven rack. Put a foil sheet on the bottom rack to catch any drips. Bake at 375°F for one hour. The upside-down position prevents oil from pooling in the cooking surface. This creates an even, smooth layer.
Step 5: Cool Naturally
After one hour, turn off the oven. Leave the skillet inside as the oven cools. This gradual cooling prevents thermal shock that could warp your pan. Let it cool for at least two hours, or until completely cold to the touch. Don’t rush this step.
Step 6: Store Properly
Once cool, store your skillet in a dry place. If stacking, place a paper towel between pans to prevent scratching. Never store with a lid sealed tight—air needs to circulate slightly to prevent moisture buildup.
Troubleshooting Common Seasoning Problems
Problem: Sticky, Gummy Residue
This happens when you use too much oil. The solution is simple: scrub off the sticky layer with steel wool and start over. Apply less oil next time. A sticky pan won’t become non-stick no matter how long you bake it.
Problem: Uneven Seasoning Patches
Sometimes seasoning doesn’t cover evenly. You’ll see dull spots next to shiny spots. This usually means you didn’t spread the oil thoroughly. Re-season focusing on those areas. Apply oil specifically to the dull spots and bake again.
Problem: Rust Spots After Seasoning
Rust means moisture got trapped. Maybe you didn’t dry the pan completely before oiling. Or maybe you stored it in a humid place. Scrub the rust with steel wool until you reach bare metal. Wash, dry, and season again. Check your storage location—it should be dry and well-ventilated.
Problem: Food Still Sticking After Seasoning
This could mean your seasoning layer isn’t thick enough yet. Season your pan 3-4 times in a row to build up multiple layers. Also check your cooking temperature. Cast iron needs to be properly preheated before adding food. A cold pan will stick regardless of seasoning.
Maintaining Your Seasoned Skillet Daily
Cleaning After Every Use
Clean while the pan is warm. Use hot water and a brush. Avoid soaking. Dry immediately and completely. Then apply a tiny bit of oil with a paper towel. This quick maintenance between deep seasoning sessions keeps your pan in perfect condition.
For tough stuck-on food, boil a little water in the pan to loosen it. Never use harsh detergents or abrasive scrubbers that strip the seasoning.
The Weekly Quick Seasoning
Once a week, give your pan a quick 15-minute seasoning session. Heat it on the stove for 5 minutes, apply a thin oil layer, then heat for another 5 minutes. This maintains the layers without the full oven process. It’s perfect for busy home cooks.
Monthly Deep Seasoning
Even with good maintenance, schedule a full oven seasoning monthly. This rebuilds any weak spots and ensures your pan stays in peak condition. Think of it as a tune-up for your favorite cooking tool.
If you’re looking to reduce oil in your cooking routine, our guide on how to reduce oil in everyday cooking offers smart techniques that work perfectly with cast iron.
Advanced Seasoning Techniques
Building Multiple Layers
For a truly non-stick surface, season your pan 5-6 times when new. Do one full oven seasoning session per day for a week. This builds up multiple polymerized layers that create a durable, restaurant-quality surface. It’s like painting a wall—multiple thin coats work better than one thick coat.
Temperature Variations
Some cooks prefer higher temperatures (450°F) for shorter times (30 minutes). Others swear by lower temperatures (325°F) for longer periods (90 minutes). Both work. The key is consistency. Find what works for your oven and stick with it. Don’t guess—use an oven thermometer to ensure accuracy.
Oil Layering Strategy
Want the ultimate seasoning? Alternate oil types. Use flaxseed for the first layer (it hardens like plastic), then canola for maintenance. Or start with shortening for a traditional base, then maintain with grapeseed oil. This creates a complex, durable surface that improves with age.
Seasoning for Special Situations
After Cooking Fish or Strong Odors
Fish, garlic, and onions leave lasting smells. If you notice lingering odors, season your pan immediately. The heat from seasoning burns off odor-causing compounds. One session eliminates smells and refreshes the seasoning layer.
When Moving to a New Home
Moving can expose your pan to humidity and temperature changes. Season before packing. Wrap the seasoned pan in a paper towel, then in bubble wrap. When you unpack, check for rust. Season again if needed before first use in your new kitchen.
Seasoning for Different Climates
Live in a humid area? You need to season more frequently. Humidity attacks cast iron constantly. Consider seasoning every two weeks instead of monthly. In dry climates, you might get away with seasoning every six weeks. Adjust based on your environment.
Common Mistakes That Ruin Your Timing
Waiting Too Long Between Seasoning
The biggest mistake is thinking “it looks fine, I’ll season next week.” Next week becomes next month. Rust develops quickly. Before you know it, you’re dealing with a rusty, ruined pan. Set a calendar reminder. Mark your seasoning schedule. Consistency beats perfection.
Seasoning When the Pan Is Dirty
Don’t season over food debris. It burns and creates a sticky mess. Always clean thoroughly before applying oil. Seasoning locks in whatever is on the surface. If there’s gunk, you’ll be cooking with gunk forever.
Using the Wrong Oil at the Wrong Time
Don’t use olive oil for oven seasoning. It will smoke and burn. Don’t use butter for maintenance—it goes rancid. Match your oil to the task. High-smoke-point oils for oven seasoning. Neutral oils for quick stovetop touch-ups.
For more cooking fundamentals, read about common cooking mistakes and how to avoid them.
Your Seasoning Schedule Cheat Sheet
New skillet: Season before first use, then 5-6 times over a week
Daily use: Quick oil after every wash
Weekly: 15-minute stovetop seasoning
Monthly: Full oven seasoning session
After acidic foods: Season immediately
Before storage: Season and wrap
In humid climates: Season every 2 weeks
When rust appears: Strip and re-season immediately
Print this list and tape it inside your cupboard. Follow it religiously, and your cast iron will reward you with decades of perfect cooking.
Conclusion: Master the Timing, Master Your Cast Iron
Seasoning a cast iron skillet isn’t complicated. It’s about timing. It’s about consistency. It’s about reading your pan’s signals and responding at the right moment.
Start with a good initial seasoning. Maintain with quick oil applications after every wash. Schedule monthly deep sessions. Watch for visual cues. Adjust for your climate and cooking style.
Your cast iron skillet is more than a pan. It’s a legacy piece. Treat it right with perfect timing, and it will cook your food better than any non-stick spray ever could. The secret isn’t in fancy techniques—it’s in knowing exactly when to season your cast iron skillet right every time.