how to cook a steak in a cast iron skillet perfectly
Discover the foolproof method for cooking a perfect steak in a cast iron skillet. This guide covers everything from selecting the right cut to achieving a beautiful crust while keeping the interior juicy. You’ll learn pro tips for temperature control, seasoning, and resting that guarantee mouthwatering results every single time.
Key Takeaways
- Patience is crucial: Allow your steak to come to room temperature and rest after cooking for even doneness.
- Preheating matters: A properly heated cast iron skillet is essential for a perfect sear and preventing sticking.
- Dry the surface: Moisture is the enemy of crust formation. Pat your steak completely dry before seasoning.
- Use the right oil: Choose high smoke point oils like avocado or vegetable oil for best results.
- Don’t overcrowd: Cook one steak at a time to maintain pan temperature and achieve optimal browning.
- Invest in a thermometer: Guessing doneness leads to overcooked steak. Use an instant-read thermometer for precision.
- Clean immediately: Proper cast iron care after cooking ensures your skillet stays in perfect condition.
How to Cook a Steak in a Cast Iron Skillet Perfectly
There’s something magical about a perfectly cooked steak. The crackling crust. The juicy, tender interior. The rich, beefy aroma that fills your kitchen. And the secret weapon behind this magic? A simple cast iron skillet.
Learning how to cook a steak in a cast iron skillet perfectly transforms ordinary weeknight dinners into extraordinary meals. Cast iron retains heat like nothing else, creating that coveted restaurant-quality sear that locks in flavor and juices. Plus, it’s incredibly versatile—you can start your steak on the stovetop and finish it in the oven for perfect edge-to-edge cooking.
In this comprehensive guide, you’ll master every step of the process. From choosing the right cut to resting your masterpiece, we’ll cover all the techniques that separate a good steak from a truly exceptional one. Whether you’re a beginner or a seasoned home cook, these tips will help you achieve consistent, mouthwatering results every single time.
Choosing Your Steak and Cast Iron Skillet
Best Cuts for Cast Iron Cooking
Not all steaks are created equal when it comes to pan cooking. The best cuts have good marbling and moderate thickness. Ribeye steaks deliver incredible flavor with their rich marbling. New York strip steaks offer a perfect balance of tenderness and beefy taste. Filet mignon provides luxurious tenderness, though it has less marbling. For budget-friendly options, top sirloin or flat iron steaks work beautifully.
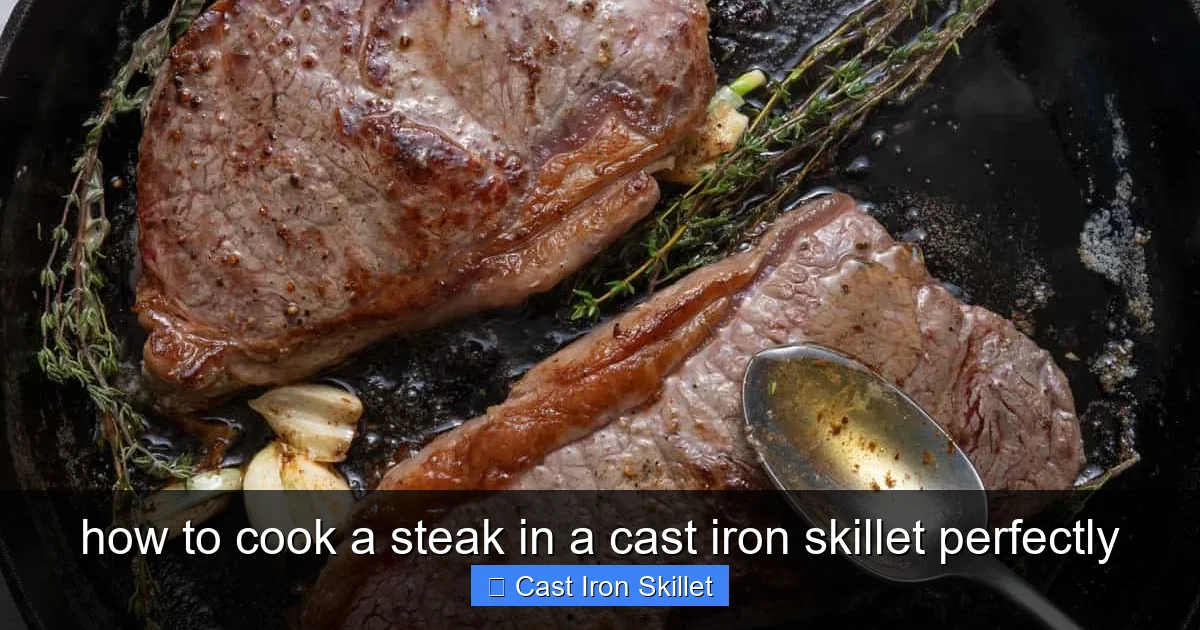
Visual guide about how to cook a steak in a cast iron skillet perfectly
Image source: feelgoodfoodie.net
Aim for steaks that are 1 to 1.5 inches thick. Thinner cuts overcook quickly in a hot cast iron pan. Thicker steaks give you more control over the cooking process and create a better crust-to-interior ratio.
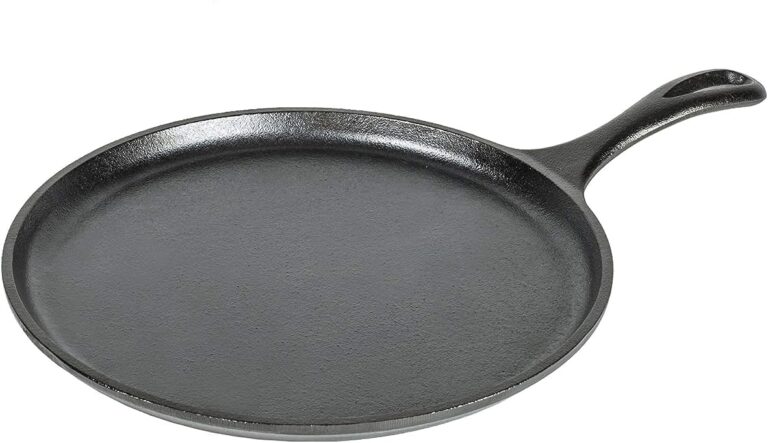
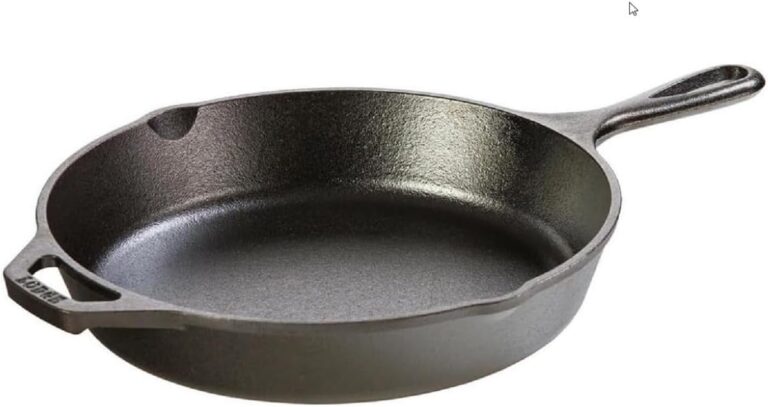
Selecting Your Cast Iron Skillet
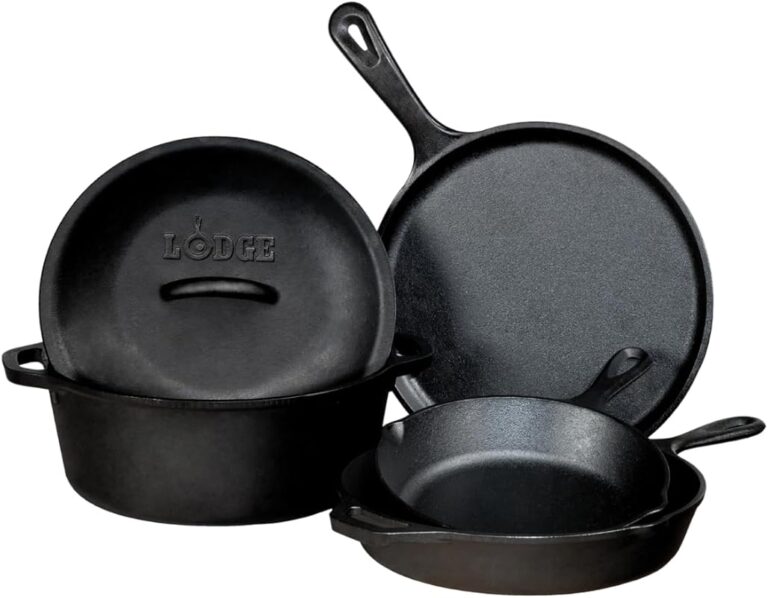
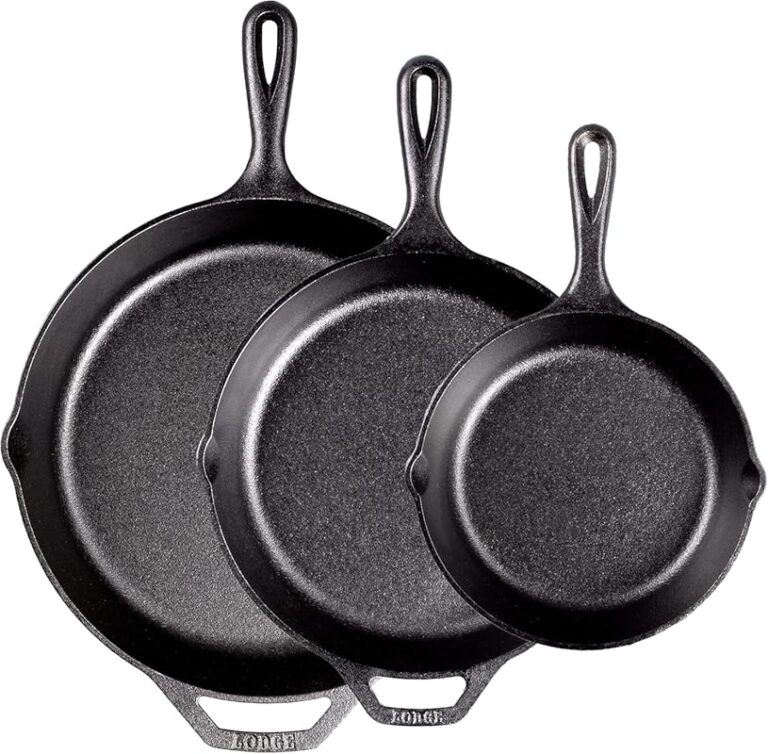
Any cast iron skillet works, but size matters. Choose a pan that comfortably fits your steak without crowding. An 8-inch skillet suits smaller cuts like filet mignon. A 10 to 12-inch skillet is ideal for most family-sized steaks. Lodge is the most common brand, but any well-seasoned cast iron pan will deliver excellent results.
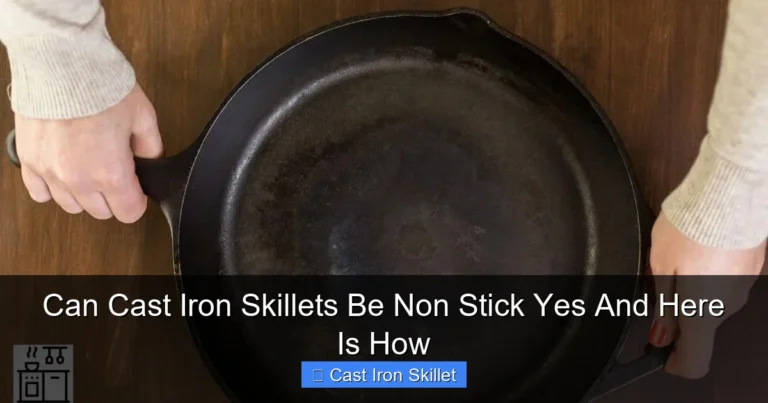
Check that your skillet has a smooth cooking surface. Older pans may have rough spots that can affect searing. If your pan is new, make sure it’s properly seasoned before cooking. A well-maintained cast iron skillet naturally non-stick and improves with age.
Preparing the Steak for Cooking
Bringing Steak to Room Temperature
Take your steak out of the refrigerator 30 to 45 minutes before cooking. Cold steak hitting a hot pan causes uneven cooking. The outside will overcook before the inside reaches the desired temperature. Room temperature steak cooks more evenly and achieves better browning.
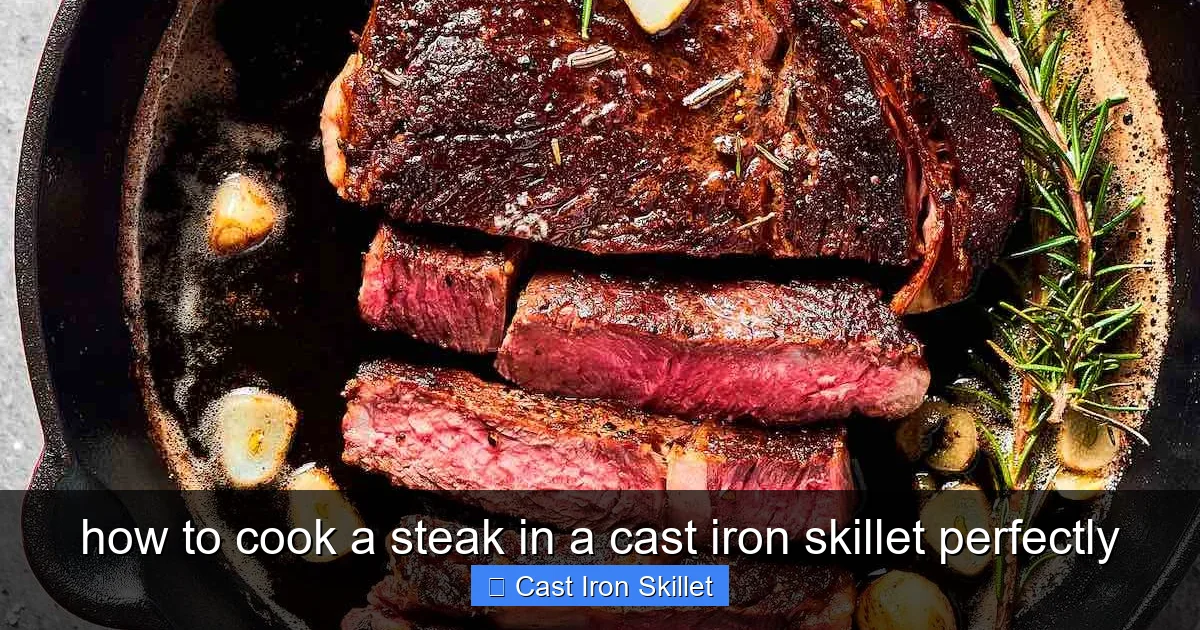
Visual guide about how to cook a steak in a cast iron skillet perfectly
Image source: thebigmansworld.com
Place the steak on a plate or cutting board. Let it sit at room temperature in a safe spot away from direct sunlight. This simple step makes a noticeable difference in the final texture and doneness.
Drying and Seasoning
Pat the steak completely dry with paper towels. Moisture creates steam, which prevents proper searing. The drier the surface, the better the crust. Don’t skip this step—it’s one of the most common mistakes home cooks make.
Season generously with coarse salt and freshly ground black pepper. Use about 1 teaspoon of salt per pound of steak. Season both sides and the edges. For extra flavor, add garlic powder or smoked paprika. Press the seasoning gently into the meat. Avoid using delicate herbs at this stage—they’ll burn in the high heat.
Preheating Your Cast Iron Skillet
Why Proper Preheating Is Essential
A properly preheated skillet is the foundation of a perfect steak. Cast iron needs time to heat evenly throughout. Placing steak in a lukewarm pan results in sticking, poor browning, and uneven cooking. The Maillard reaction—the chemical process that creates flavor—requires high heat to happen quickly.
Visual guide about how to cook a steak in a cast iron skillet perfectly
Image source: thespruceeats.com
Step-by-Step Preheating Process
Place your cast iron skillet on the stove over medium-high heat. Let it warm gradually for 5 to 7 minutes. Don’t rush this process. Cast iron gets extremely hot, and sudden temperature changes can warp thinner pans.
To test if the pan is ready, sprinkle a few drops of water in the center. If they dance and evaporate immediately, your pan is perfect. If they just sit there, keep heating. If they evaporate too quickly and leave a sticky residue, the pan is too hot—reduce the heat slightly.
While the pan heats, prepare your steak and oil. Have everything ready before the pan reaches temperature. Cast iron cools quickly when you add cold ingredients, so timing matters.
Cooking the Steak to Perfection
Choosing and Applying Oil
Select an oil with a high smoke point. Avocado oil, vegetable oil, and canola oil work best. Extra virgin olive oil burns at high temperatures and creates bitter flavors. Pour about 1 tablespoon of oil into the hot pan. Swirl to coat the bottom evenly.
Some chefs prefer to oil the steak instead of the pan. This method gives you more control. Lightly brush both sides of the steak with oil just before placing it in the pan. Either method works, but oiling the steak helps prevent a greasy film from forming in the pan.
Searing the First Side
Carefully place the steak in the center of the hot pan. Use tongs—never a fork, which pierces the meat and releases juices. Press down gently for 1 second to ensure full contact with the pan. Don’t press continuously—this squeezes out juices and dries out the steak.
Let the steak sear undisturbed for 2 to 4 minutes, depending on thickness. Resist the urge to peek. The steak will naturally release from the pan when it’s ready to flip. If you try to move it too soon, it will tear and stick. Look for a deep brown crust forming at the edges.
Flipping and Cooking the Second Side
Flip the steak using tongs. Some people prefer to give the pan a quick shake and catch the steak—this takes practice. For beginners, tongs are safer. Sear the second side for another 2 to 4 minutes. If your steak is thicker than 1 inch, sear the edges for 30 seconds each by holding it upright with tongs.
During cooking, you can add butter, garlic, and fresh herbs like thyme or rosemary. Add these after the first flip. Tilt the pan slightly and spoon the melted butter over the steak continuously for extra flavor and moisture. This technique, called basting, creates incredible depth of flavor.
Checking Internal Temperature
Use an instant-read meat thermometer to check doneness. Insert it into the thickest part, avoiding bone or fat. For rare steak, aim for 125°F. Medium-rare is 130-135°F. Medium reaches 140-145°F. Well-done hits 160°F and above. Remember, the temperature will rise 5°F during resting.
Check the temperature in the last minute of cooking. Don’t rely on timing alone—every steak is different. A thermometer takes the guesswork out and prevents overcooking. This is perhaps the most important tool in your steak-cooking arsenal.
Finishing in the Oven (Optional)
For steaks thicker than 1.5 inches, finish cooking in a preheated oven. Preheat your oven to 375°F. Transfer the seared steak to a baking sheet or oven-safe rack. Cook for 5 to 10 minutes until the desired internal temperature is reached. This method ensures even cooking throughout thick cuts.
Alternatively, you can place the entire cast iron skillet directly into the oven. Cast iron handles become extremely hot, so use an oven mitt. This one-pan method simplifies cleanup and maintains consistent heat distribution.
Resting and Serving Your Steak
The Critical Resting Period
Transfer the steak to a cutting board or warm plate. Tent loosely with aluminum foil. Let it rest for 5 to 10 minutes. This allows juices to redistribute throughout the meat. Cutting too soon causes all the flavorful juices to spill out, leaving the steak dry.
Resting is non-negotiable. Even a perfectly cooked steak will be tough and dry if you skip this step. The internal temperature continues to rise slightly during resting, so account for this when checking doneness. A well-rested steak is noticeably more tender and juicy.
Slicing and Serving
Slice against the grain for maximum tenderness. Look for the direction of muscle fibers and cut perpendicular to them. This shortens the fibers and makes the steak easier to chew. For most steaks, the grain runs parallel to the short side of the cut.
Serve immediately with your favorite sides. A baked potato, roasted vegetables, or simple salad complement steak beautifully. Drizzle with compound butter or a sprinkle of flaky sea salt for extra flavor. Leftovers store well in the refrigerator for up to 3 days.
Troubleshooting Common Problems
Steak Sticking to the Pan
If your steak sticks, the pan wasn’t hot enough or the steak wasn’t dry enough. Cast iron needs proper preheating. Always pat steak completely dry before seasoning. A well-seasoned pan also prevents sticking. If sticking happens, don’t panic—just let it cook longer. It will release naturally when ready.
To prevent sticking in the future, consider reading our guide on how to prevent food from sticking to pans. Proper pan maintenance makes all the difference.
Uneven Cooking
Uneven cooking usually means the steak started too cold or the pan wasn’t heated evenly. Always bring steak to room temperature. Preheat the pan for a full 5-7 minutes. If one side consistently cooks faster, rotate the pan occasionally during cooking for even heat distribution.
Thicker steaks benefit from oven finishing. This ensures the center cooks without burning the exterior. Use a meat thermometer to verify doneness in multiple spots if you suspect uneven cooking.
Excessive Smoke
Too much smoke indicates the pan is too hot or you used an oil with a low smoke point. Reduce the heat slightly. Ensure your kitchen is well-ventilated. Open windows and turn on the vent fan. Some smoke is normal, but thick, black smoke means you’re burning the oil.
Choose oils with high smoke points. Avocado oil smokes at 520°F, making it ideal for cast iron cooking. If smoke becomes overwhelming, remove the pan from heat temporarily and start over with a lower temperature.
Overcooked or Tough Steak
Overcooking is the most common mistake. Use a meat thermometer religiously. Remove steak from heat 5°F below the target temperature. Remember that resting adds 5°F. For medium-rare, pull at 130°F. Letting steak rest in a hot pan after cooking continues to cook it from residual heat.
Also, avoid pressing down on the steak while cooking. This squeezes out juices and dries out the meat. Use tongs instead of a fork to flip. Let the steak cook undisturbed for proper crust formation.
Underseasoned or Bland Flavor
Season generously. Most home cooks under-season their meat. Use coarse salt for better coverage. Season both sides and edges. Let the salt sit on the steak for 10-15 minutes before cooking—it draws out moisture that then dissolves the salt and gets reabsorbed, deepening the flavor.
For more flavor enhancement tips, check out our guide on how to improve cooking taste without extra salt. Basting with butter and herbs also adds tremendous flavor during cooking.
Pro Tips for Restaurant-Quality Results
Master Butter Basting
Butter basting creates an incredibly flavorful, restaurant-quality finish. After flipping the steak, add 2 tablespoons of butter, 2 garlic cloves (smashed), and fresh herbs to the pan. Tilt the pan toward you. Spoon the melting butter continuously over the steak for 1-2 minutes. This technique bastes the steak in rich, aromatic butter.
Use clarified butter if you want to avoid burning. Clarified butter has a higher smoke point than regular butter. You can also add a splash of Worcestershire sauce or a squeeze of lemon juice to the butter for extra complexity.
Use Flaky Salt for Finishing
Finish your steak with flaky sea salt like Maldon or Jacobsen. These salts have larger crystals that dissolve slowly on the tongue, providing bursts of flavor. Add the salt after resting, just before serving. It enhances without overpowering the natural beef flavor.
Freshly cracked black pepper also makes a great finishing touch. Add it after cooking to preserve its aromatic oils, which can burn during cooking.
Invest in Quality Tools
A good instant-read thermometer is essential. The Thermapen MK4 is the gold standard, but any reliable digital thermometer works. Long-handled tongs give you control and keep your hands away from intense heat. A cast iron handle cover protects your hands when moving the pan.
Consider a meat mallet for tenderizing tougher cuts. A sharp chef’s knife ensures clean cuts without tearing the meat. Quality tools make the process easier and more enjoyable.
Clean Your Skillet Properly
Clean your cast iron immediately after cooking while it’s still warm. Use hot water and a stiff brush or chainmail scrubber. Avoid soap if possible—modern soaps are fine, but traditionalists prefer to avoid it. Never soak cast iron or put it in the dishwasher.
Dry the skillet thoroughly with a towel, then place it on the stove over low heat for 1-2 minutes to evaporate any remaining moisture. Rub with a thin layer of oil while still warm. Proper care maintains the seasoning and prevents rust.
Conclusion
Mastering how to cook a steak in a cast iron skillet perfectly is a skill that will serve you for life. The process is simple but requires attention to detail. Proper preparation, patience with heating and resting, and using the right tools make all the difference between a good steak and an extraordinary one.
Remember that practice makes perfect. Don’t be discouraged if your first attempt isn’t flawless. Each time you cook, you’ll learn more about your pan, your heat source, and your preferences. Soon, you’ll be serving restaurant-quality steaks that impress family and friends. The versatility of cast iron means you can apply these techniques to other meats and dishes, making it one of the most valuable tools in your kitchen.