How to Bend Frying Pan Safely for Perfect Cooking Angles
How to Bend Frying Pan Safely for Perfect Cooking Angles teaches you the best methods to adjust your pan’s shape without damage. This guide covers tools, techniques, and safety tips to help you customize your frying pan for improved cooking angles and comfort.
Key Takeaways
- Purpose of bending: Adjusting the frying pan shape can improve cooking control and ergonomics.
- Material matters: Know your pan’s material to avoid damage during bending.
- Use proper tools: Heat, clamps, and padded surfaces help bend safely.
- Step-by-step process: Gradual and careful bending prevents cracks or warping.
- Safety first: Always wear gloves and protect your workspace.
- Test after bending: Ensure the pan’s stability and cooking effectiveness.
- Maintenance tips: Caring for your bent pan extends its life and functionality.
Introduction
Do you ever find yourself struggling to get the perfect cooking angle with your frying pan? Sometimes, a slightly bent pan can help you cook more evenly or fit better on your stove. In this guide, you will learn how to bend frying pan safely to achieve ideal cooking angles without ruining your pan. We’ll walk you through the materials, tools, and step-by-step instructions to make sure your pan stays in great shape while you customize it for your kitchen needs.
Understanding Why and When to Bend Your Frying Pan
Bending a frying pan isn’t a common kitchen task, but it can be useful. For example, you might want to:
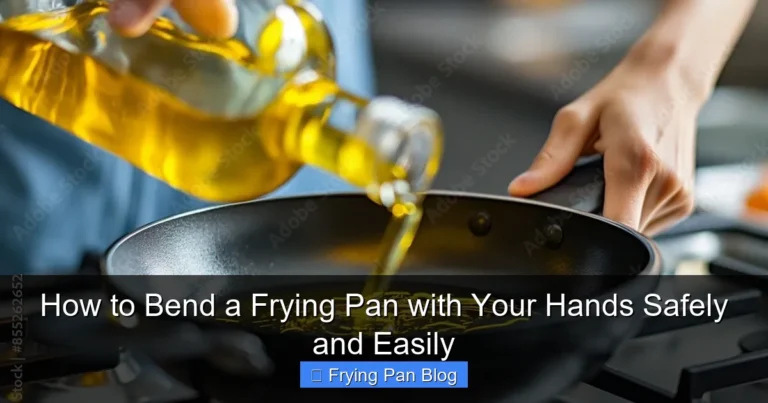
Visual guide about How to Bend Frying Pan Safely for Perfect Cooking Angles
Image source: c8.alamy.com
- Improve the pan’s angle for better heat distribution.
- Adjust the handle position for comfort and safety.
- Fix minor warping from previous use or accidents.
Before you start, it’s important to know whether your pan is suitable for bending.
Materials Suitable for Bending
Most pans made from softer metals like aluminum or thin stainless steel are easier to bend. Cast iron or thick steel pans are much harder to adjust without special equipment and risk of damage. If your pan has a non-stick coating, be careful not to crack or peel it during bending.
Gathering Your Tools and Safety Gear
To bend your frying pan safely, you will need some basic tools and safety equipment. Here’s a checklist:
Tools Needed
- Heat source (stove or heat gun)
- Protective gloves (heat-resistant)
- Bench vise or sturdy clamps
- Rubber or wooden mallet
- Soft padding (cloth or foam) to protect the pan surface
- Work surface (a sturdy table or workbench)
- Measuring tools (protractor or angle finder)
Safety Precautions
- Wear gloves to protect your hands from heat and sharp edges.
- Ensure your workspace is well-ventilated and clear of flammable materials.
- Use eye protection when applying force or heat.
- Take your time to avoid accidents and damage.
Preparing Your Frying Pan for Bending
Proper preparation is key to a successful bend. Follow these steps:
Step 1: Clean the Pan
Wash your frying pan thoroughly to remove grease, dirt, or food particles. Dry it completely before proceeding.
Step 2: Mark the Bend Area
Use a marker or tape to indicate where you want to bend the pan. It helps to measure the angle you want to achieve.
Step 3: Set Up Your Workspace
Place soft padding on your work surface to protect the pan. Secure the pan with clamps or a bench vise, making sure the marked bend area is accessible.
Step-by-Step Instructions to Bend Your Frying Pan
Step 1: Apply Heat to the Bend Area
Gently heat the area where you want to bend. Use a stove burner or heat gun to warm the metal. Heating makes the metal more pliable and reduces the risk of cracking. Avoid overheating as it can damage coatings.
Step 2: Begin Bending Slowly
Using your hands or a rubber mallet, gently start bending the pan along the marked line. Do this gradually to avoid sudden stress on the metal.
Step 3: Use Clamps for Support
If possible, clamp the pan securely to your work surface to control the bend. Apply steady pressure rather than sharp force.
Step 4: Check the Angle Frequently
Use your protractor or angle finder to monitor your progress. It’s better to bend a little at a time than to overbend and risk damage.
Step 5: Let the Pan Cool Down
Once you reach the desired angle, allow the pan to cool naturally. Avoid rapid cooling like water quenching, which can weaken the metal.
Practical Tips and Examples
- Example 1: Bending the handle upward can make flipping food easier and reduce wrist strain.
- Tip: If your pan has a non-stick surface, place a heat-resistant cloth between the clamp and pan to prevent scratches.
- Example 2: Slightly bending the base can improve stability on uneven stovetops.
- Tip: Practice bending on an old or inexpensive pan first to build confidence.
Troubleshooting Common Issues
Problem 1: Pan Warps Unevenly
If your pan bends unevenly, try reheating the problem area and gently correcting the angle in small increments.
Problem 2: Non-stick Coating Peels
Avoid overheating and applying excessive force near the coated surface. If peeling occurs, consider re-seasoning or replacing the pan.
Problem 3: Handle Feels Weak After Bending
If the handle feels loose, check for cracks or breaks. Reinforce with a clamp or replace if necessary for safety.
Maintaining Your Bent Frying Pan
After bending, maintain your pan by cleaning it gently and avoiding harsh scrubbing that might worsen bends or scratches. Store it carefully to prevent accidental drops or knocks that could undo your work.
Conclusion
Bending your frying pan safely can greatly improve your cooking experience by offering better angles and comfort. With the right tools, careful preparation, and patience, you can customize your pan without damaging it. Remember to prioritize safety throughout the process and test your pan after bending to ensure it performs well. Happy cooking!
🎥 Related Video: How to Flip Food in a Pan Like a PRO | Chef Skills
📺 Ben Goshawk
FOLLOW ME: Instagram: https://www.instagram.com/benjamingoshawk/ TikTok: https://www.tiktok.com/@benjamingoshawk.