How to Prevent Food From Sticking to Pans: Expert Techniques for Nonstick Cooking and Care
You’ll stop scraps of chicken and sticky eggs with a few clear habits and the right pan. I wrote this because I cook, test tips, and want your pots and pans to work for you — Emma Reed. Use the correct pan, preheat it properly, and add the right amount of fat at the right time to keep food from sticking.
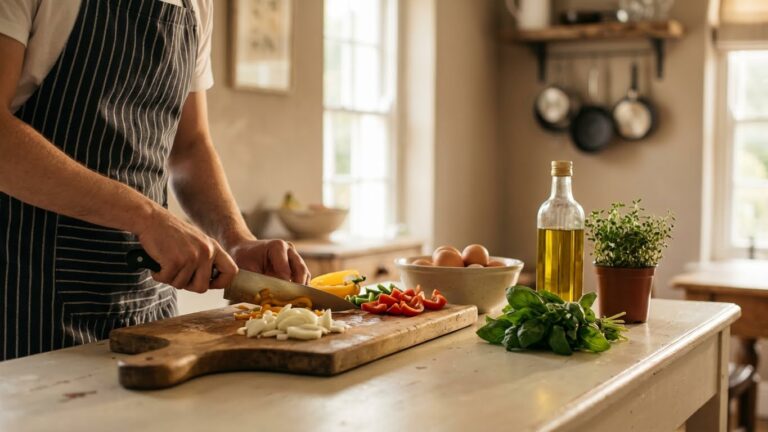
I’ll show simple steps you can use now: how to pick the best pan, how hot it should be, what oil to choose, and small fixes when things go wrong. You’ll get practical actions you can try the next time you cook so food slides free instead of tearing or burning.
Key Takeaways
- Pick the right pan and heat it to the right temperature before adding food.
- Use an appropriate fat and timing to create a smooth cooking surface.
- Keep pans clean and well-maintained to prevent sticking over time.
Understanding Why Food Sticks to Pans

I explain the main reasons food clings to cookware and how the food type and pan material change the problem. Knowing these specifics helps you pick the right heat, oil, and pan for each dish.
Common Causes of Sticking
Sticking often starts when protein or starch molecules bond to the pan surface during heating. For example, egg whites and fish proteins coagulate and latch onto metal if the pan is too cool or too hot.
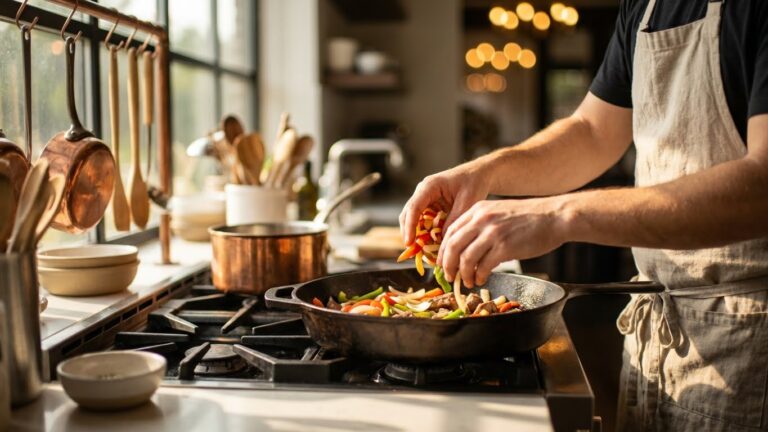
Moisture plays a big role. Water on the food or in the pan creates steam that can lift food — but if the surface dries unevenly, parts will stick. Overcrowding the pan drops temperature and increases sticking, because food releases moisture and never gets a proper sear.
Insufficient fat or the wrong timing for adding oil causes binding, too. I preheat the pan, add oil, then lay the food in; that sequence forms a thin barrier that keeps food from contacting raw metal.
Types of Food Prone to Sticking
Delicate proteins like eggs, fish, and skinless chicken stick easily. Their soft tissues break and bond to hot metal during the first contact.
Starchy foods — rice, potatoes, and sticky sauces — also cling. Starch gelatinizes and creates a glue-like layer unless you use enough liquid or fat and stir at the right times.
Sugary or acidic items, such as glazes and tomato-based sauces, caramelize or bite into certain coatings. They can break down non-stick finishes or glue themselves to rough surfaces if not cooked on low-to-medium heat.
Impact of Pan Material
Non-stick pans (Teflon, ceramic) reduce sticking by giving a smooth surface. They still fail if overheated or scratched, so keep heat moderate and avoid metal tools.
Stainless steel needs higher heat and more oil to prevent sticking. It browns food well once a proper fond forms, but the first few minutes are crucial to avoid bonding.
Cast iron and carbon steel develop a seasoning layer that acts like natural non-stick if you maintain it. They handle high heat and searing better, but they require regular oiling and correct cleaning to keep the seasoning intact.
Choosing the Right Pan
I pick pans based on what I plan to cook and how much care I want to give them. Material, heat response, and maintenance matter most.
Nonstick vs. Stainless Steel
I choose nonstick for eggs, pancakes, and delicate fish because food releases easily and cleanup is fast. Use nonstick pans on medium to low heat; high heat can damage the coating. Replace a scratched or peeling nonstick pan—scratches reduce performance and may shed particles. I use silicone, wooden, or plastic tools to protect the surface.
I use stainless steel when I want browning and a fond for pan sauces. To prevent sticking, I preheat the pan until a few drops of water dance, then add oil and wait until it shimmers. Stainless steel tolerates high heat and metal utensils, but it needs more attention: don’t overcrowd the pan and give food time to form a crust before flipping.
Cast Iron Benefits
I rely on cast iron for searing steaks, roasting vegetables, and baking cornbread. When well-seasoned, cast iron develops a natural nonstick layer from polymerized oil that improves with use. Heat it slowly and evenly on the stove or in the oven to avoid hot spots and to protect the seasoning.
Clean cast iron with hot water and a brush; avoid soap or soak sparingly to preserve seasoning. After drying, I rub a thin layer of oil on the surface to prevent rust. Cast iron is heavy and needs care, but its durability and even heat make it worth the effort for high-heat cooking.
Ceramic and Other Alternatives
I use ceramic-coated pans when I want a chemical-free nonstick option. Ceramic works well for low-to-medium heat cooking, but the coating can wear faster than traditional nonstick. Treat ceramic like nonstick: use moderate heat and soft utensils to extend its life.
Other options include enameled cast iron and anodized aluminum. Enameled cast iron combines heat retention with easier cleaning, though it’s heavier and pricier. Anodized aluminum heats quickly and resists scratching, offering a middle ground between stainless steel and nonstick. Choose based on the foods you cook and how much upkeep you want.
Proper Pan Preparation
I focus on three things that stop food from sticking: the right pan temperature, the correct amount and timing of fat, and keeping cookware well-seasoned. Each step affects how food releases and how clean the pan stays.
How to Preheat Your Pan
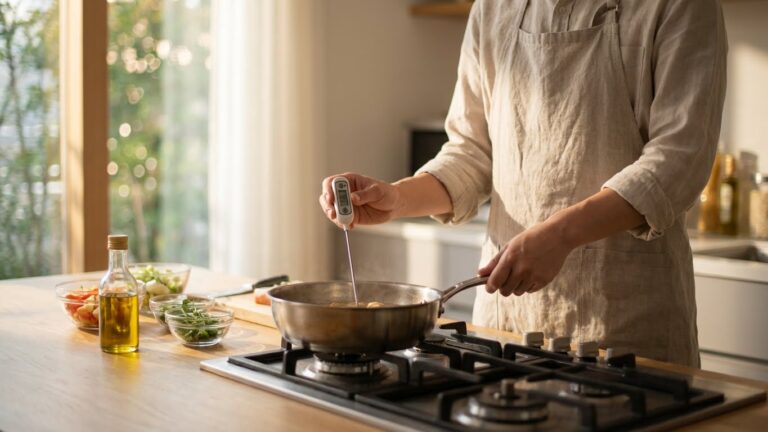
I heat the pan over medium or medium-high heat for 1–3 minutes depending on size and stovetop power. For stainless steel, I do the water-drop test: a few drops should form tight beads that roll around the surface. If they sizzle and evaporate instantly, the pan is too hot.
Use this timing as a guide: small pans on gas need less time; large pans on electric need more. Preheating evens the metal’s temperature so food cooks quickly and forms a proper sear. I avoid crowding the pan because cold ingredients drop the surface temperature and cause sticking.
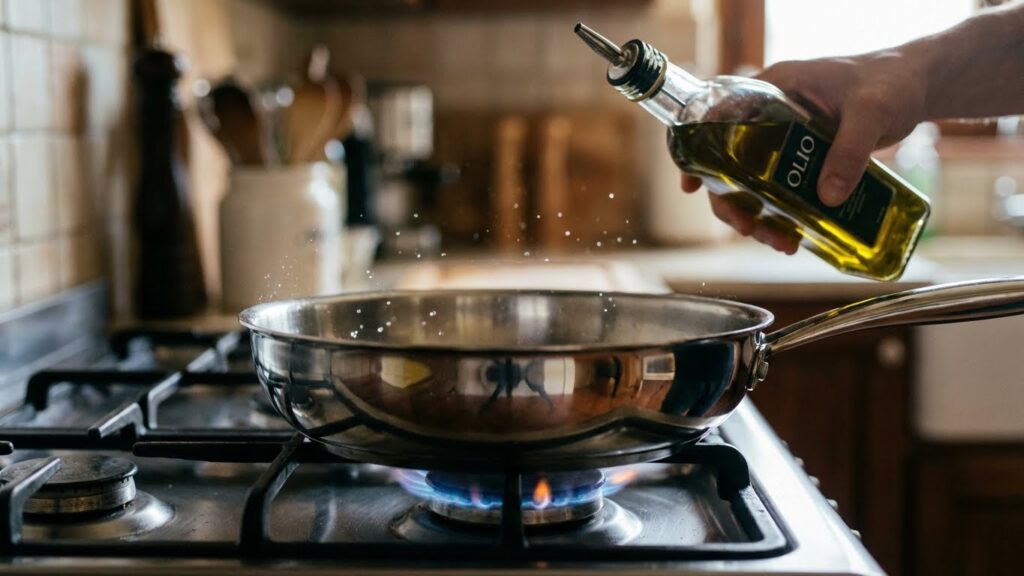
Applying Oil or Fat Correctly
I add oil after preheating and give it 10–20 seconds to thin and shimmer before adding food. Use oils with a higher smoke point for searing (canola, grapeseed, or refined avocado). For delicate foods, a tablespoon of butter plus a splash of oil prevents burning.
Measure fat: about 1–2 teaspoons for vegetables in a 10–12 inch pan, and 1–2 tablespoons for meat to ensure coverage. If food releases easily after a minute or two, it’s ready to flip. If it sticks, wait a bit longer; proteins often free up once the sear sets.
Seasoning Techniques for Cookware
I season carbon steel and cast iron to build a natural nonstick layer. Clean the pan, dry it, rub a thin coat of high-smoke-point oil, and heat it in the oven or on the stovetop until the oil polymerizes. Repeat this 2–3 times for a durable surface.
For stainless steel, I don’t “season” in the same way, but I do maintain it by polishing and avoiding harsh scrubbing that removes the factory finish. If sticky residue builds up, I use a paste of baking soda and water or a vinegar soak to restore smoothness. For guidance on seasoning cast iron and carbon steel, I follow instructions from the USDA and trusted sources like the Cook’s Illustrated methods pages.
Mastering Cooking Techniques
I focus on three main things: heat control, moisture management, and patience. These keep food from bonding to the pan and help foods release cleanly when ready.
Temperature Control
I always preheat the pan before adding oil or food. Heat the pan for 1–3 minutes on medium for stainless steel and cast iron; you want an even, steady heat, not a roaring flame.
I use the water droplet test for cast iron and stainless steel: a bead should dance and glide. For non-stick pans, I heat only briefly and avoid high heat to protect the coating.
When searing meats, I raise heat just before adding the meat and then lower it slightly once the crust forms. Vegetables often do better at medium heat to avoid burning while allowing natural sugars to caramelize.
Understanding Moisture and Surface Contact
I dry proteins and vegetables with a paper towel before cooking. Less surface moisture reduces steaming and lowers the chance of sticking.
I add a thin, even layer of oil once the pan is hot. The oil fills tiny surface gaps and creates a barrier between food and metal. Use oils with appropriate smoke points: avocado or grapeseed for high heat, olive for medium.
I avoid overcrowding the pan. Food needs space so steam can escape and surfaces can brown. If pieces touch too much, they trap moisture and stick together.
Importance of Patience While Cooking
I resist flipping or moving food too soon. For seared meats and fish, wait until a natural crust forms; resistance when lifting means it isn’t ready. That crust releases cleanly when properly formed.
I let the pan and oil reach the right temperature before adding food. Rushing causes uneven contact and sticking. After adding food, I watch closely but move pieces only when they release easily.
When food finishes, I remove it promptly to stop carryover cooking and prevent residue buildup. Slowing down and timing each step prevents frustration and keeps pans cleaner.
Selecting and Using Fats and Oils
I focus on choosing fats that form a real barrier between food and pan and on using the right amount at the right time. Small details like oil type, how much I use, and when I add it change whether food releases cleanly.
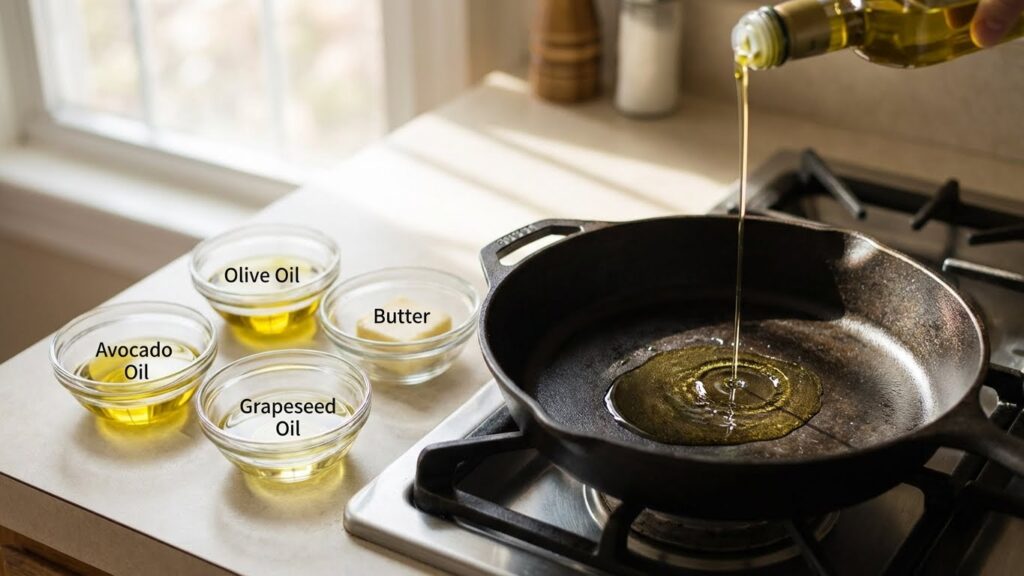
Best Oils for Preventing Sticking
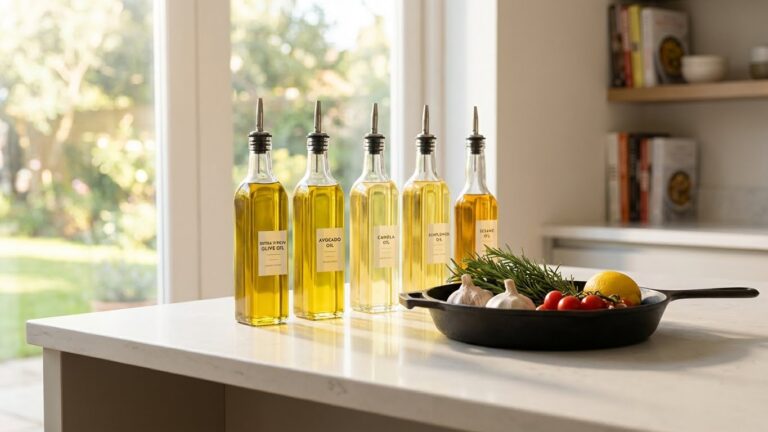
I pick oils that match cooking temperature and flavor. For high-heat searing I use avocado oil or refined peanut oil because they handle heat and give a thin, even layer. For medium-heat sautés I often choose light olive oil or grapeseed oil; they heat quickly and have mild flavors. For low-heat cooking and finishing I use butter or extra-virgin olive oil to add flavor, but I add them later to avoid burning.
I aim to coat the entire cooking surface with a thin layer. Too little oil leaves dry spots where food bonds. Too much oil causes splatter and soggy food. I also avoid old or rancid oils; they smoke earlier and can ruin the pan surface.
Smoke Points and Their Importance
I check an oil’s smoke point to prevent burning and sticking. Smoke point is the temperature where oil breaks down, smokes, and loses its non-stick function. If oil smokes, it no longer protects the food and can make food stick.
Use high smoke-point oils (avocado, refined safflower, refined peanut) for searing and frying above 400°F (204°C). Use medium smoke-point oils (light olive, grapeseed) for stovetop sautés near 325–400°F (163–204°C). Reserve butter and extra-virgin olive oil for low heat or for finishing after cooking.
Proper Cleaning and Maintenance
I keep pans usable and nonstick by cleaning them the right way, removing residue, and re-seasoning when needed. Small habits after each use prevent buildup and extend the life of my cookware.
Cleaning Methods for Different Pans
For nonstick pans, I wash with warm water and a soft sponge. I avoid abrasive pads and metal utensils that chip the coating. Use mild dish soap and hand-wash; most nonstick pans don’t need the dishwasher.
For stainless steel, I soak with hot soapy water if food is stuck, then scrub with a nylon pad or a paste of baking soda and water for stuck spots. I preheat the pan and add oil when cooking to reduce sticking later.
For cast iron and carbon steel, I clean with hot water and a stiff brush right after use. I avoid soap when the pan is well-seasoned. If food clings, I boil a bit of water to lift residue, then dry thoroughly and apply a light coat of oil.
Avoiding Residue Buildup
I remove food residue before it hardens by soaking pans within 30 minutes of cooking. For grease and carbonized bits, I use a paste of baking soda and water or white vinegar to loosen deposits. A plastic scraper or wooden spatula helps lift stubborn residue without scratching surfaces.
I dry pans immediately to stop rust on cast iron and to protect nonstick layers. For occasional heavy grime, I simmer equal parts water and vinegar for a few minutes in stainless steel pans, then wash normally.
I avoid automatic dishwashers for nonstick and seasoned pans, since high heat and detergent degrade coatings and seasoning over time (see EPA guidance on dishwasher safety for cookware).
Re-Seasoning Your Cookware
When a cast iron or carbon steel pan looks dull or food starts to stick, I re-season it. I scrub off rust or loose bits, dry the pan, then rub a thin layer of high-smoke-point oil (flaxseed, canola, or grapeseed) over all surfaces. I bake the pan upside down in a 450°F oven for one hour, placing foil below to catch drips.
For stainless steel, I restore a smoother surface by polishing with a nonabrasive cleaner and then oiling lightly after drying. If a nonstick pan loses its release permanently, I replace it rather than attempt to recoat at home.
I follow manufacturer instructions when available and consult sources like the Smithsonian or Cook’s Illustrated for detailed seasoning and care techniques.
Tips for Cooking Specific Foods

I focus on heat control, surface prep, and timing to keep food from sticking. Small changes—like drying ingredients, using the right fat, and waiting for proper sear—make the biggest difference.
Protein Cooking Tips
I dry meat and fish with paper towels before seasoning. Moisture lets proteins steam and stick, so patting dry helps the surface brown and release.
I preheat the pan until it’s hot but not smoking. For stainless steel, I test with a few drops of water—if they dance, the pan is ready. Add oil, swirl to coat, then place protein away from you to avoid splatter.
I leave food undisturbed for the first few minutes. A proper sear forms a crust that releases naturally. For thin pieces, cook quickly over medium-high heat; for thicker cuts, sear then finish in the oven.
I use tongs or a spatula appropriate to the pan. Avoid metal on nonstick. Rest meat on a rack after cooking to let juices redistribute; cutting too soon can tear the crust.
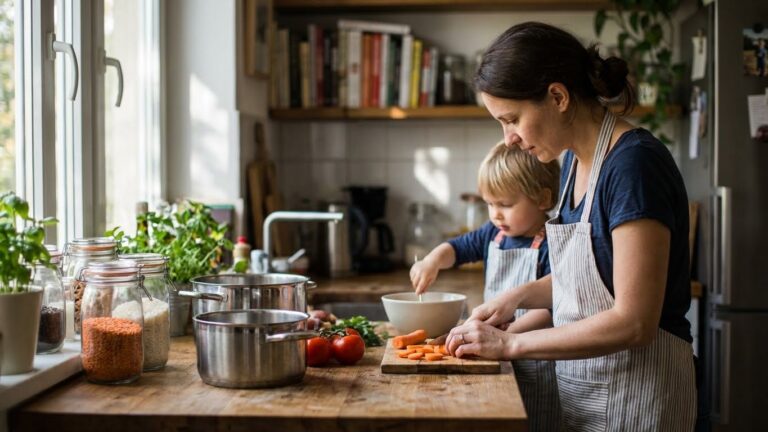
Vegetable Preparation Advice
I dry vegetables after washing; excess water causes sticking and soggy texture. Chop pieces to uniform size so they cook evenly and need less flipping.
I pick the right fat and temperature. High-smoke oils (grapeseed, avocado) work for high heat; olive oil suits medium heat. Add oil to a hot pan, then add vegetables in a single layer.
I avoid overcrowding. Crowded pans trap steam and cause sticking. Cook in batches if needed. For stir-fries, cut veggies small and cook on high with quick tossing.
I finish with acid or butter to boost flavor and help release any bits that cling to the pan. Scrape fond with a wooden spatula while deglazing for easy cleanup.
Eggs and Pancake Strategies
I use a nonstick or well-seasoned pan for eggs and pancakes. For eggs, medium-low heat and a little butter or oil give gentle cooking and easy release.
I heat the fat until it shimmers, then pour in beaten eggs or batter. For fried eggs, I cover the pan briefly to set whites without overcooking. For pancakes, I wait until small bubbles form before flipping.
I use a thin, flexible spatula to slide under eggs or pancakes. Flip once for pancakes; flip only when edges look set. If eggs stick, lower the heat next time and add a touch more fat.
Troubleshooting and Fixes
If food starts to stick, I first check the pan type and its surface. Non-stick coatings wear out; scratched Teflon or ceramic needs replacing. For stainless steel and cast iron, heat and oil matter more than the pan itself.
I use these quick checks to find the cause:
- Pan too cold? Heat it longer until a drop of water skitters.
- Not enough oil? Add a thin layer and swirl to coat.
- Food too wet? Pat proteins and vegetables dry before cooking.
When eggs or pancakes stick, I lower the heat slightly and add a bit more fat. I avoid cooking sprays on non-stick; they can leave residues that make sticking worse over time. For sugary foods, I cook at lower heat and stir often.
If residue builds up, I deep-clean the pan. For stainless steel I simmer water and baking soda, then scrub gently. For cast iron I reseason after cleaning and drying. I never soak cast iron for long or put it in the dishwasher.
Use this small table to decide action quickly:
| Problem | Quick Fix |
|---|---|
| Non-stick scratched | Replace pan |
| Food sticks right away | Preheat pan, add oil |
| Protein sticks and tears | Dry protein, don’t flip too soon |
| Sticky residue | Clean with baking soda or reseason cast iron |
I keep pans in good shape by storing them carefully and avoiding metal utensils on coated surfaces. Small habits prevent most sticking issues.
FAQs
Q: How do I stop food from sticking to stainless steel pans?
I preheat the pan until it’s hot but not smoking. Then I add oil and wait a few seconds before adding food so a thin barrier forms.
Q: Can I use non-stick spray on non-stick pans?
I avoid aerosol sprays on non-stick surfaces because they can build residue. I prefer a small amount of oil or a brush-on oil for even coverage.
Q: What temperature should I cook at to prevent sticking?
I cook at medium to medium-high for most searing and sautéing. Too low makes food cling; too high can burn oil and damage coatings.
Q: Is pan type important?
Yes. I use cast iron for even heat and a natural release once it’s well-seasoned. I use stainless for browning when I control heat and oil carefully.
Q: How do I handle wet or frozen food?
I pat items dry with a paper towel before cooking. Moisture causes steam and makes sticking more likely.
Q: Will metal utensils ruin non-stick pans?
I avoid metal on non-stick pans. I use wood, silicone, or plastic to protect the coating and extend pan life.
Quick tips:
- Preheat, then oil.
- Don’t overcrowd the pan.
- Let proteins form a crust before flipping.
- Keep pans clean and lightly oiled after washing to maintain surfaces.
Conclusion
I covered key steps that cut down sticking: pick the right pan, preheat, use the right amount of oil, and control the heat. These steps work for non-stick, stainless steel, and cast iron when used correctly.
I recommend simple habits: dry food before it hits the pan, don’t crowd the surface, and let proteins form a crust before flipping. Small timing changes make a big difference.
If a pan has deep scratches or flaking, I replace it. Repairing a damaged non-stick coating is not reliable and can cause more sticking or safety concerns.
I keep a short checklist by my stove to follow each time I cook:
- Preheat pan properly
- Add oil just before food
- Keep medium heat for most foods
- Give food space and time to release
I teach these tactics to friends and use them daily. With practice, staying mindful of heat and pan care makes sticking rare and meals easier to cook.