How to Break in a Stainless Steel Frying Pan for Perfect Cooking
Breaking in a stainless steel frying pan is essential for achieving non-stick cooking and even heat distribution. This guide shows you how to season and care for your pan with easy steps, practical tips, and troubleshooting advice to ensure your stainless steel pan performs at its best.
Key Takeaways
- Seasoning is key: Properly seasoning your stainless steel pan helps create a natural non-stick surface.
- Preheat carefully: Gradually heating the pan prevents warping and improves cooking performance.
- Use the right oil: Choose oils with a high smoke point for effective seasoning and cooking.
- Cleaning matters: Avoid harsh detergents and abrasive tools to preserve your pan’s seasoning.
- Practice makes perfect: The more you use and care for your pan, the better it performs over time.
- Troubleshooting tips: Learn how to fix common issues like sticking and discoloration easily.
How to Break in a Stainless Steel Frying Pan for Perfect Cooking
If you’ve just bought a stainless steel frying pan, you might wonder how to get the best results from it. Stainless steel pans are durable and versatile, but they require a bit of breaking in before they perform like a dream. This guide will teach you how to break in your stainless steel frying pan step-by-step so you can enjoy even cooking, easy food release, and long-lasting use.
Why You Need to Break in Your Stainless Steel Frying Pan
At first glance, stainless steel pans might seem tricky because food can stick to the surface if not heated or treated properly. Breaking in your pan through seasoning and proper use creates a thin layer of polymerized oil that acts as a natural non-stick coating. This process improves your pan’s performance and helps you cook with less oil and frustration.
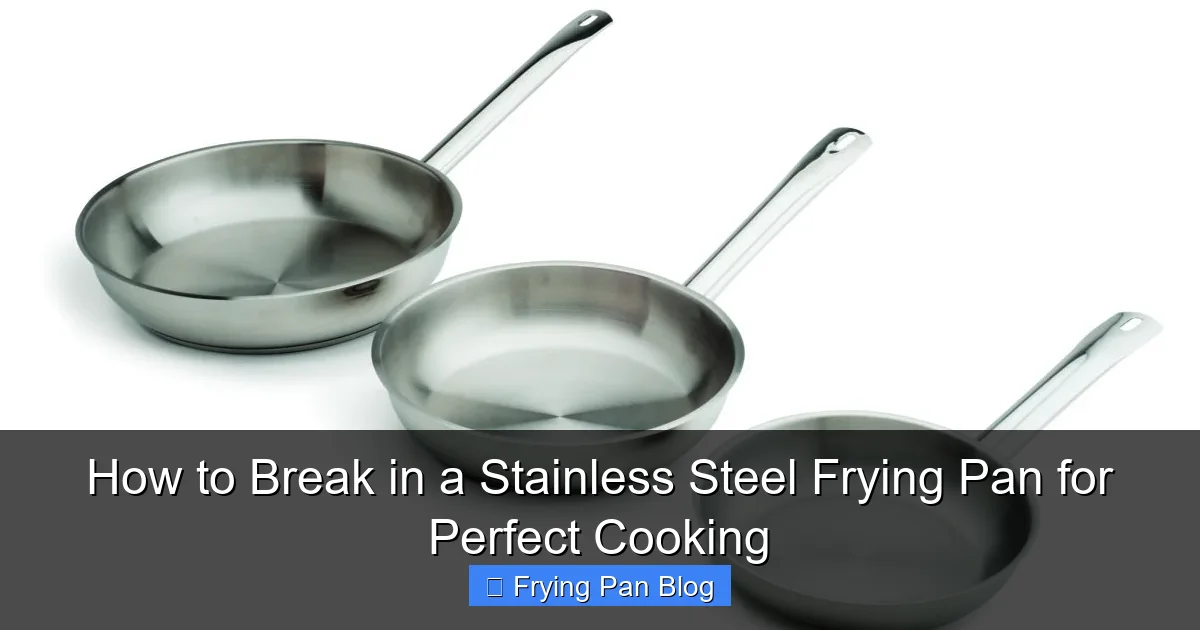
Visual guide about How to Break in a Stainless Steel Frying Pan for Perfect Cooking
Image source: kingmetal.com
Step 1: Clean Your Pan Before First Use
Wash with Warm Soapy Water
Start by washing your new pan with warm water and mild dish soap. This removes any factory oils, dust, or residues. Use a soft sponge to clean it thoroughly but gently.
Rinse and Dry Completely
After washing, rinse the pan well and dry it completely with a clean towel. This prevents water spots and prepares the surface for seasoning.
Step 2: Preheat Your Pan Properly
Heat on Medium Heat Gradually
Place your pan on the stove and turn the heat to medium. Allow it to warm slowly for about 2-3 minutes. Avoid cranking the heat to high immediately, as sudden temperature changes can warp the pan.
Test the Temperature
To check if your pan is ready, sprinkle a few drops of water inside. If the water beads and dances around, the pan is at the right temperature for cooking and seasoning.
Step 3: Season Your Stainless Steel Pan
Choose the Right Oil
Select an oil with a high smoke point such as grapeseed oil, avocado oil, or refined canola oil. These oils can withstand high heat without burning.
Apply a Thin Layer of Oil
Pour about a teaspoon of oil into the hot pan and use a paper towel to spread it evenly across the entire cooking surface.
Heat the Oiled Pan
Let the pan heat on medium-high for 10-15 minutes. You’ll notice the oil begin to smoke lightly—this means the oil is bonding to the pan’s surface.
Cool and Wipe Excess Oil
Turn off the heat and let the pan cool completely. Then, wipe away any excess oil with a clean paper towel. Your pan is now seasoned and ready to use.
Step 4: Cook Smart to Maintain the Seasoning
Preheat Before Adding Food
Always preheat your pan for a few minutes before adding oil or food. This helps prevent sticking and promotes even cooking.
Add Oil After Preheating
Once the pan is hot, add a small amount of oil or butter. This adds a lubricant layer and enhances the seasoning.
Use Appropriate Heat Settings
Cook on medium or medium-high heat. Avoid extremely high heat unless you’re searing, as this can degrade the seasoning.
Step 5: Proper Cleaning and Care
Let the Pan Cool Before Washing
Allow your pan to cool down before washing to avoid warping and damage.
Use Warm Water and Mild Soap
Clean your pan using warm water, a soft sponge, and mild dish soap. Avoid abrasive scrubbers that can remove seasoning.
Dry Immediately
Dry the pan thoroughly after washing to prevent water spots and rust on the rim or base.
Step 6: Regular Maintenance for Longevity
Re-Season as Needed
If food starts sticking or the pan looks dull, repeat the seasoning process to restore the non-stick surface.
Store Properly
Store your pan in a dry place. Avoid stacking heavy pots and pans on top, which can cause scratches.
Troubleshooting Common Issues
Food Sticking to the Pan
- Cause: Pan not hot enough or insufficient seasoning.
- Solution: Preheat the pan properly and ensure it is well-seasoned before cooking.
Discoloration or Rainbow Stains
- Cause: Overheating or mineral deposits from water.
- Solution: Clean with a vinegar-water solution and avoid overheating.
Pan Warping
- Cause: Sudden temperature changes, such as rinsing a hot pan with cold water.
- Solution: Let the pan cool naturally before cleaning.
🎥 Related Video: Make Your Stainless Steel Pan Nonstick
📺 ZWILLING USA
Nervous about using your stainless-steel pan? It all comes down to preheating it properly and conducting the water test. Minimal …
Final Thoughts
Breaking in your stainless steel frying pan is a simple but important process that transforms it from a tricky tool into a kitchen favorite. By following these steps—cleaning, preheating, seasoning, cooking smart, and maintaining—you’ll enjoy perfectly cooked meals with less sticking and more flavor. Remember, patience and good care pay off, making your stainless steel pan a reliable companion for years to come.