Smart rice cookers offer app control, multiple cooking functions, and precise temperature settings for perfect results every time. Basic rice cookers provide simple one-button operation for reliable, no-fuss rice cooking. This guide breaks down everything you need to know to choose the right rice cooker for your lifestyle and budget.
Contents
- 1 Key Takeaways
- 2 Introduction: Making the Right Choice for Perfect Rice Every Time
- 3 What Is a Basic Rice Cooker?
- 4 What Is a Smart Rice Cooker?
- 5 Head-to-Head Comparison: Smart Rice Cooker vs Basic Rice Cooker
- 6 Step-by-Step: How to Choose the Right Rice Cooker for Your Kitchen
- 7 Step-by-Step: Using Each Type of Rice Cooker
- 8 Troubleshooting Common Issues
- 9 Making the Most of Your Rice Cooker Investment
- 10 Conclusion: Should You Upgrade to a Smart Rice Cooker?
Key Takeaways
- Price Difference: Smart rice cookers cost 3-5 times more than basic models, starting around $100 versus $20-40 for simple versions.
- Core Function: Both types cook rice perfectly well when used correctly. The difference lies in versatility and convenience, not quality.
- Smart Features: App connectivity, multiple settings, and delayed start timers offer convenience but require Wi-Fi and tech comfort.
- Simple Reliability: Basic rice cookers have fewer parts to break, last longer, and work without electricity issues or app problems.
- Beyond Rice: Smart models can steam vegetables, slow cook, and make porridge. Basic models focus on rice and keep-warm functions.
- Decision Factor: Choose based on your budget, kitchen space, cooking habits, and comfort with technology, not just features.
Introduction: Making the Right Choice for Perfect Rice Every Time
Choosing between a smart rice cooker vs basic rice cooker can feel overwhelming. You want perfectly cooked rice without wasting money on features you’ll never use. This guide walks you through every difference, benefit, and drawback of both types. By the end, you’ll know exactly which rice cooker matches your cooking style, budget, and kitchen needs. We’ll compare prices, features, real-world performance, and help you decide if upgrading makes sense for your lifestyle.
What Is a Basic Rice Cooker?
A basic rice cooker is the classic kitchen appliance that does one thing exceptionally well: cook rice. It features a simple design with minimal controls, usually just a single button or switch. You add rice and water, press the button, and the cooker does the rest automatically.
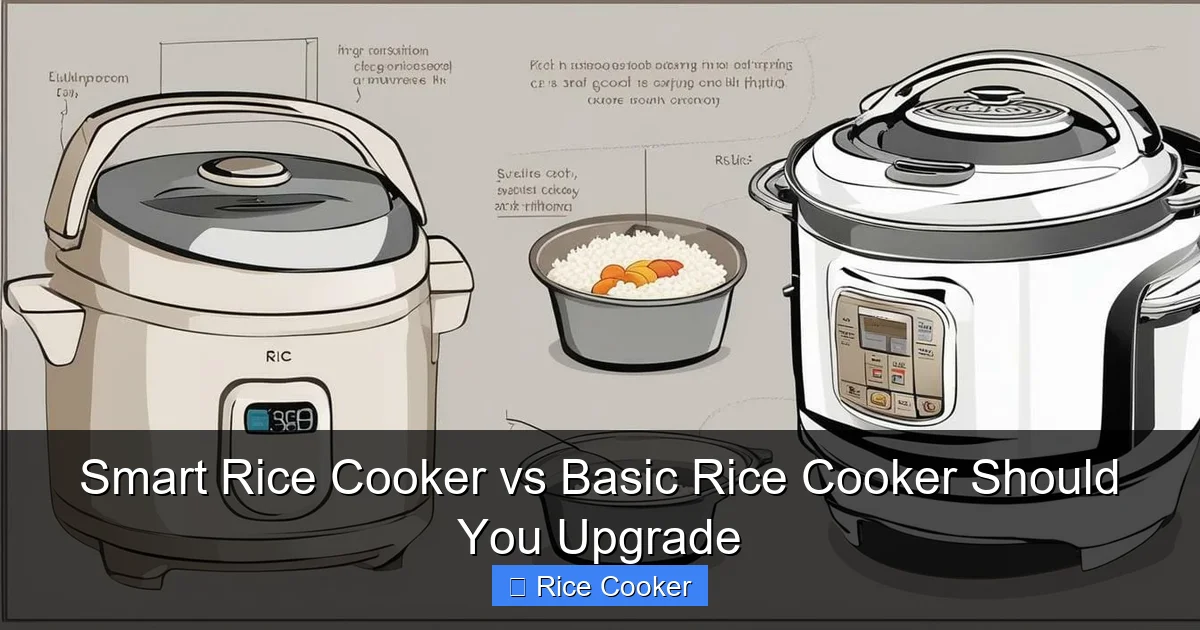
Visual guide about Smart Rice Cooker vs Basic Rice Cooker Should You Upgrade
Image source: ricearray.org
How Basic Rice Cookers Work
These appliances use a simple thermal mechanism. When you turn it on, the heating plate warms the inner pot. As the water heats, it cooks the rice through absorption. Once the water evaporates and the temperature rises above boiling point, a thermostat triggers and switches off the heat or moves to a keep-warm mode. This mechanical system has few moving parts, which explains its durability and low cost.
Key Features of Basic Rice Cookers
- One-touch operation: Press a single button to start cooking
- Automatic shut-off: Switches to warm when rice is done
- Non-stick inner pot: Easy to clean and prevents sticking
- Keep-warm function: Maintains temperature for hours after cooking
- Compact design: Takes up minimal counter space
- Affordable price: Typically $20-40 for reliable models
Pros and Cons of Basic Rice Cookers
Pros:
- Simple to use—no learning curve required
- Very affordable for any budget
- Durable with fewer parts that can break
- Works during power outages if you have a backup power source
- Easy to clean with minimal crevices for food buildup
Cons:
- Limited to cooking rice only
- No timing flexibility—you start it when you’re ready
- Cannot adjust cooking settings for different rice types
- No delay start feature for pre-planned meals
- Basic keep-warm function may dry out rice if left too long
What Is a Smart Rice Cooker?
A smart rice cooker is a modern appliance that connects to your smartphone via Wi-Fi and offers multiple cooking functions beyond just rice. These devices provide precise temperature control, customizable settings, and remote monitoring capabilities. They’re designed for tech-savvy home cooks who want convenience and versatility.
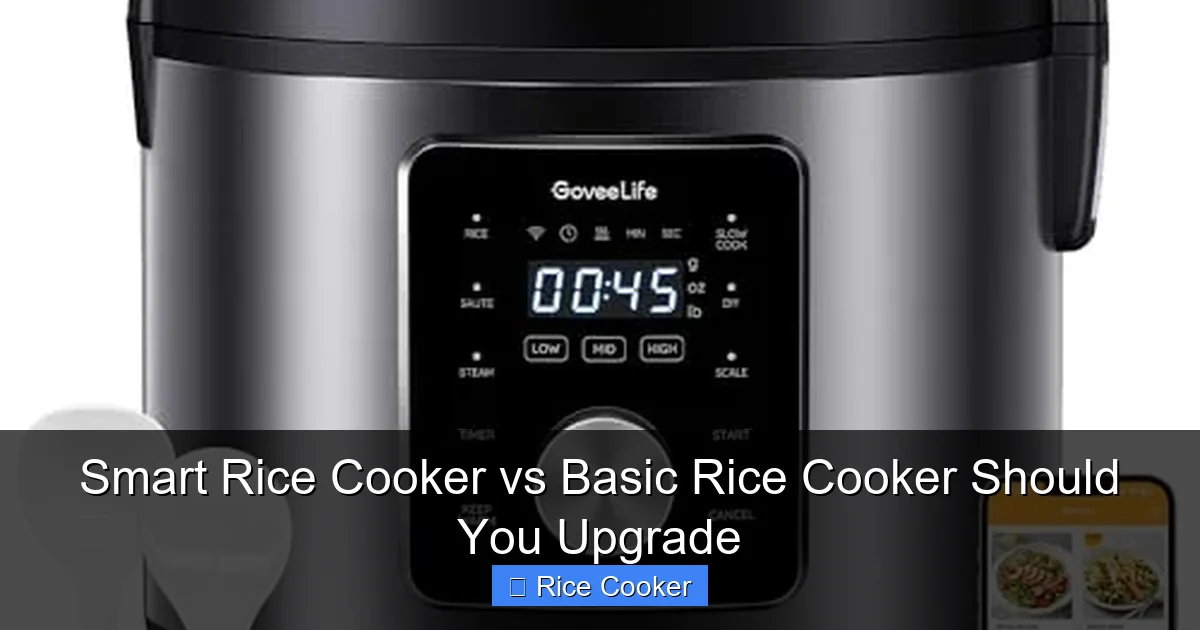
Visual guide about Smart Rice Cooker vs Basic Rice Cooker Should You Upgrade
Image source: m.media-amazon.com
How Smart Rice Cookers Work
Smart rice cookers use advanced fuzzy logic technology and microprocessors. Sensors monitor temperature and moisture levels throughout the cooking process, making real-time adjustments. The app connectivity allows you to control cooking remotely, download recipes, and receive notifications when your food is ready. Many models include pre-programmed settings for different rice varieties, grains, and even slow-cooking functions.
Key Features of Smart Rice Cookers
- App connectivity: Control via smartphone from anywhere
- Multiple cooking modes: White rice, brown rice, sushi, porridge, steam, slow cook
- Delay timer: Set cooking to start hours later
- Fuzzy logic: Automatically adjusts cooking time and temperature
- Voice control: Compatible with Alexa and Google Assistant
- Recipe integration: Built-in recipes with step-by-step instructions
- Keep-warm sensors: Maintains optimal temperature without drying
Pros and Cons of Smart Rice Cookers
Pros:
- Cooks many foods beyond rice
- Precise control for perfect results with any rice type
- Remote start and monitoring from your phone
- Delicious results with minimal effort
- Easy to upgrade firmware with new features
- Attractive modern design fits contemporary kitchens
Cons:
- Significantly more expensive ($100-300+)
- Requires Wi-Fi and smartphone for full features
- More complex with potential software glitches
- App may become outdated or unsupported
- Longer learning curve for beginners
- Power outages can reset programmed settings
Head-to-Head Comparison: Smart Rice Cooker vs Basic Rice Cooker
Let’s compare these appliances across the categories that matter most to home cooks.
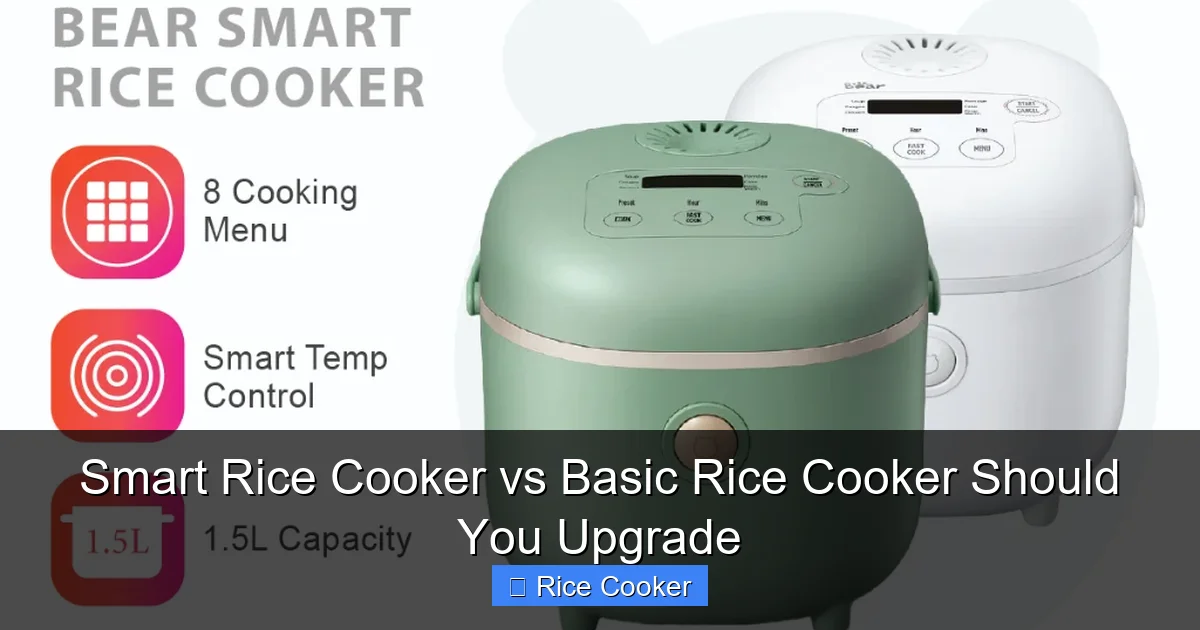
Visual guide about Smart Rice Cooker vs Basic Rice Cooker Should You Upgrade
Image source: down-my.img.susercontent.com
Price Comparison: What You’re Really Paying For
A basic rice cooker typically costs between $20 and $40. You’re paying for the simple mechanical system and non-stick pot. A smart rice cooker starts around $100 and can exceed $300 for premium models. The extra cost covers the microprocessor, sensors, Wi-Fi module, app development, and additional cooking functions. Consider this: you could buy five basic rice cookers for the price of one high-end smart model. Ask yourself if the added features justify this significant price jump for your cooking needs.
Cooking Performance and Results
Both types cook excellent rice when you follow the correct water-to-rice ratios. However, smart rice cookers shine with different rice varieties. For perfect jasmine rice, brown rice, sushi rice, or wild rice, smart models adjust cooking time and temperature automatically. Basic cookers use one setting for all types, which may require you to adjust water amounts manually. If you only cook white rice occasionally, a basic model performs just as well. If you frequently cook different grains, the smart cooker’s precision makes a noticeable difference.
Versatility: More Than Just Rice
This is where smart rice cookers dominate. You can steam vegetables, cook oatmeal, make yogurt, slow-cook stews, and even bake cakes. Some models include steaming baskets and slow cooker inserts. A basic rice cooker focuses on rice and occasionally steaming with a simple basket insert. If you want one appliance that replaces multiple kitchen tools, a smart cooker offers better value despite the higher price. For simple rice cooking only, the basic model’s limited function is perfectly adequate.
Ease of Use: Simplicity vs. Features
Basic rice cookers win for pure simplicity. Add rice, add water, press the button. There’s virtually no learning curve, making them ideal for beginners, elderly family members, or anyone uncomfortable with technology. Smart rice cookers require downloading an app, connecting to Wi-Fi, and learning multiple settings. While convenient once mastered, they can frustrate non-tech-savvy users. The best choice depends on your comfort level with technology and desire for convenience over simplicity.
Cleaning and Maintenance Requirements
Basic rice cookers have fewer parts to clean. The main pot, lid, and outer casing are typically dishwasher safe or easy to wipe down. Smart rice cookers often have more complex designs with digital displays, multiple removable parts, and sensors that need careful cleaning. Some have dishwasher-safe components, but others require hand washing to protect electronic elements. Consider your willingness to spend extra time cleaning when choosing between models.
Step-by-Step: How to Choose the Right Rice Cooker for Your Kitchen
Follow these five steps to make an informed decision that fits your specific needs.
Step 1: Assess Your Cooking Habits and Needs
Be honest about how you use kitchen appliances. Do you cook rice daily or just once a week? Do you experiment with different grains, or stick to white rice? Do you want to steam vegetables or cook one-pot meals? If you primarily need rice for family dinners, a basic model works perfectly. If you enjoy meal prepping, cooking various grains, or want hands-off convenience, a smart cooker justifies its price. List your top three uses for the appliance to clarify your needs.
Step 2: Set a Realistic Budget
Determine how much you’re willing to spend before shopping. Basic rice cookers offer excellent value under $40. Mid-range smart models provide good features for $80-150. High-end models with all features cost $200-300+. Remember that the cheapest option isn’t always the most cost-effective long-term. A $30 basic cooker lasting 10 years costs $3 per year. A $150 smart cooker lasting 8 years costs about $19 per year. Consider your budget constraints and how often you’ll use advanced features.
Step 3: Consider Your Kitchen Space and Storage
Measure your available counter and cabinet space. Basic rice cookers are compact and easy to store in small kitchens. Smart models are often larger with more components like steaming trays and recipe tablets. If you have limited storage, consider where you’ll keep the appliance when not in use. Some smart models have sleek designs that look attractive on countertops, while basic models are more utilitarian. Choose a size that fits your kitchen layout without creating clutter.
Step 4: Evaluate Your Comfort with Technology
Be realistic about your tech skills. Do you enjoy using apps and smart home devices, or do they frustrate you? If you struggle with basic smartphone functions, a smart rice cooker may create more problems than it solves. If you love controlling appliances remotely and experimenting with new tech, the smart model will feel exciting and useful. Consider who else in your household will use it. A basic model works better for families with varying tech comfort levels.
Step 5: Think About Future Cooking Goals
Consider how your cooking might change over the next 3-5 years. Are you planning to eat healthier with more whole grains? Do you want to reduce kitchen clutter by replacing multiple appliances? Are you interested in meal prepping for busy work weeks? If you anticipate growing into more advanced cooking, investing in a smart rice cooker now might save money later. If your needs are stable and simple, a basic model will continue serving you well without extra features you won’t use.
Step-by-Step: Using Each Type of Rice Cooker
Let’s walk through the actual cooking process for both types to see which feels better for your routine.
Using a Basic Rice Cooker: Simple and Reliable
Step 1: Measure your rice using the cup that came with your cooker. Most basic models use a standard 1:2 ratio (1 cup rice to 2 cups water) for white rice.
Step 2: Rinse the rice in a fine mesh strainer under cold water until the water runs clear. This removes excess starch and prevents gummy rice.
Step 3: Add the rinsed rice to the non-stick pot and pour in the measured water. Use the “rice” line markings inside the pot if available.
Step 4: Place the pot back into the cooker and close the lid securely. Make sure the lid is properly aligned to prevent steam leaks.
Step 5: Press the single cooking button. The indicator light will turn on, showing the cooker is working. You’ll hear the water boiling, then the sound will reduce as it cooks.
Step 6: Wait for the automatic switch to click into “warm” mode. This usually takes 15-25 minutes depending on the amount of rice. Let the rice sit for 10 minutes after cooking for best results.
Step 7: Fluff the rice with a fork and serve. The keep-warm function will maintain temperature for several hours if needed.
Using a Smart Rice Cooker: Advanced Control and Options
Step 1: Download the manufacturer’s app and connect your cooker to your home Wi-Fi network. This usually involves holding a sync button and following app prompts.
Step 2: Measure your rice using the provided cup. Smart cookers often include different measuring cups for different rice types.
Step 3: Rinse the rice thoroughly. Some smart models have a specific “rinse” setting that times the process perfectly.
Step 4: Add rice and water to the pot. The app will tell you the exact water amount based on rice type and quantity. Many models have sensors that detect the amount of rice and adjust automatically.
Step 5: Open the app and select your rice type. Choose from options like white rice, brown rice, sushi rice, jasmine, basmati, or mixed grains. Some apps include specific brands and varieties.
Step 6: Set your preferred texture (soft, medium, or firm) and start time. You can start immediately or schedule cooking up to 24 hours later.
Step 7: Press start on your phone or the cooker’s button. The app sends the command and monitors progress. You’ll receive notifications when cooking begins, water is boiling, rice is done, and when it switches to warm mode.
Step 8: When notified, open the lid and fluff the rice. The app may suggest letting it rest for optimal texture. Clean the pot and components according to the detailed instructions in the app.
Troubleshooting Common Issues
Every appliance has problems sometimes. Here’s how to fix the most common issues with both types.
Basic Rice Cooker Problems and Solutions
Rice is undercooked or hard: This usually means not enough water. Check the water-to-rice ratio and add more water next time. Make sure the inner pot is properly seated on the heating element. If the thermostat is faulty, the cooker may need replacement.
Rice is burnt or stuck to the bottom: Too little water or the thermostat is malfunctioning. Clean the heating element area gently with a soft cloth. Check that you’re using the correct water measurements. Burnt rice often happens when the keep-warm function runs too long—serve immediately after cooking.
Water overflows from the lid: You likely added too much water or the rice was too starchy. Rinse rice thoroughly before cooking. Use less water for older rice varieties. Clean the steam vent to ensure proper pressure release.
Keep-warm function isn’t working: The automatic switch may be stuck or broken. Unplug the cooker and check for obstructions. If the switch clicks but doesn’t activate, the internal wiring may need professional repair or replacement.
Smart Rice Cooker Problems and Solutions
App won’t connect to the cooker: Ensure both devices are on the same Wi-Fi network. Restart the app and the cooker. Check for firmware updates in the app settings. Some models require 2.4GHz Wi-Fi, not 5GHz.
Cooker starts but app shows disconnected: The Wi-Fi signal may be weak. Move your router closer or the cooker to a better location. Reboot your router if needed. The connection should restore automatically once signal improves.
Rice results are inconsistent: Check that sensors are clean and unobstructed. Wipe the temperature sensor gently with a damp cloth. Make sure you’re selecting the correct rice type in the app. Update the app and firmware to the latest version for improved algorithms.
Delayed start isn’t working: Verify the time and date settings are correct in the app. Check that the cooker’s internal clock is synchronized. Some models require the app to remain open for delayed cooking to work properly. Ensure you have enough rice and water for the scheduled amount.
Making the Most of Your Rice Cooker Investment
Whether you choose smart or basic, these tips help you get the best results and longest life from your appliance.
Recipe Ideas and Cooking Beyond Rice
Even basic rice cookers can do more than rice. Try these simple ideas:
- Rice and beans: Layer rice, beans, and seasonings for a complete meal. Check out our easy rice and beans recipe for perfect proportions.
- Steamed vegetables: Use the steaming basket to cook broccoli, carrots, or green beans while rice cooks below.
- Oatmeal: Cook steel-cut oats with milk and fruit for a hot breakfast.
- Scrambled eggs: Beat eggs with a little water and cook in the rice pot for soft scrambled eggs.
Smart rice cookers expand your options dramatically:
- Slow-cooked meals: Use the slow cook function for soups, stews, and chili without babysitting a stove.
- Yogurt making: Maintain precise temperature for homemade yogurt.
- Cakes and breads: Many smart models include baking functions for desserts.
- Fermented foods: Make sourdough starter or fermented vegetables with temperature control.
Maintenance and Care Tips
Clean your rice cooker after every use. For basic models, wash the pot and lid with warm, soapy water. Wipe the heating element with a dry cloth—never immerse the base in water. For smart models, remove all detachable parts and wash according to instructions. Clean the sensors gently with a soft, damp cloth. Always unplug the appliance before cleaning. Store with the lid open slightly to prevent moisture buildup and odors. Replace the non-stick pot if the coating becomes scratched or damaged.
Understanding Rice Types and Water Ratios
Different rice varieties need different water amounts. White rice typically uses 1:2 (rice to water). Brown rice needs 1:2.5 due to its fibrous bran. Wild rice requires 1:3. Using the wrong ratio is the most common reason for poor results. For more detailed guidance on rice varieties and their specific cooking needs, read our comprehensive types of rice and best uses guide. Smart rice cookers handle these adjustments automatically, while basic models require you to remember the correct ratios.
Conclusion: Should You Upgrade to a Smart Rice Cooker?
The answer depends entirely on your personal cooking style, budget, and needs. If you cook rice occasionally, prefer simple appliances, and want to save money, stick with a basic rice cooker. It’s reliable, affordable, and does exactly what it promises. If you cook rice frequently, experiment with different grains, want remote control convenience, and enjoy technology in your kitchen, upgrading to a smart rice cooker makes perfect sense.
Consider this: a basic rice cooker is like a reliable bicycle—it gets you where you need to go simply and efficiently. A smart rice cooker is like a car with GPS and climate control—it offers more features, comfort, and versatility at a higher cost. Both will cook your rice perfectly. The choice comes down to whether you need the extra features and can justify the price difference.
For beginners learning to cook, a basic model teaches fundamentals without overwhelming complexity. For experienced cooks wanting precision and time-saving convenience, a smart model enhances your kitchen capabilities. Evaluate your honest needs, not just desirable features. The perfect rice cooker is the one you’ll use regularly and maintain properly, whether it’s a $25 basic model or a $200 smart powerhouse.