When to Clean Your Cast Iron Skillet For Best Results
Knowing when to clean cast iron skillet cookware makes all the difference. This guide teaches you the right timing for cleaning based on what you cooked, how sticky the food was, and your skillet’s condition. You’ll learn to preserve that non-stick seasoning while keeping your pan in top shape for years.
Contents
- 1 Key Takeaways
- 2 Introduction: Why Timing Matters for Cast Iron Care
- 3 Understanding Your Cast Iron Skillet’s Seasoning
- 4 The Golden Rule: When to Clean vs. When to Wait
- 5 Immediate Post-Cooking Care (The First 5 Minutes)
- 6 How to Tell If Your Skillet Needs Cleaning
- 7 Special Cases: When You MUST Clean Immediately
- 8 The “Don’ts”: Situations That Can Wait
- 9 Step-by-Step Cleaning Process
- 10 Drying and Re-seasoning
- 11 Troubleshooting Common Problems
- 12 Long-term Storage and Maintenance
- 13 Conclusion: Trust Your Instincts
Key Takeaways
- Clean while warm, not hot: Wait 5-10 minutes after cooking before cleaning to prevent warping and ensure safety.
- Not all meals require full cleaning: After cooking fatty meats or sturdy vegetables, a simple wipe may suffice.
- Sticky foods demand immediate attention: Sugar, cheese, and eggs can ruin seasoning if left to bake on.
- Look for visual cues: A dry, flaky surface or food particles stuck to the bottom mean it’s time to clean.
- Never soak your skillet: Water exposure leads to rust and destroys the polymerized seasoning layer.
- Season after every wash: A light coat of oil after drying maintains your pan’s non-stick surface.
Introduction: Why Timing Matters for Cast Iron Care
Cast iron skillets are tough, durable, and last generations when treated right. But knowing when to clean cast iron skillet pans confuses many home cooks. Clean too soon and you risk warping. Wait too long and food turns into a nightmare to remove. The key is understanding your pan’s seasoning layer and what you cooked.
This guide walks you through exactly when to clean based on food types, cooking methods, and your skillet’s condition. You’ll learn to read your pan like a pro and keep it in perfect cooking shape forever.
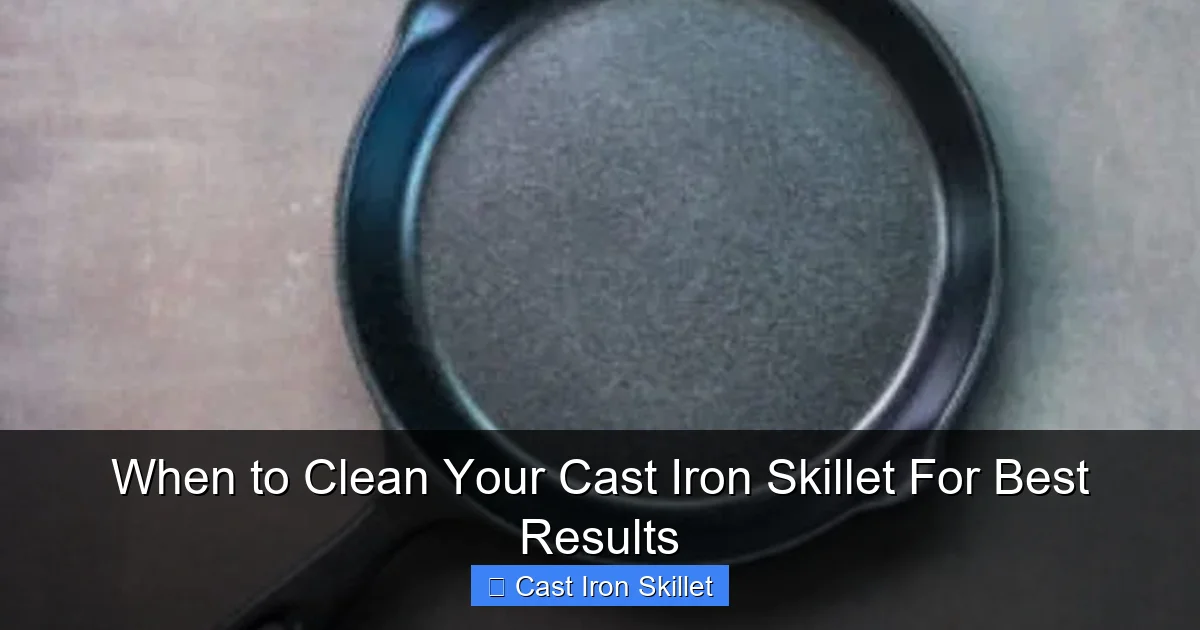
Understanding Your Cast Iron Skillet’s Seasoning
Before we discuss timing, you need to understand what seasoning actually is. Seasoning is that dark, slick surface that makes your cast iron non-stick. It’s created when oil polymerizes—hardens into a durable coating—on the pan’s surface through heat.

Visual guide about When to Clean Your Cast Iron Skillet For Best Results
Image source: cdn.apartmenttherapy.info
This layer is precious. It prevents rust, stops food from sticking, and makes cooking a joy. Every time you clean, you risk damaging this layer. That’s why knowing when to clean cast iron skillet cookware properly protects your investment.
Your seasoning builds up over time with use and care. Think of it like a patina that improves with age. Harsh cleaning strips it away. Smart cleaning preserves it.
The Golden Rule: When to Clean vs. When to Wait
The golden rule is simple: clean based on necessity, not a schedule. Your skillet doesn’t need washing after every single use. In fact, over-cleaning ruins pans faster than neglect.
Visual guide about When to Clean Your Cast Iron Skillet For Best Results
Image source: panmastery.com
After cooking, ask yourself three questions:
- Did I cook sticky, sugary, or acidic foods?
- Is there visible food debris stuck to the surface?
- Does the pan look dry or feel rough to the touch?
Answering yes to any means it’s time to clean. Answering no to all means you can probably skip the wash and just wipe it out.
Immediate Post-Cooking Care (The First 5 Minutes)
The minutes after cooking are critical. Your pan is hot, food residues are soft, and the seasoning is vulnerable. Here’s what to do in those first five minutes:
Visual guide about When to Clean Your Cast Iron Skillet For Best Results
Image source: static.thedaringkitchen.com
Let It Cool Slightly
Never plunge a screaming hot skillet into cold water. This causes thermal shock and warping. Instead, move it off the burner and let it sit for 5-10 minutes. The pan should be warm to the touch but not scalding. This is the perfect temperature for cleaning.
Scrape Off Loose Debris
While the pan cools, use a wooden or metal spatula to scrape any large food chunks into the trash. Don’t use steel wool yet—just remove the obvious bits. This makes the actual cleaning much easier.
Assess What You Cooked
Think about your meal. Was it steak? That’s fatty and may not need washing. Was it scrambled eggs? That’s sticky and needs attention. This mental check helps you decide your next step.
How to Tell If Your Skillet Needs Cleaning
Your cast iron gives you clear signals. Learn to read them and you’ll never second-guess yourself again.
Visual Inspection
Look at the cooking surface. A healthy, well-seasoned pan looks dark and smooth. If you see:
- Light-colored patches
- Flaky or peeling areas
- Sticky residues that won’t wipe off
- Food particles baked onto the bottom
These are all signs you need to clean.
The Water Test
Sprinkle a few drops of water on the surface. If they bead up and dance around, your seasoning is good and you might not need to clean. If they soak in or spread flat, the pan is dry and needs attention. This test works best on warm pans.
Smell Check
Sniff the cooking surface. A well-maintained pan smells like nothing or faintly of oil. If you detect sour, metallic, or rancid odors, your seasoning has gone bad and needs refreshing. This usually means a deep clean is necessary.
Special Cases: When You MUST Clean Immediately
Some foods demand instant attention. Delay means ruined seasoning and hours of scrubbing.
Sugary Foods
Pancakes, caramelized onions, BBQ sauce, and anything with sugar creates a sticky mess. Sugar caramelizes and bonds to cast iron like cement. If you let it cool, you’ll need industrial solvents to remove it. Clean sugary foods while the pan is still warm using hot water and gentle scrubbing.
Dairy and Cheese
Cheese sauces, mac and cheese, and creamy dishes leave protein residues that bake onto cast iron. These create sticky patches that ruin the non-stick surface. Wash dairy immediately with warm water before it cools and sets.
Eggs
Eggs are the enemy of cast iron seasoning. The proteins bind to the metal and create a nightmare to remove once cool. After cooking eggs, rinse the pan while it’s still warm and scrub with a brush.
Acidic Foods
Tomatoes, wine, vinegar, and citrus break down seasoning. They strip the polymerized oil layer and can cause pitting if left sitting. Always clean acidic foods promptly, but use minimal water to avoid rust.
Starchy Foods
Pasta water, potatoes, and rice can leave a sticky film. While not as bad as sugar, starch creates a gummy layer that attracts food particles. Rinse starchy residues quickly before they dry.
The “Don’ts”: Situations That Can Wait
Not every cooking situation requires a full wash. Learning when to skip cleaning preserves your seasoning.
After Frying Bacon or Steak
These fatty foods leave behind delicious grease that actually boosts seasoning. After cooking bacon, simply wipe the pan with a paper towel while warm. The leftover fat polymerizes into a better non-stick surface. The same goes for steak—just scrape out any bits and store.
Roasted Vegetables
Most roasted veggies leave minimal residue. If you used oil and cooked at high heat, you likely have a nice fond (browned bits) that adds flavor to the pan. Wipe with a paper towel and you’re done. No soap needed.
When the Pan Looks Clean
If you cooked something and the pan appears virtually clean—maybe just a few specks—skip the wash. A quick wipe with a paper towel preserves the seasoning. Your pan doesn’t need to look factory fresh after every use.
Step-by-Step Cleaning Process
When you do need to clean, follow this method to protect your seasoning.
Gather Your Tools
You need:
- Hot water
- A stiff brush or chainmail scrubber
- Coarse salt (optional)
- Paper towels or clean cloths
- A drop of dish soap (only if absolutely necessary)
Avoid steel wool, dishwashers, and harsh detergents. These strip seasoning.
Rinse While Warm
Rinse the pan under hot running water while using your brush to dislodge food. The warm temperature keeps residues soft. Don’t use cold water—it solidifies fats and makes cleaning harder.
Scrub with Salt
For stubborn bits, sprinkle coarse salt into the pan and scrub with a paper towel. Salt acts as a gentle abrasive that won’t damage seasoning. It lifts debris without stripping the polymerized layer.
Minimal Soap Use
Modern dish soaps are safe for cast iron in tiny amounts. Use one drop if you must. The old myth about soap ruining cast iron is outdated. Just don’t soak the pan in soapy water.
Rinse Thoroughly
Make sure all salt and debris are gone. Any residue left behind can cause rust or off-flavors. A final hot water rinse ensures a clean surface.
Drying and Re-seasoning
Drying is as important as cleaning. Water is cast iron’s enemy.
Dry Immediately
Never let your pan air dry. Use a clean towel and wipe it completely dry the second you finish rinsing. Even a few drops of water can start rust formation.
Heat Dry on Stovetop
After towel drying, place the pan on a warm burner for 1-2 minutes. This drives off any remaining moisture trapped in pores. You’ll see a slight color change—this is normal.
Apply a Thin Oil Layer
Once completely cool, apply a thin coat of oil. Use a paper towel to spread it evenly over all surfaces, inside and out. Choose the right oil for best results. What Is Olive Oil And How To Use It explains different oil types and their smoke points.
Bake to Polymerize
Place the oiled pan upside down in a 350°F oven for one hour. This cures the oil into a durable seasoning layer. Let it cool in the oven before removing.
Troubleshooting Common Problems
Even careful cooks run into issues. Here’s how to fix them.
Rust Spots
If you spot rust, don’t panic. Scrub the area with steel wool or a chainmail scrubber until all rust is gone. Rinse, dry, and re-season immediately. Light surface rust is easy to fix. Deep pitting requires professional restoration.
Sticky Residues
For sticky buildup, heat the pan with a little oil until smoking hot. This burns off the residue. Let it cool completely, then scrub with salt. Repeat if necessary. This method works for polymerized sugar and starch.
Flaky Seasoning
Flaking means your seasoning layer failed. Strip the entire pan using oven cleaner or a lye bath, then start fresh with a multi-layer seasoning process. This is rare with proper care.
Food Sticking
If food sticks despite seasoning, your pan may be too smooth. Cast iron needs a slightly rough surface to grip the seasoning. Use a stiff brush to lightly scour the surface, then re-season. Also, check out How To Prevent Food From Sticking To Pans for more tips on proper cooking techniques.
Metallic Taste
A metallic taste in food means your seasoning is compromised. Strip and re-season the pan. Avoid cooking acidic foods until the new seasoning fully cures.
Long-term Storage and Maintenance
Proper storage keeps your pan ready for action.
Store Completely Dry
Always store your pan bone dry. Place a paper towel inside to absorb any moisture. Store with the lid off or slightly ajar to allow air circulation.
Keep in a Dry Place
Humidity causes rust. Store cast iron in a low-moisture area. Avoid damp cabinets under the sink. A kitchen cupboard or shelf works best.
Season Monthly
Even with light use, give your pan a monthly oil rub and bake. This maintains the seasoning layer and prevents drying out. Think of it as preventive maintenance.
Use It Regularly
Cast iron improves with use. Cook with your skillet at least once a week. Regular cooking naturally maintains the seasoning better than any maintenance routine.
Conclusion: Trust Your Instincts
Knowing when to clean cast iron skillet pans comes down to observation and experience. Your pan will tell you what it needs. Learn its signals, respect its seasoning, and you’ll have a lifetime cooking partner.
Remember: clean when necessary, not out of habit. Preserve the seasoning, dry thoroughly, and your cast iron will outlast you. Start paying attention today and notice how your pan responds. Happy cooking!
For more kitchen wisdom, check out Common Cooking Mistakes And How To Avoid Them to ensure your cast iron cooking techniques are perfect every time.