Cast Iron Skillet for Eggs How to Cook Perfectly Every Morning
Cooking eggs in a cast iron skillet creates delicious, evenly cooked breakfasts with perfect texture. This guide teaches you everything from seasoning your pan to mastering sunny side up, scrambled, and omelet techniques. You’ll learn pro tips for non-stick success and easy cleanup.
Key Takeaways
- Perfect Heat Control: Cast iron retains heat evenly, preventing hot spots that burn eggs.
- Natural Non-Stick: A well-seasoned cast iron skillet for eggs becomes naturally non-stick over time.
- Preheating is Essential: Always preheat your skillet properly before adding eggs for best results.
- Fat Selection Matters: Use butter, oil, or ghee to create a flavorful, non-stick surface.
- Low to Medium Heat: Cook eggs on gentle heat to avoid rubbery textures and sticking.
- Proper Cleaning: Clean immediately after cooking and maintain seasoning for longevity.
- Versatile Cooking: From sunny side up to frittatas, cast iron handles every egg dish perfectly.
Introduction: Why Cast Iron is the Secret to Perfect Morning Eggs
You crack open a fresh egg. It hits the pan. Instead of sliding into a perfect circle, it spreads like a water balloon. White sticks everywhere. Yolk breaks instantly. Sound familiar? That’s not your fault. It’s your pan. A cast iron skillet for eggs changes everything. This guide shows you exactly how to cook eggs perfectly every single morning. You’ll learn the science behind seasoning. You’ll master heat control. You’ll discover why professional chefs swear by cast iron for breakfast. No more stuck eggs. No more burned pans. Just perfect, golden, delicious eggs that slide right onto your plate.
Why Your Cast Iron Skillet Loves Eggs
Cast iron skillets and eggs are a match made in breakfast heaven. But why? Let’s break it down simply.
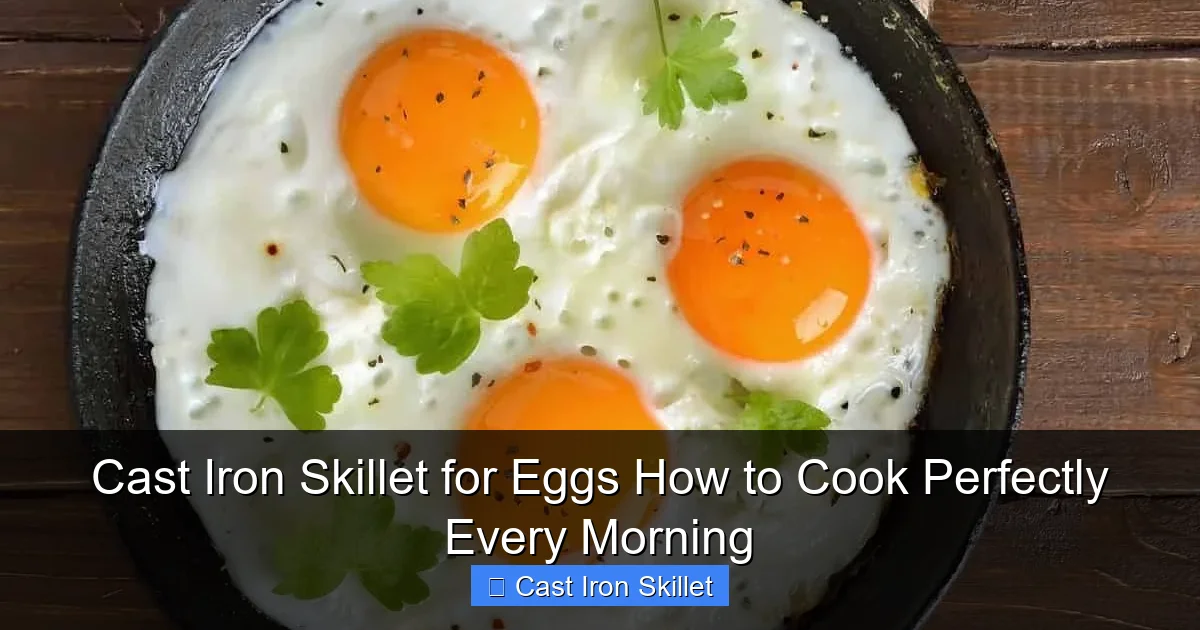
Visual guide about Cast Iron Skillet for Eggs How to Cook Perfectly Every Morning
Image source: cookingchew.com
Even Heat Distribution
Cast iron holds heat like a dream. Once hot, it stays hot. This means your eggs cook evenly. No more edges burning while the center stays raw. That even heat creates perfect texture throughout.
The Natural Non-Stick Myth (And Truth)
Here’s the deal. Cast iron isn’t Teflon. A new pan will stick. But here’s the magic: as you cook, the pan builds up a natural non-stick surface. This is called seasoning. Each time you cook eggs with fat, you add to this layer. Over time, your cast iron skillet for eggs becomes naturally non-stick. It’s like a fine wine. It gets better with age.
Heat Retention for Consistent Results
When you drop an egg into a cold pan, temperature drops instantly. Food sticks. Cast iron’s mass prevents this shock. Your pan stays at the right temperature. Your eggs cook perfectly every time.
What You Need Before You Start
Let’s gather our tools. You don’t need much. But you need the right stuff.
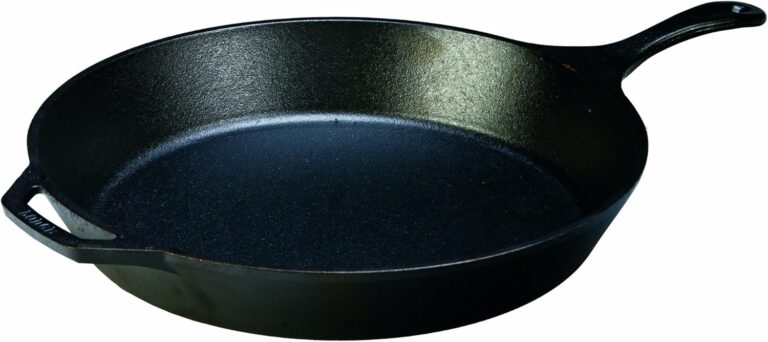
Choosing Your Cast Iron Skillet
Not all cast iron is created equal. For eggs, choose a skillet 8 to 10 inches in diameter. This size gives you enough room without crowding. Look for a smooth cooking surface. Old Griswold and Wagner pans are gold. Modern Lodge works great too. Avoid pans with rough casting marks. They create hot spots. A pre-seasoned pan is fine to start. But you’ll need to maintain it.
Essential Oils and Fats
Fat is your best friend. It creates a barrier between egg and iron. Butter adds flavor. Oil handles higher heat. Ghee is magical for eggs. Ghee’s high smoke point makes it perfect for morning cooking. You can also use bacon grease. That’s flavor heaven. Olive oil works well too, especially for lower heat eggs.
Tools of the Trade
You need a few basics. A silicone or wooden spatula prevents scratching. A small brush helps oil the pan evenly. Paper towels are essential for cleaning. And oven mitts. Cast iron handles get extremely hot. Having the right kitchen tools makes cast iron cooking effortless.
Seasoning: The Foundation of Non-Stick Magic
Seasoning is the secret sauce. Do this right, and your eggs will slide like butter on a hot griddle.
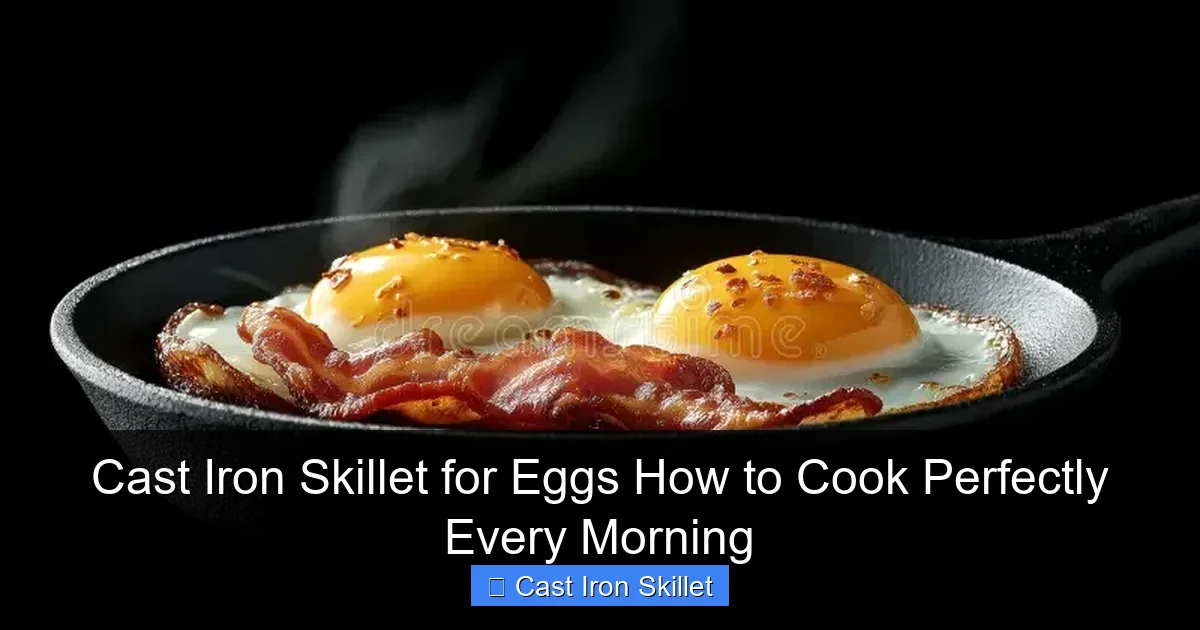
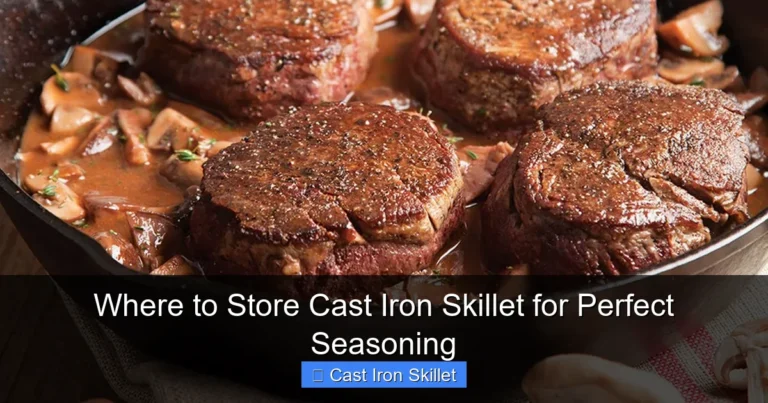
Visual guide about Cast Iron Skillet for Eggs How to Cook Perfectly Every Morning
Image source: thumbs.dreamstime.com
Why Seasoning Matters More Than You Think
Seasoning fills in microscopic pores in the iron. This creates a smooth surface. It also protects against rust. A well-seasoned cast iron skillet for eggs lasts generations. Think of it as building a foundation. Each layer makes your pan better.
How to Season Your Skillet (Step-by-Step)
First, wash your pan with warm water and mild soap. Dry it immediately. Rub a thin layer of oil all over. Use canola, vegetable, or flaxseed oil. Too much oil creates a sticky mess. You want a film you can barely see. Place the pan upside down in a 375°F oven. Bake for one hour. Let it cool completely in the oven. This process polymerizes the oil. It bonds to the iron. Repeat this 3-4 times for a new pan. For maintenance, do this after every few uses.
Preparing Your Skillet for Egg Success
Preparation separates good eggs from great eggs. Don’t skip these steps.
The Preheating Ritual
Preheating is non-negotiable. Place your cold skillet on a burner over medium heat. Let it warm for 3-5 minutes. You’ll know it’s ready when water droplets dance and evaporate quickly. Understanding cooking temperatures helps you master this crucial step. Too cold, and eggs stick. Too hot, and they burn instantly.
Fat Application: The Right Way
Once preheated, add your fat. Use about 1/2 tablespoon for an 8-inch pan. Swirl to coat the entire surface. The fat should shimmer but not smoke. If it smokes, your pan is too hot. Remove from heat for a minute. Let it cool slightly. Then try again.
Cooking Sunny Side Up Eggs
Sunny side up eggs are the test of any pan. Follow these steps for perfect yolks.
Step-by-Step Sunny Side Up
Preheat your cast iron skillet for eggs over medium-low heat. Add your fat. Crack your egg into a small bowl first. This prevents shell fragments. Gently slide the egg into the center of the pan. The white should set immediately around the edges. Cook for 2-3 minutes. The edges will look dry. The yolk will still be jiggly. Cover the pan with a lid for the last minute if you want fully set whites. But keep the yolk runny. Slide your spatula under the egg. Lift gently. Perfect golden bottom. Runny yolk on top.
Pro Tips for Yolk Perfection
Use the freshest eggs possible. Fresh eggs have tighter whites. They don’t spread as much. Cook on medium-low, not medium. High heat makes rubbery whites. If the yolk starts to brown, remove from heat immediately. Residual heat will finish the cooking.
Cooking Over Easy, Medium, and Hard Eggs
Flipping eggs seems scary. But cast iron makes it easy with practice.
The Flip Technique
Cook the first side for 1.5-2 minutes. The edges should be set. Slide your spatula completely under the egg. Lift slightly. Tilt the pan. Give it a quick jerk. The egg should flip smoothly. If it sticks, it’s not ready. Cook 30 seconds more and try again. For over easy, cook 30 seconds on the second side. Over medium, cook 1 minute. Over hard, cook 2 minutes. The result? Perfectly cooked eggs every time.
Avoiding Common Flip Fails
Never use a fork to flip. It punctures the yolk. Always use a thin, flexible spatula. And confidence matters. Hesitation causes broken yolks. Practice with one egg first. Then move to two.
Creamy Scrambled Eggs in Cast Iron
Scrambled eggs in cast iron? Absolutely. And they’re creamier than ever.
The Low and Slow Method
Crack eggs into a bowl. Whisk with a splash of milk or cream. Salt and pepper. Preheat your cast iron skillet for eggs over low heat. Add butter. Pour in eggs. Let them sit for 30 seconds. Push the curds toward the center with a spatula. Tilt the pan to let liquid egg fill the gaps. Continue this process. Cook for 3-4 minutes total. Remove from heat just before they’re done. They’ll keep cooking. This creates creamy, restaurant-quality eggs.
Why Cast Iron Beats Non-Stick for Scrambled
Cast iron’s even heat prevents the rubbery texture you get from hot non-stick pans. The slow cooking creates smaller, creamier curds. Plus, you can add cheese, herbs, and fillings without worry. Cast iron handles it all.
Fluffy Omelets and Frittatas
Your cast iron skillet for eggs becomes an omelet powerhouse.
Building the Perfect Omelet
Whisk 2-3 eggs with salt and pepper. Preheat your pan over medium heat. Add butter. Pour in eggs. Let them set slightly at the edges. Use a spatula to pull the edges toward the center. Tilt the pan to distribute liquid. Add fillings when eggs are still slightly wet. Fold in half with your spatula. Slide onto a plate. A cast iron omelet is denser and more flavorful than a non-stick version.
Frittatas: The Ultimate Cast Iron Dish
Frittatas are where cast iron truly shines. Whisk eggs with vegetables, cheese, and meats. Pour into a preheated, oiled skillet. Cook on the stovetop for 3-4 minutes until edges set. Transfer to a 350°F oven. Bake for 10-15 minutes until the center is firm. The result? A perfect, golden-brown frittata that serves four. And cleanup is a breeze.
Pro Tips for Egg-cellent Results
These tips separate amateurs from pros.
Temperature is Everything
Always start lower than you think. Eggs cook fast. High heat makes them tough. Medium-low is your friend. For fried eggs, medium-low. For scrambled, low. For omelets, medium. Adjust as needed.
Don’t Fear the Fat
Use enough fat. This isn’t diet food. This is perfect eggs. Too little fat guarantees sticking. Too much makes eggs greasy. Find your sweet spot. About 1/2 tablespoon per egg works well.
Crack Away from the Pan
Crack eggs on a flat surface, not the pan’s edge. This prevents shell fragments. And crack into a separate bowl. You can check for freshness. And no one wants shell bits in their breakfast.
Let Eggs Come to Room Temperature
Take eggs out of the fridge 10 minutes before cooking. Cold eggs stick more. Room temperature eggs cook more evenly. This simple step makes a big difference.
Troubleshooting: When Things Go Wrong
Even pros have bad egg days. Here’s how to fix common problems.
Eggs Sticking Like Glue
Your pan wasn’t hot enough. Or you didn’t use enough fat. Or your seasoning needs work. Preheat longer next time. Add more fat. If seasoning is the issue, strip and re-season your pan. Use a 50/50 vinegar-water solution to remove old seasoning. Then start fresh.
Rubbery, Tough Eggs
You cooked too long or too hot. Eggs continue cooking after removal. Take them off at 90% done. They’ll finish with residual heat. Lower your heat. Cook slower.
Brown Spots on Your Eggs
Your pan is too hot. Or you used too much oil. Medium-low heat is key. And wipe excess oil with a paper towel. A thin, even coat is perfect. Too much oil burns and creates brown spots.
Yolks Breaking on Flip
Your spatula was dull. Or you hesitated. Use a thin, sharp-edged spatula. And flip with confidence. Practice makes perfect. Try flipping with just your wrist. A quick, decisive motion works best.
Cleaning and Maintenance: Keep Your Pan Forever
A cast iron skillet for eggs, properly cared for, becomes a family heirloom.
Immediate Cleaning
Never let egg dry on the pan. It’s nearly impossible to remove. Clean immediately after cooking. Use hot water and a stiff brush. Avoid soap if possible. But a little is fine. Dry completely with a towel. Then place on a burner over low heat for 2-3 minutes. This removes all moisture.
Re-Seasoning After Use
After drying, rub a tiny bit of oil on the cooking surface. Use a paper towel to wipe off excess. You should barely see the oil. This maintains your seasoning. Do a full oven seasoning every month or so.
Storing Your Skillet
Store in a dry place. Place a paper towel inside to absorb moisture. Never stack wet items on top. And never, ever put it in the dishwasher. The heat and soap destroy seasoning.
Dealing with Stubborn Stuck Bits
For stuck-on egg, boil water in the pan for 3-5 minutes. This loosens debris. Then scrub with salt and oil. The abrasive action removes residue without harming seasoning. For really bad cases, use a chainmail scrubber. It’s safe for cast iron.
Conclusion: Your Morning Routine Transformed
A cast iron skillet for eggs isn’t just cookware. It’s a game changer. It teaches you patience. It rewards you with flavor. It connects you to cooking traditions that span centuries. The first time you slide a perfect fried egg onto your plate, you’ll understand. This is why cast iron endures. Start with one egg. Master the basics. Then experiment. Try different fats. Try new techniques. Your cast iron skillet will be your breakfast companion for decades. And every morning, you’ll make something perfect. Something delicious. Something that makes you smile before your first cup of coffee. That’s the magic of cooking eggs in cast iron.