How to Press Garlic Without a Garlic Press
Learn how to press garlic without a garlic press using simple tools like a knife, mason jar, or mortar and pestle. These methods crush garlic quickly and evenly, adding rich flavor to sauces, marinades, and roasted dishes. Whether you’re in a pinch or just don’t own a press, these practical techniques save time and deliver delicious results every time.
Key Takeaways
- Knife and cutting board method: Smash cloves with the flat side of a chef’s knife for fast, even crushing without a press.
- Mason jar technique: Add garlic to a jar, cover, and shake vigorously to pulverize cloves into fine paste.
- Mortar and pestle is ideal: Grind garlic slowly and gently for the most flavorful, aromatic results.
- Microwave shortcut: Briefly heat garlic in the microwave to loosen skins, making peeling and crushing easier.
- Garlic paste consistency: Aim for a smooth, spreadable paste—ideal for sauces, dressings, and rubs.
- Storage tip: Store crushed garlic in olive oil or as a paste for up to one week in the fridge.
- Flavor impact: Crushing releases allicin, the compound responsible for garlic’s bold, pungent taste and health benefits.
How to Press Garlic Without a Garlic Press
Garlic is one of the most beloved ingredients in kitchens around the world. Its bold flavor enhances everything from pasta sauces to roasted vegetables. But what do you do when you’re in the middle of cooking—and you realize you’ve run out of your garlic press? Or maybe you never owned one in the first place and aren’t ready to buy one just for this single use?
Don’t worry. You don’t need a garlic press to press garlic. In fact, many of the best methods for crushing garlic don’t require one at all. Whether you’re using a sharp knife, a mason jar, or a mortar and pestle, you can achieve that perfectly minced, aromatic paste that makes your dishes shine. This guide will walk you through multiple how to press garlic without a garlic press techniques—so you can keep cooking smoothly, no matter what’s in your kitchen.
Why Pressing Garlic Matters
Before we dive into the methods, let’s talk about why pressing garlic is so important. When you crush or chop garlic, you break down the cell walls and release allicin, the compound responsible for garlic’s sharp, rich flavor and potent aroma. This process not only enhances taste but also boosts the nutritional benefits of garlic, including its immune-boosting properties.
Visual guide about How to Press Garlic Without a Garlic Press
Image source: chatelaine.com
A garlic press does this efficiently, but it’s not the only way. In fact, some traditional methods—like using a mortar and pestle—are considered superior for preserving flavor. So whether you’re avoiding the mess of a garlic press or just want to explore new techniques, learning how to press garlic without a garlic press opens up a world of culinary possibilities.
Method 1: The Knife and Cutting Board Technique
If you have a sharp chef’s knife and a sturdy cutting board, you already have the tools to crush garlic effectively. This method is quick, easy, and requires no special equipment.

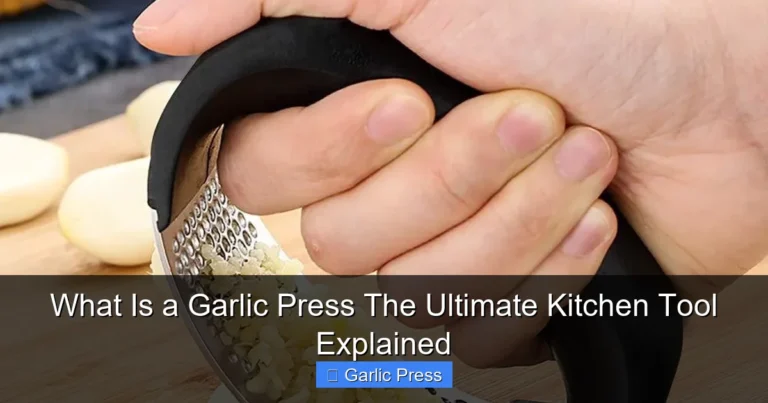
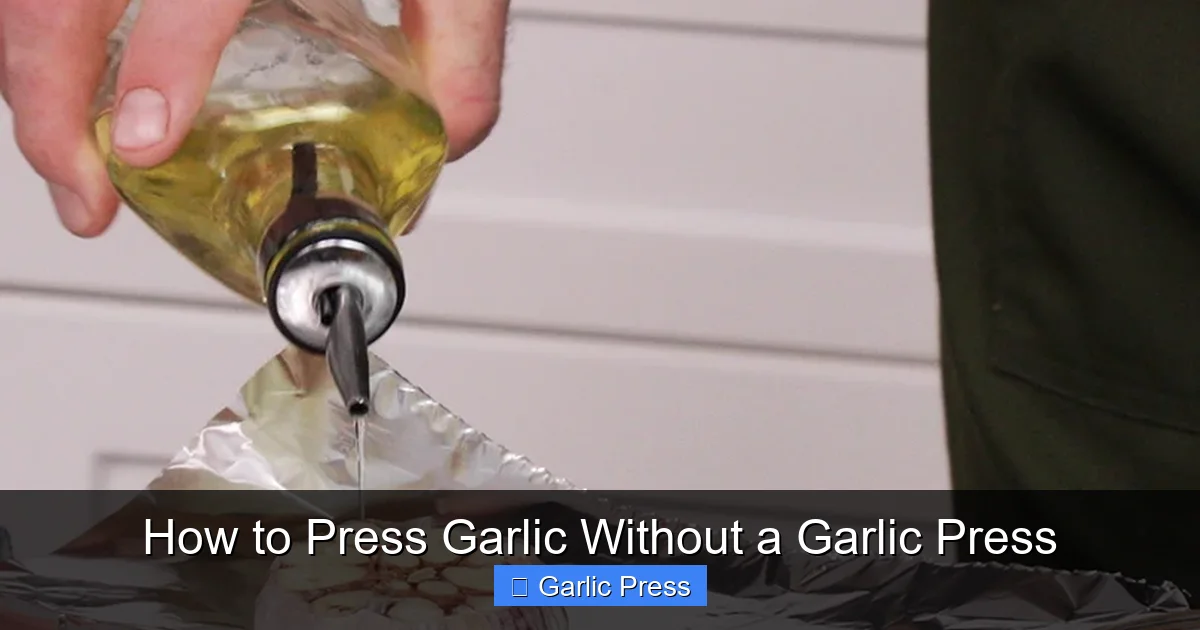
Visual guide about How to Press Garlic Without a Garlic Press
Image source: assets.catawiki.nl
Step-by-Step Instructions
- Peel the garlic cloves. To make this easier, you can microwave whole garlic bulbs for 10–15 seconds. The heat softens the skin, making it slip off.
- Place a clove on the cutting board. Lay the clove flat so it doesn’t roll around.
- Position the knife flat. Use the broad, flat side of the blade—not the tip.
- Smash firmly. Press down hard and steady. The goal is to flatten the clove, not chop it into pieces.
- Chop finely. Once flattened, use the knife to mince the clove into tiny pieces. Repeat with remaining cloves.
Pro Tips
- Use a chef’s knife—it has the weight and balance needed for a firm press.
- For even finer results, press the clove flat and then run the knife blade over it like a grater.
- This method is great for recipes calling for minced garlic, like stir-fries or salad dressings.
This technique is also a great way to avoid common kitchen mistakes, such as over-chopping or uneven texture. For more on avoiding cooking errors, check out Common Cooking Mistakes And How To Avoid Them.
Method 2: The Mason Jar Shake
Yes, you read that right—your mason jar isn’t just for canning. It’s also a surprisingly effective garlic crusher.
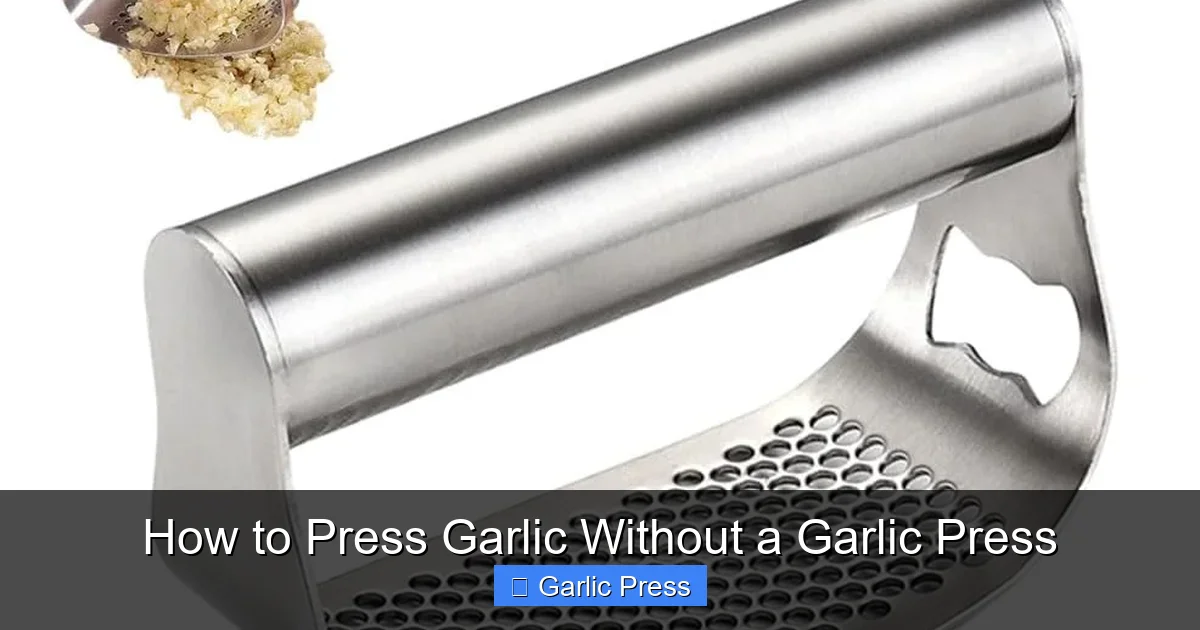
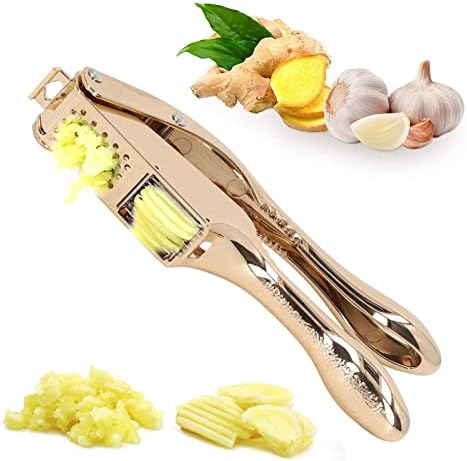
Visual guide about How to Press Garlic Without a Garlic Press
Image source: m.media-amazon.com
Step-by-Step Instructions
- Peel your garlic cloves. Use the microwave trick or just squeeze them out by hand.
- Add cloves to the jar. Use one or two cloves, depending on how much you need.
- Cover with a lid. Make sure it’s tight.
- Shake vigorously. Shake the jar for 30–60 seconds. The cloves will crush and mix with the air inside.
- Strain if needed. For a smoother paste, use a fork to mash the remaining bits.
Why This Works
The motion of shaking breaks down the garlic cells, releasing flavor. The jar acts like a mini food processor. Plus, it’s fun and oddly satisfying.
This method is perfect for small batches and is especially useful when you’re cooking for a small family efficiently. It saves time and requires no prep beyond peeling.
Method 3: Mortar and Pestle
If you’re serious about flavor, the mortar and pestle is your best friend. This ancient tool allows you to crush garlic slowly and precisely, preserving its essential oils.
Step-by-Step Instructions
- Peel the cloves. Again, microwaving helps.
- Add one clove at a time. This prevents the pestle from flying out.
- Crush with a circular motion. Press down and rotate the pestle to grind the garlic into a paste.
- Add a splash of oil. This helps bind the paste and makes it easier to work with.
- Continue grinding until smooth. For a finer texture, scrape the sides and grind again.
Tips for Best Results
- Use a ceramic or stone mortar—they don’t absorb odors like metal.
- Don’t rush. Slow, steady grinding preserves flavor.
- Clean the mortar immediately—garlic smell lingers.
This method is ideal for making garlic paste for marinades or sauces. It’s also a great way to improve your overall kitchen organization, as it keeps your tools in one place. For more tips on kitchen efficiency, see How To Improve Kitchen Organization.
Method 4: Using a Fork or Spoon
Sometimes, the simplest tools work best. A fork or spoon can be surprisingly effective for crushing garlic.
Step-by-Step Instructions
- Peel the garlic.
- Place on a cutting board.
- Press down with a spoon. Use the back of a spoon to smash the clove flat.
- Use a fork to scrape and mince. Run the tines over the crushed clove to break it into tiny pieces.
Best For
- Small amounts of garlic.
- Recipes where texture isn’t critical.
- Quick weeknight meals.
This method is especially helpful when you’re saving time while cooking daily meals. It’s fast and requires no special tools.
Method 5: Microwave Shortcut
Want to make peeling and crushing garlic even easier? Try microwaving it first.
Step-by-Step Instructions
- Place whole garlic bulb in a microwave-safe bowl.
- Cover with a damp paper towel.
- Microwave on high for 10–15 seconds.
- Let cool for 30 seconds.
- Peel and crush using your preferred method.
Why It Works
The heat softens the skin and separates the cloves, making them easy to peel and crush. This is a great trick if you’re making a large batch or don’t want to deal with stubborn skins.
For more time-saving kitchen hacks, check out How To Reheat Food Without Losing Taste.
How to Store Crushed Garlic
Freshly crushed garlic doesn’t last long. To extend its life, store it properly.
- Short-term: Keep in an airtight container in the fridge for up to 5 days.
- Long-term: Mix with olive oil and store in the fridge for up to a week. For longer storage, freeze in ice cube trays.
Storing garlic correctly helps prevent spoilage and keeps your dishes tasting fresh. For more on safe food storage, see How To Store Cooked Food Safely.
Troubleshooting Common Issues
Garlic is too dry
If your crushed garlic is dry and crumbly, add a drop of olive oil or water. Mix well before using.
Garlic is too chunky
Blend briefly in a food processor or use a knife to chop finer. For smoother results, use a mortar and pestle.
Garlic smell lingers
Wash tools with soap and water immediately. Baking soda and water can also neutralize odors.
Choosing the Right Method
Not all methods are created equal. Here’s how to pick the best one for your needs:
- Speed: Mason jar or knife method.
- Flavor: Mortar and pestle.
- Small batches: Fork or spoon.
- Large batches: Microwave + knife or mortar.
Each method has its place. The key is knowing when to use it.
Garlic Paste vs. Minced Garlic
Crushed garlic can be used as either minced garlic or garlic paste, depending on the recipe.
- Minced garlic: Small, uniform pieces. Best for sautéing or adding to soups.
- Garlic paste: Smooth, spreadable consistency. Ideal for marinades, dips, and rubs.
For a deeper understanding of garlic forms, see Fresh Garlic Vs Garlic Powder Guide.
🎥 Related Video: How to mince garlic without a garlic press #shorts
📺 Kitchen Draft
Easies way to mince garlic without a garlic press! #shorts #mincegarlic #garlic.
Final Thoughts
You don’t need a garlic press to press garlic. With a few simple tools and techniques, you can crush garlic just as effectively—and sometimes even better. Whether you use a knife, a mason jar, or a mortar and pestle, the goal is the same: release flavor and aroma to elevate your dishes.
These methods aren’t just alternatives—they’re upgrades. They save time, reduce mess, and improve flavor. So next time you’re in the kitchen and realize you’re out of a garlic press, don’t panic. Grab a knife, shake a jar, or grind with a pestle. You’ve got this.
And remember, cooking is about more than just recipes. It’s about creativity, efficiency, and enjoying the process. So experiment, adapt, and keep learning. Your taste buds—and your kitchen—will thank you.