Baking in an electric frying pan is a convenient and versatile way to make delicious meals without an oven. This guide will teach you how to use your electric frying pan effectively to bake a variety of dishes with perfect results every time. Whether you’re new to electric frying pans or looking to expand your cooking skills, you’ll find easy instructions, helpful tips, and troubleshooting advice to get started.
Contents
- 1 Key Takeaways
- 2 How to Bake in an Electric Frying Pan for Perfect Results Every Time
- 3 Why Bake in an Electric Frying Pan?
- 4 What You’ll Need
- 5 Step 1: Preparing Your Electric Frying Pan
- 6 Step 2: Preheating the Electric Frying Pan
- 7 Step 3: Preparing Your Batter or Dough
- 8 Step 4: Baking in the Electric Frying Pan
- 9 Step 5: Cooling and Serving
- 10 Practical Tips for Baking Success
- 11 Troubleshooting Common Issues
- 12 Cleaning and Maintenance
- 13 Conclusion
Key Takeaways
- Electric frying pans can bake: They are a great alternative to ovens for baking cakes, casseroles, and more.
- Temperature control is key: Maintaining the right heat ensures even baking and prevents burning.
- Use the right cookware: Use oven-safe pans or baking dishes that fit inside your electric frying pan.
- Preheating matters: Always preheat your electric frying pan before baking for consistent results.
- Cover your pan: Using a lid helps retain heat and moisture during baking.
- Check doneness carefully: Use visual cues and toothpick tests since baking times may vary.
- Regular cleaning: Proper care of your electric frying pan extends its lifespan and performance.
How to Bake in an Electric Frying Pan for Perfect Results Every Time
Baking is often associated with ovens, but did you know you can achieve delicious baked dishes using an electric frying pan? These handy appliances offer a fantastic way to bake when you don’t have access to a conventional oven or want a quicker, energy-efficient option. In this guide, you’ll learn everything you need to know about how to bake in an electric frying pan with step-by-step instructions, practical tips, and troubleshooting advice to ensure your baking turns out perfectly every time.
Why Bake in an Electric Frying Pan?
Electric frying pans are versatile, easy to use, and heat up quickly. They offer precise temperature control and can be used indoors without heating up your whole kitchen. Baking in an electric frying pan can save energy and space, making it ideal for small apartments, dorm rooms, or camping trips. Plus, it’s a fun way to experiment with recipes that don’t require a traditional oven.
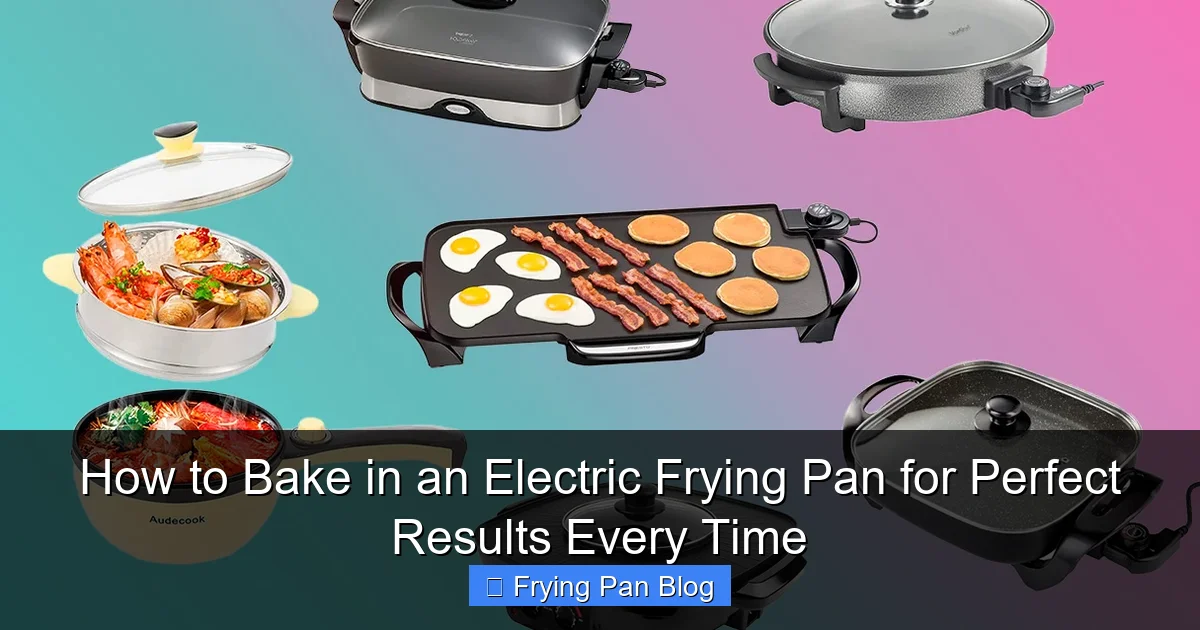
Visual guide about How to Bake in an Electric Frying Pan for Perfect Results Every Time
Image source: c02.purpledshub.com
What You’ll Need
- Electric frying pan with adjustable temperature control and a lid
- Oven-safe baking dishes or pans that fit inside your electric frying pan
- Cooking spray or oil to grease your pans
- Ingredients for your chosen recipe
- Thermometer (optional but helpful for accuracy)
- Heat-resistant gloves or mitts
Step 1: Preparing Your Electric Frying Pan
Clean the Pan
Before you start baking, make sure your electric frying pan is clean and dry. Residual grease or food can affect the taste and texture of your baked goods.
Choose the Right Bakeware
Pick oven-safe baking dishes that fit inside the pan comfortably, leaving some space around the edges for heat circulation. Glass, ceramic, or metal pans work well. Avoid plastic or non-oven-safe materials.
Grease Your Bakeware
Use cooking spray, butter, or oil to grease the baking dish. This prevents your baked goods from sticking and helps with easy cleanup.
Step 2: Preheating the Electric Frying Pan
Preheating is essential for even baking. Set your electric frying pan to the temperature recommended by your recipe, usually between 325°F to 375°F (160°C to 190°C). Close the lid and allow the pan to heat for 10-15 minutes. Using a thermometer can help you confirm the correct temperature.
Step 3: Preparing Your Batter or Dough
While the pan preheats, prepare your batter or dough according to your recipe. Whether you’re baking a cake, bread, or casserole, follow your instructions carefully for the best results.
Step 4: Baking in the Electric Frying Pan
Place the Bakeware Inside
Carefully place your greased baking dish inside the preheated electric frying pan. Make sure it sits flat and stable on the pan’s surface.
Cover with the Lid
Cover the pan with its lid to trap heat and moisture. This simulates an oven environment, ensuring your baked item cooks through evenly.
Monitor the Temperature
Adjust the temperature if needed to keep it steady. Avoid opening the lid frequently, as this lets heat escape and can affect baking times.
Check for Doneness
Start checking your dish a few minutes before the recipe’s suggested baking time ends. Use a toothpick or skewer inserted into the center — if it comes out clean, your baked item is done.
Step 5: Cooling and Serving
Once baked, carefully remove the bakeware from the electric frying pan using heat-resistant gloves. Let your baked goods cool in the dish for 10-15 minutes before serving or removing them from the pan.
Practical Tips for Baking Success
- Maintain consistent heat: Electric frying pans can have hot spots, so rotate your bakeware halfway through baking if possible.
- Use a thermometer: To ensure precise temperatures, use a cooking thermometer inside the pan.
- Cover your bakeware: If your bakeware doesn’t have a lid, loosely cover it with aluminum foil to retain moisture.
- Adjust baking times: Baking in a frying pan might take slightly longer than in a traditional oven. Be patient and check regularly.
- Experiment with recipes: Try casseroles, brownies, small cakes, and even bread for a variety of baked goods.
Troubleshooting Common Issues
Uneven Baking or Burning
This usually happens due to uneven heat distribution. Try rotating your bakeware halfway through baking and make sure the pan’s temperature is steady.
Baked Goods Not Cooking Through
If your dish is undercooked inside, lower the temperature and increase baking time. Covering the pan properly helps retain heat and moisture.
Sticky or Sticking Bottoms
Always grease your bakeware well. You can also line your pans with parchment paper for easier removal.
Lid Not Fitting Properly
If your frying pan lid doesn’t fit snugly, use aluminum foil to cover the pan tightly, trapping the heat and moisture inside.
Cleaning and Maintenance
After baking, allow your electric frying pan to cool completely before cleaning. Use warm soapy water and a soft sponge to clean the pan and lid. Avoid abrasive cleaners that can damage the surface. Regular maintenance keeps your pan performing well for years.
Conclusion
Baking in an electric frying pan is a simple, efficient, and enjoyable way to prepare a wide range of delicious dishes. By following the steps outlined in this guide, you can master the art of electric frying pan baking and enjoy perfect results every time. Remember to preheat your pan, use the right bakeware, monitor your temperature, and be patient. With a little practice, you’ll find this method both convenient and rewarding.
🎥 Related Video: Can You Bake In An Electric Skillet? Yes! Here Are Superb 7 Steps To Do It!
📺 MilkwoodRestaurant Com
How To Do It There is no better way to use an electric skillet for baking than with a baking pan. The procedure is easy and takes …