How to Break in a New Non Stick Frying Pan for Best Results
Breaking in a new non stick frying pan is essential to maximize its lifespan and cooking efficiency. This guide walks you through easy, practical steps to season and care for your pan, ensuring better food release and even heating from day one.
Key Takeaways
- Proper cleaning: Always clean your new non stick pan gently before first use to remove factory residues.
- Initial seasoning: Lightly oiling and heating the pan helps enhance the non stick surface.
- Avoid high heat: Use medium or low heat to protect the coating and extend pan life.
- Use the right utensils: Prefer silicone, wooden, or plastic tools to prevent scratches.
- Regular maintenance: Clean carefully after each use and re-season occasionally.
- Patience matters: Proper break-in improves non stick performance gradually over several uses.
- Troubleshooting tips: Learn how to handle sticking or discoloration issues effectively.
How to Break in a New Non Stick Frying Pan for Best Results
Welcome! If you’ve just bought a new non stick frying pan, you’re probably eager to start cooking delicious meals with it. But did you know that properly breaking in your pan can make all the difference in how well it performs and how long it lasts? In this guide, you’ll learn step-by-step how to prepare your new non stick frying pan for everyday use. We’ll cover cleaning, seasoning, cooking tips, and maintenance to ensure your pan stays non stick and efficient for years to come.
Why Breaking in a New Non Stick Pan Matters
Non stick pans come with a special coating that helps prevent food from sticking to the surface. However, this coating benefits from a gentle preparation process before you start cooking regularly. Breaking in your pan:

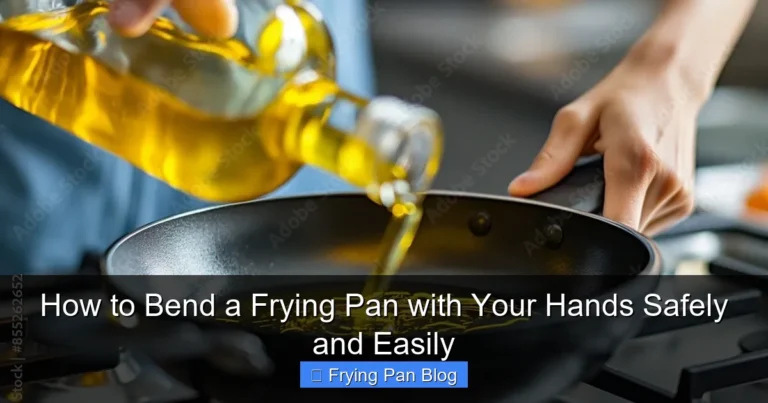
Visual guide about How to Break in a New Non Stick Frying Pan for Best Results
Image source: gadgets-club.com
- Removes any factory residues or protective oils
- Enhances the non stick surface through light seasoning
- Prepares the pan to heat evenly
- Extends the lifespan of the coating
Skipping this process can lead to food sticking, uneven cooking, or faster wear and tear on your pan.
Step 1: Initial Cleaning of Your New Pan
Before you cook anything, give your new pan a thorough but gentle cleaning.
What You Need
- Mild dish soap
- Soft sponge or cloth
- Warm water
- Soft towel for drying
How to Clean
- Rinse the pan under warm water to remove dust or loose particles.
- Apply a small amount of mild dish soap to a soft sponge.
- Gently wash the entire interior and exterior surfaces of the pan. Avoid abrasive scrubbers which can damage the coating.
- Rinse thoroughly with warm water to remove all soap residue.
- Dry the pan completely with a soft towel or allow it to air dry.
Tip: This cleaning removes any manufacturing oils or dust that may interfere with seasoning and cooking.
Step 2: Seasoning Your Non Stick Pan
Seasoning is a simple process that coats the surface with a thin layer of oil to enhance the pan’s non stick properties.
What You Need
- High smoke point oil (e.g., vegetable oil, canola oil, or grapeseed oil)
- Paper towel or soft cloth
How to Season
- Pour a small amount of oil (about one teaspoon) into the clean, dry pan.
- Use a paper towel or cloth to spread the oil evenly over the entire cooking surface.
- Place the pan on the stove over medium heat.
- Let the pan heat for about 2-3 minutes until the oil lightly smokes or shimmers.
- Turn off the heat and allow the pan to cool completely.
- Wipe off any excess oil with a clean paper towel.
Tip: Seasoning your pan before first use helps create a slick surface that prevents food from sticking and makes cleaning easier.
Step 3: Cooking with Your New Non Stick Pan
Once your pan is cleaned and seasoned, it’s time to cook! Follow these guidelines to get the best results.
Preheat Properly
- Always preheat your pan on low to medium heat for 1-2 minutes before adding food or oil.
- Avoid heating an empty pan on high heat, as this can damage the coating.
Use the Right Oils and Fats
- Choose oils with medium to high smoke points (e.g., avocado oil, canola oil).
- Apply a small amount of oil or butter to the pan before cooking to improve food release.
Use Suitable Utensils
- Use wooden, silicone, or plastic tools to avoid scratching the non stick surface.
- Avoid metal utensils that can chip or damage the coating.
Cook at Moderate Temperatures
- Non stick pans work best on low to medium heat.
- High heat can cause the coating to degrade faster and may damage your pan.
Step 4: Cleaning and Maintenance After Use
Taking good care of your non stick pan after cooking helps maintain its performance and lifespan.
Cool Before Cleaning
- Let the pan cool down before washing to prevent warping.
Hand Wash Only
- Use warm water, mild dish soap, and a soft sponge or cloth.
- Avoid abrasive scrubbers or harsh chemicals.
Dry and Store Properly
- Dry the pan thoroughly with a towel to prevent water spots.
- Stack pans carefully or use pan protectors to avoid scratches.
Re-season Occasionally
- If you notice food starting to stick, repeat the seasoning process to restore the surface.
Troubleshooting Common Issues
Food Sticks Despite Seasoning
If food sticks, it may be due to insufficient oil, cooking at too high heat, or not preheating the pan properly. Try using a small amount of oil and always preheat the pan on medium heat before adding food.
Discoloration or Stains on the Pan
Discoloration can occur from overheating or mineral buildup. Clean gently with a mixture of baking soda and water, then re-season the pan.
Scratches or Damage to the Coating
Scratches often happen from using metal utensils or abrasive cleaning tools. Always use soft utensils and sponges, and avoid stacking pans without protection.
Additional Tips for Longevity
- Don’t use cooking sprays regularly, as they can build up residue and dull the surface.
- Avoid cooking acidic foods (like tomatoes) for long periods, which can wear down the coating.
- Replace your pan when the coating becomes significantly scratched or peeling, to avoid health risks.
Conclusion
Breaking in your new non stick frying pan is easy but important. By cleaning, seasoning, and cooking properly, you’ll enjoy a pan that releases food effortlessly and lasts for years. Remember to treat your pan gently, avoid high heat, and maintain it regularly. With these tips, your non stick frying pan will become your trusted kitchen companion for countless delicious meals!
🎥 Related Video: How to: Season a New Nonstick Frying Pan
📺 Comfort’s Kitchen Flavours
Seasoning your nonstick cookware is essential to get the most out of them and to ensure that they last longer. In this video, I show …