How to Transport Hot Dutch Oven
Transporting a hot Dutch oven can be tricky, but with the right techniques, you can do it safely and efficiently. This guide covers how to transport hot Dutch oven properly, including essential safety tips, step-by-step instructions, and practical advice to protect both you and your cookware.
Key Takeaways
- Use proper insulation: Protect your hands and surfaces by using thick oven mitts and heat-resistant carriers.
- Choose the right container or carrier: Select insulated bags, coolers, or specialized Dutch oven carriers designed to handle heat.
- Secure the lid: Prevent spills by tightly securing the lid with bungee cords or oven-safe straps.
- Allow partial cooling: If possible, let the Dutch oven cool slightly before transport to reduce risk of burns and damage.
- Transport on a stable surface: Use a flat and sturdy base in your vehicle to avoid tipping and accidents.
- Plan your route: Minimize travel time and avoid sudden stops for safer transport.
- Clean and maintain: Clean your Dutch oven after transport to prevent damage and prolong its lifespan.
How to Transport Hot Dutch Oven: A Complete Guide
Transporting a hot Dutch oven might sound simple, but it requires care and attention to safety. Whether you’re bringing your cast iron masterpiece from the kitchen to an outdoor picnic, a campsite, or a friend’s house, knowing how to transport hot Dutch oven safely can save you from burns, spills, and damage to your cookware or car. In this guide, you’ll learn practical steps and tips that ensure your Dutch oven arrives safely and ready for use.
Why Proper Transport Matters
A Dutch oven is heavy, retains heat for a long time, and can cause serious burns or damage if mishandled when hot. Improper transport may lead to accidents, broken cookware, or ruined meals. Learning how to transport hot Dutch oven properly protects you, others around you, and your investment.
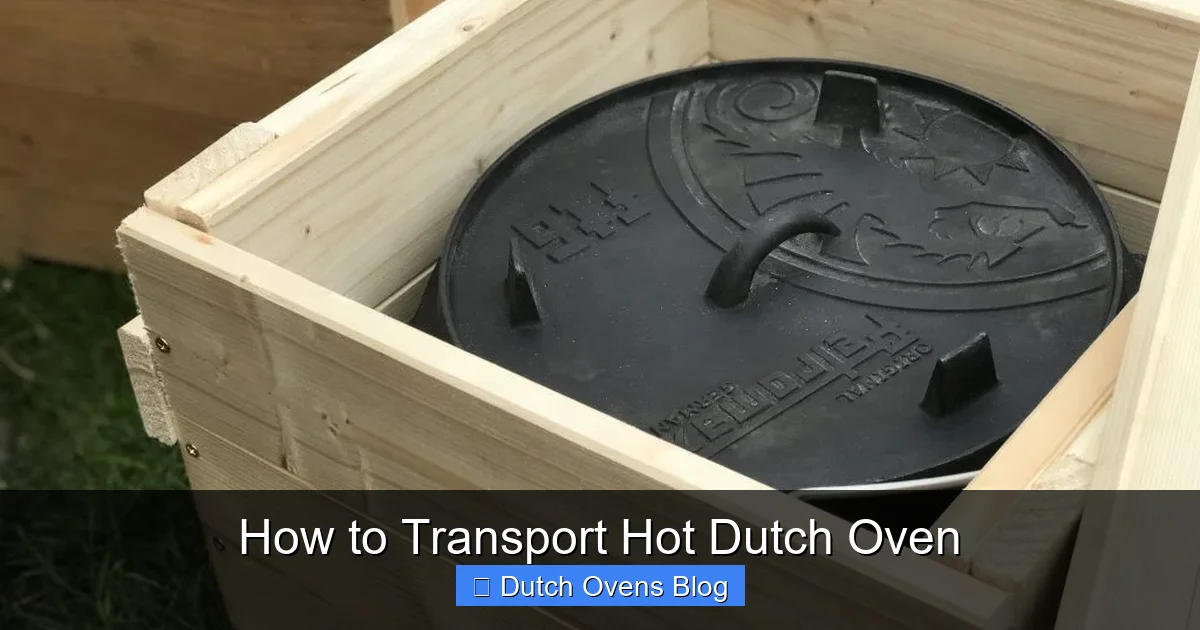
Visual guide about How to Transport Hot Dutch Oven
Image source: matsch-und-piste.de
Step 1: Prepare for Transport Before Heating
Choose the Right Dutch Oven
Not all Dutch ovens are created equal. Some are made of cast iron, others of ceramic or aluminum. Cast iron retains heat best but is also heaviest and most fragile if dropped. If you plan to transport frequently, consider a Dutch oven with a lid that fits tightly and a smooth surface for easy cleaning.
Inspect Your Dutch Oven
Before heating, check for any cracks, chips, or damage. Transporting hot cookware with structural issues increases the risk of accidents.
Step 2: Use Proper Protective Gear
Wear Heat-Resistant Gloves or Oven Mitts
Always use thick, heat-resistant gloves or oven mitts when handling a hot Dutch oven. Thin gloves or bare hands can lead to severe burns.
Protect Your Transport Surfaces
Use heatproof mats, towels, or silicone pads to protect car seats, picnic tables, or countertops where you will place the hot Dutch oven.
Step 3: Secure the Lid to Prevent Spills
Use Oven-Safe Straps or Bungee Cords
Hot food can spill if the lid moves during transport. Secure the lid with oven-safe straps or bungee cords to keep it firmly in place.
Wrap the Dutch Oven in Towels or Blankets
Wrapping your Dutch oven in thick towels or blankets not only cushions it but also helps retain heat during transport.
Step 4: Choose a Suitable Transport Container
Insulated Bags or Coolers
Special insulated carriers or heavy-duty coolers can help maintain the Dutch oven’s temperature and prevent burns during transport.
DIY Transport Solutions
If you don’t have a specialized carrier, use a sturdy box lined with towels or blankets. Place the Dutch oven inside and fill gaps to prevent shifting.
Step 5: Partial Cooling for Safety (If Possible)
Allow the Dutch Oven to Cool Slightly
When time allows, let the Dutch oven cool for 10-15 minutes before transport. This reduces the risk of burns and makes handling easier.
Cover the Dutch Oven During Cooling
Keep the lid on while cooling to preserve moisture and heat within the food.
Step 6: Transporting the Dutch Oven Safely
Place the Dutch Oven on a Stable, Flat Surface
In your vehicle, place the Dutch oven on a flat surface like the floor or trunk, using a non-slip mat or towel underneath.
Drive Carefully
Avoid sharp turns, sudden stops, and rough roads to prevent the Dutch oven from tipping over or sliding.
Use a Two-Person Carry Method
If the Dutch oven is large or heavy, carry it with a partner to maintain stability and reduce the chance of dropping it.
Step 7: Unloading and Serving
Use Protective Gear Again
When removing the Dutch oven, use gloves or mitts to avoid burns.
Place on Heat-Resistant Surfaces
Set the Dutch oven down on a trivet, hot pad, or metal surface to protect furniture or picnic tables.
Step 8: Cleaning and Maintenance After Transport
Once you’ve finished, clean your Dutch oven properly to maintain its seasoning and prevent rust. Avoid using soap on cast iron; instead, scrub with hot water and a brush. Dry thoroughly and apply a light coating of oil.
Practical Tips and Examples
- Tip: Use a large cooler without ice to keep the Dutch oven warm and contained when traveling longer distances.
- Example: When camping, place the Dutch oven inside a folded blanket inside your car trunk to keep it warm and secure.
- Tip: Label your transport carrier as “Hot” to warn others handling the item.
Troubleshooting Common Issues
Problem: Lid Keeps Sliding Off
Solution: Use oven-safe silicone bands or bungee cords to secure the lid firmly. Wrapping the Dutch oven in towels can also help keep the lid in place.
Problem: Dutch Oven Too Heavy to Carry Alone
Solution: Ask for help or transfer the food to smaller containers if possible. For heavier ovens, always carry with two people.
Problem: Dutch Oven Slips in Vehicle
Solution: Use a non-slip mat or towel underneath. Place it low in the vehicle, such as on the floor, to minimize movement.
Problem: Burn Risk During Transport
Solution: Wear thick gloves, use insulated carriers, and allow the oven to cool slightly before moving.
Conclusion
Knowing how to transport hot Dutch oven safely is essential for any cooking enthusiast. With the right preparation, protective gear, and transport techniques, you can move your Dutch oven without risk of injury or damage. Follow these steps to enjoy your delicious meals wherever you go, confident that your Dutch oven and surroundings are protected. Happy cooking and safe travels!
🎥 Related Video: Dutch Oven camp Hacks
📺 Coalcracker Bushcraft
BUSHCRAFT KID! Buy the BOOK NOW!