How to Build a Frying Pan Step by Step for Perfect Cooking Results
In this guide, you’ll discover how to build a frying pan from scratch with easy-to-follow steps. Whether you’re a DIY enthusiast or want a custom pan, this tutorial covers everything from materials to finishing touches for perfect cooking results.
Key Takeaways
- Choosing materials: Select the right metals like stainless steel or carbon steel for durability and heat conduction.
- Shaping the pan: Proper hammering and molding techniques create a sturdy, even cooking surface.
- Adding the handle: Secure a comfortable, heat-resistant handle for safe use.
- Seasoning the pan: Season your pan correctly to develop a natural non-stick surface.
- Maintenance tips: Learn how to clean and care for your pan to extend its lifespan.
- Troubleshooting: Fix common issues like warping or uneven heating effectively.
- Customization options: Personalize your pan’s size, shape, and finish based on your cooking style.
How to Build a Frying Pan Step by Step for Perfect Cooking Results
Welcome to your ultimate DIY guide on how to build a frying pan. Making your own frying pan is not only a fun project but also a way to enjoy cooking with a tool tailored just for you. In this guide, we’ll walk you through every step, from choosing the right materials to seasoning your pan for the best cooking experience.
Step 1: Gather Your Materials and Tools
Materials Needed
- Sheet metal (carbon steel or stainless steel)
- Metal rod or wooden piece for the handle
- Rivets or screws
- Heat-resistant paint or oil for seasoning
Tools Required
- Metal cutting shears or saw
- Hammer and anvil or sturdy surface
- Drill with metal bits
- Metal file or sandpaper
- Protective gloves and goggles
- Clamps or vice
Tip: Choose carbon steel if you want a pan that heats quickly and develops great seasoning. Stainless steel is easier to maintain but may need more oiling.
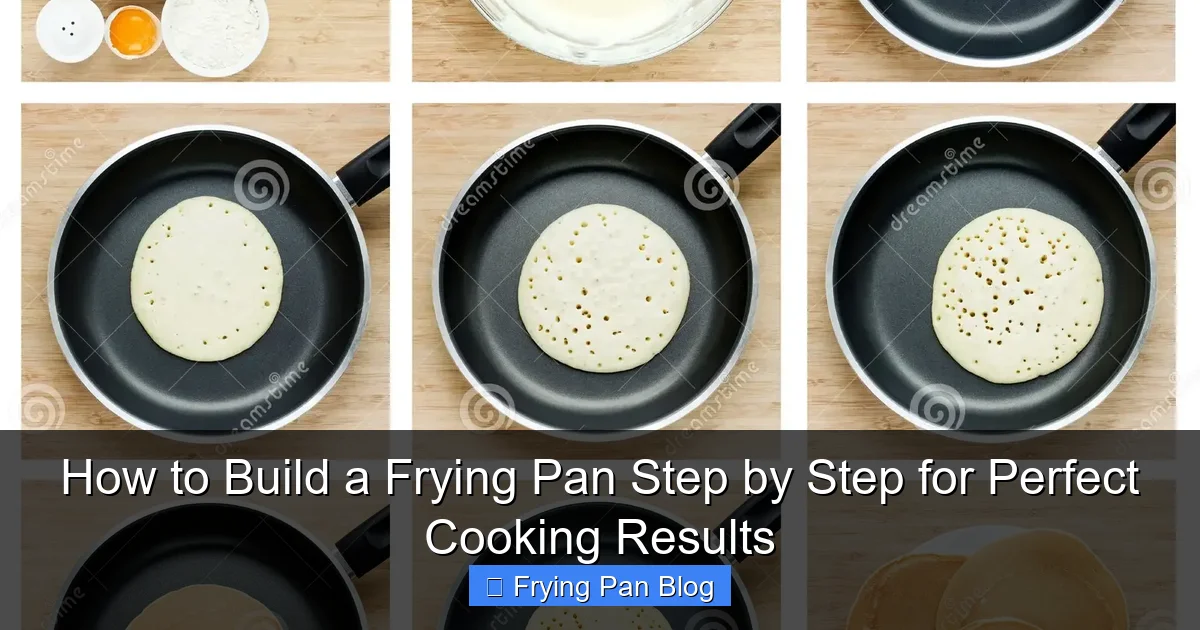
Visual guide about How to Build a Frying Pan Step by Step for Perfect Cooking Results
Image source: thumbs.dreamstime.com
Step 2: Design and Cut the Pan Base
Start by deciding the size and shape of your frying pan. A typical pan is about 10-12 inches in diameter, but you can customize this.
Draw Your Pan Shape
- Use a compass or a round object to trace a circle on your sheet metal.
- Mark the edges clearly for precise cutting.
Cut the Metal
- Wear gloves and goggles for safety.
- Use metal shears or a saw to carefully cut along your traced line.
- File the edges smooth to avoid sharpness.
Example: Many DIYers prefer a slightly deeper pan for versatility, so consider adding 1-2 inches in height by shaping the edges.
Step 3: Shape the Pan Sides
The pan’s sides need to be bent up to hold food and oil. This step requires patience and precision.
Mark the Bending Line
- Measure about 1 to 1.5 inches from the edge inward and mark a line all around.
Bend the Edges
- Use a hammer and anvil or a sturdy surface to gently bend the metal upwards along the marked line.
- Work slowly and evenly to avoid cracks or uneven sides.
- Clamp the metal if necessary to hold the shape while bending.
Tip: If you have access to a metal brake, it can make bending easier and more precise.
Step 4: Prepare and Attach the Handle
The handle should be sturdy, heat-resistant, and comfortable to hold. You can use wood, metal, or a combination.
Cut and Shape the Handle
- If using wood, cut a piece about 6-8 inches long and smooth it with sandpaper.
- For metal handles, bend a metal rod or strip into a comfortable shape.
Attach the Handle
- Drill holes in the pan’s side and the handle ends to align.
- Use rivets or screws to secure the handle firmly.
- Check for sharp edges and smooth them to avoid injuries.
Safety Tip: If you choose a metal handle, consider wrapping it with heat-resistant material to prevent burns.
Step 5: Season Your Frying Pan
Seasoning builds a natural non-stick layer that improves cooking and protects the pan. This step is essential for carbon steel pans.
Clean the Pan
- Wash with warm soapy water to remove oils or residues.
- Dry thoroughly with a towel.
Apply Oil
- Choose vegetable oil, flaxseed oil, or shortening.
- Coat the entire pan, inside and out, with a thin layer of oil.
Heat the Pan
- Place the pan upside down in an oven preheated to 450°F (230°C).
- Bake for 1 hour to bond the oil to the metal.
- Turn off the oven and let the pan cool inside.
Tip: Repeat the seasoning process 2-3 times for a better coating.
Step 6: Test and Use Your Frying Pan
Now that your pan is ready, it’s time to cook! Start with simple recipes like frying eggs or sautéing vegetables to see how your pan performs.
Test Even Heating
- Heat the pan on medium and watch for hot spots.
- If some areas heat unevenly, try adjusting your stove setting or seasoning again.
Practice Proper Use
- Use medium heat to preserve seasoning and avoid warping.
- Always preheat the pan before adding food.
Troubleshooting Common Issues
Warped Pan Base
If your pan warps during heating, try heating it gradually and avoid sudden temperature changes. If warping persists, consider reinforcing the base with an additional metal layer.
Sticky or Rusty Surface
Sticky surfaces usually mean the seasoning is uneven. Re-season your pan by cleaning and applying thin oil coats. For rust, scrub lightly with steel wool and re-season immediately.
Loose Handle
Check rivets or screws regularly. Tighten or replace them if needed to ensure safety.
Maintaining Your Homemade Frying Pan
- Clean with warm water and a soft sponge; avoid soap if possible.
- Dry immediately to prevent rust.
- Reapply oil after each use to maintain seasoning.
- Store in a dry place.
Reminder: Regular maintenance keeps your pan cooking perfectly for years.
Conclusion
Building your own frying pan is a rewarding project that combines craftsmanship with practical cooking benefits. By following these detailed steps, you can create a durable, efficient frying pan customized to your needs. Remember to season and maintain your pan well to enjoy perfect cooking results every time. Happy cooking!
🎥 Related Video: How To Make Stainless Steel NONSTICK (The Leidenfrost Effect Explained)
📺 TriggTube
The Secret to Prevent Food From Sticking to your pans… is called the Leidenfrost effect. If you’re afraid of using stainless steel, just …