How to Clean Ceramic Dutch Ovens
Cleaning ceramic Dutch ovens is simple when you know the right steps. This guide covers everything from daily cleaning to removing tough stains, ensuring your Dutch oven stays beautiful and functional for years. Follow our easy tips to keep your ceramic cookware sparkling clean without damage.
Key Takeaways
- Regular cleaning: Use mild soap and warm water after each use to maintain your ceramic Dutch oven’s finish.
- Removing stains: Baking soda and vinegar are effective natural cleaners for stubborn food residues and discoloration.
- Avoid harsh tools: Do not use metal scrubbers or abrasive cleaners to protect the ceramic coating.
- Deep cleaning: Soak in warm soapy water or use a paste of baking soda for tough grease and burnt-on food.
- Dry thoroughly: Always dry your Dutch oven completely to prevent moisture damage or odors.
- Handle with care: Avoid sudden temperature changes to prevent cracking or chipping of the ceramic surface.
- Preventive care: Regular maintenance keeps your ceramic Dutch oven looking new and extends its lifespan.
How to Clean Ceramic Dutch Ovens
If you love cooking with ceramic Dutch ovens, you know how versatile and beautiful they are. But keeping them clean can be tricky if you don’t know the right methods. This guide will teach you how to clean ceramic Dutch ovens step by step, from everyday washing to tackling tough stains and burnt food. With easy-to-follow instructions and practical tips, you’ll keep your cookware looking great and lasting longer.
Why Proper Cleaning Matters for Ceramic Dutch Ovens
Ceramic Dutch ovens have a delicate enamel coating that can chip or discolor if cleaned harshly. Using the wrong cleaning tools or chemicals can damage the surface, affecting performance and appearance. By following gentle and effective cleaning techniques, you protect your investment and enjoy better cooking results.
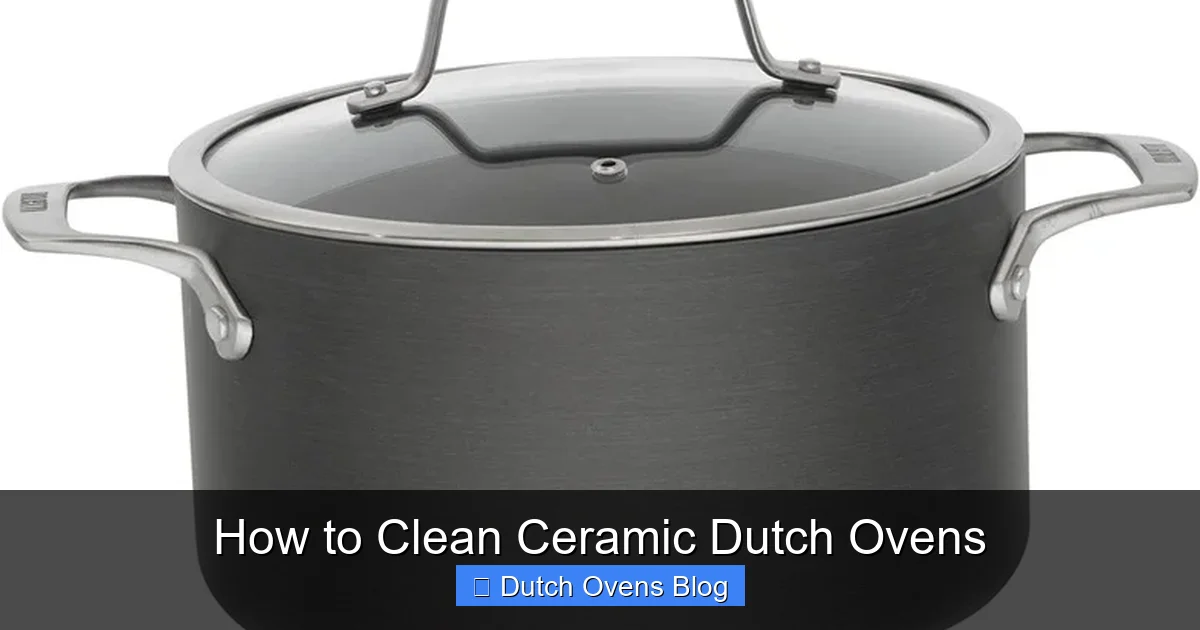
Visual guide about How to Clean Ceramic Dutch Ovens
Image source: hunker.com
Daily Cleaning: Keep It Simple and Safe
Step 1: Let It Cool Down
After cooking, allow your ceramic Dutch oven to cool to room temperature. Sudden temperature changes can cause thermal shock, which cracks the ceramic coating.
Step 2: Wash with Warm Soapy Water
Use a soft sponge or cloth with mild dish soap and warm water. Gently scrub the interior and exterior surfaces to remove food residue. Avoid abrasive pads that can scratch the ceramic.
Step 3: Rinse and Dry
Rinse thoroughly with warm water to remove soap. Dry immediately with a soft towel to prevent water spots and moisture buildup.
Removing Stubborn Stains and Food Residue
Step 1: Baking Soda Paste
Mix baking soda with a little water to create a thick paste. Apply it to stained areas and let it sit for 15-20 minutes. Baking soda gently lifts stains without damaging the ceramic.
Step 2: Gentle Scrubbing
Use a non-abrasive sponge or nylon brush to scrub the stained areas. The paste should help loosen tough spots with minimal effort.
Step 3: Rinse and Repeat if Needed
Rinse the Dutch oven thoroughly. For very stubborn stains, repeat the process or move on to the vinegar soak method.
Step 4: Vinegar Soak
Fill the Dutch oven with a mixture of equal parts warm water and white vinegar. Let it soak for 30 minutes to an hour to break down mineral deposits and discoloration.
Step 5: Final Wash and Dry
After soaking, wash with soap and water, rinse, and dry thoroughly.
Deep Cleaning for Burnt-On Food
Step 1: Soak in Warm Soapy Water
Fill the Dutch oven with warm water and a few drops of dish soap. Let it soak overnight to soften burnt food.
Step 2: Use a Wooden or Plastic Scraper
Carefully scrape off loosened food with a wooden or plastic spatula. Avoid metal tools to protect the ceramic coating.
Step 3: Baking Soda and Vinegar for Tough Burns
Sprinkle baking soda over burnt areas, then add a small amount of vinegar. The fizzing action helps lift burnt-on food. Let it sit for 15-20 minutes before scrubbing gently.
Step 4: Rinse and Dry
Wash with warm soapy water, rinse thoroughly, and dry.
Cleaning the Exterior of Your Ceramic Dutch Oven
Step 1: Wipe Down After Use
Use a damp cloth with mild soap to wipe the outside of the Dutch oven. This prevents grease buildup and stains.
Step 2: Remove Tough Stains
For stubborn marks, use a paste of baking soda and water or a gentle cleaner designed for enamel surfaces. Test a small area first.
Step 3: Avoid Abrasive Materials
Do not use steel wool or scouring pads on the exterior, as they can scratch and dull the finish.
Practical Tips to Maintain Your Ceramic Dutch Oven
- Use wooden or silicone utensils to avoid scratching the ceramic surface.
- Avoid extreme temperature changes to prevent cracking or chipping.
- Store with the lid off or slightly ajar to allow airflow and prevent odors.
- Clean spills promptly to avoid stains setting in.
- Regularly inspect for chips or cracks and discontinue use if severe damage occurs.
Troubleshooting Common Issues
Stubborn Stains Won’t Come Off
Try repeating the baking soda paste and vinegar soak methods. For very tough stains, a commercial enamel cleaner may help. Always follow manufacturer instructions and test in a small area first.
Smelly Dutch Oven
Soak in a mixture of water and baking soda overnight to neutralize odors. Make sure to dry completely before storing.
Chipped or Cracked Ceramic
Small chips are cosmetic but avoid cooking acidic foods in damaged areas. For cracks, consider replacing the Dutch oven to avoid safety hazards.
Conclusion
Cleaning ceramic Dutch ovens doesn’t have to be a chore. With the right tools and gentle methods, you can keep your cookware looking its best. Remember to wash daily with mild soap, tackle stains using natural ingredients like baking soda and vinegar, and avoid abrasive tools. Following these steps will protect your Dutch oven’s ceramic coating and extend its lifespan, making every meal a pleasure to cook and serve.