How to Clean Dutch Oven Enamel
Keeping your Dutch oven enamel clean is essential for both appearance and cooking performance. This guide teaches you simple, safe, and effective methods to remove stains, stuck-on food, and discoloration from your enamel cookware, helping it last for years.
Key Takeaways
- Gentle cleaning is best: Use non-abrasive tools and mild cleaners to protect enamel surfaces.
- Regular maintenance prevents buildup: Clean your Dutch oven soon after use to avoid tough stains.
- Natural ingredients help: Baking soda, vinegar, and lemon can remove stains without harsh chemicals.
- Soaking loosens stuck-on food: Warm water and gentle soap help make cleaning easier.
- Specialized cleaners are available: Use enamel-safe products for deep cleaning when necessary.
- Avoid metal scrubbers: They can scratch and damage the enamel coating.
- Proper drying prevents rust: Always dry your Dutch oven thoroughly after cleaning.
How to Clean Dutch Oven Enamel
If you love cooking with a Dutch oven, you know how sturdy and versatile these pots are. Many Dutch ovens feature a beautiful enamel coating that not only looks great but also helps with easy cleaning and even cooking. However, keeping that enamel clean and shiny can sometimes be a challenge, especially after cooking sticky or burnt foods. In this guide, we’ll show you how to clean Dutch oven enamel properly, using safe and effective methods. Whether your enamel has light stains or stubborn baked-on food, you’ll find helpful steps and tips here to restore your cookware’s shine and keep it in excellent condition.
Step 1: Gather Your Cleaning Supplies
Before you start cleaning, it’s important to have the right supplies ready. Here’s what you’ll need:

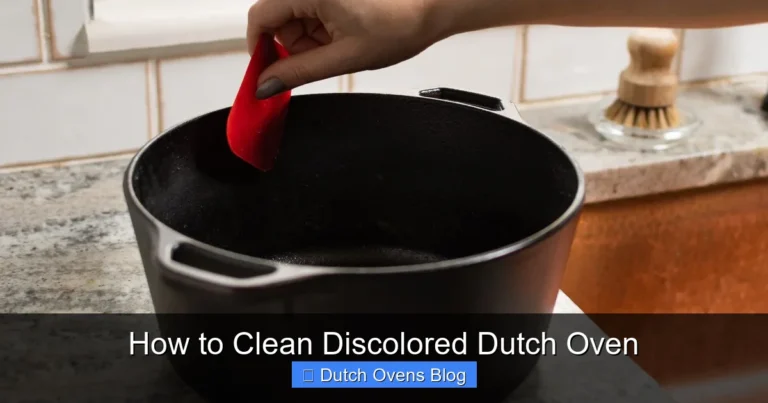
Visual guide about How to Clean Dutch Oven Enamel
Image source: kitchenseer.com
- Mild dish soap
- Warm water
- Soft sponge or cloth
- Baking soda
- White vinegar or lemon juice
- Plastic or silicone scraper (optional)
- Non-abrasive brush
- Soft towel or microfiber cloth for drying
- Enamel-safe cleaner (optional, for tough stains)
These tools will help you clean your Dutch oven enamel without scratching or damaging the surface.
Step 2: Basic Cleaning After Each Use
Rinse and Soak
Right after cooking, let your Dutch oven cool down slightly. Then rinse it with warm water to remove loose food particles. If there’s stuck-on food, fill the pot with warm water and a few drops of mild dish soap. Let it soak for 15-30 minutes to loosen residue.
Gently Scrub
Use a soft sponge or cloth to gently scrub the inside and outside of the Dutch oven. Avoid steel wool or metal scrubbers, as they can scratch the enamel. For tough spots, a plastic scraper can carefully lift stuck food without damage.
Rinse and Dry
Rinse thoroughly with warm water to remove soap. Dry your Dutch oven completely with a soft towel to prevent water spots and rust on exposed rims.
Step 3: Removing Stains and Discoloration
Use Baking Soda Paste
Baking soda is a gentle abrasive and deodorizer that works wonders on enamel stains. Make a paste by mixing baking soda with a little water. Apply the paste to stained areas and let it sit for 15-20 minutes.
Scrub Gently
With a soft sponge or non-abrasive brush, gently scrub the stained spots. Baking soda helps lift stains without scratching.
Rinse and Repeat if Needed
Rinse with warm water. For stubborn stains, repeat the process or combine baking soda with a few drops of lemon juice for extra cleaning power.
Step 4: Tackling Tough Burnt Food
Boil Water and Baking Soda
If food is burned and stuck, fill the Dutch oven with warm water and add 2-3 tablespoons of baking soda. Bring the water to a gentle boil on the stove and let it simmer for 10-15 minutes.
Cool and Scrape
Turn off the heat and let the water cool. Use a plastic scraper to gently remove loosened burnt bits. Avoid metal tools.
Wash as Usual
Drain and wash the Dutch oven with mild dish soap and a soft sponge.
Step 5: Using Vinegar or Lemon for Mineral Deposits
Sometimes, white spots or mineral deposits can form on enamel. These can be cleaned with acidic ingredients like vinegar or lemon juice.
Apply Vinegar or Lemon
Pour white vinegar or lemon juice onto a sponge or cloth and rub the affected areas. For heavy deposits, fill the Dutch oven with a mixture of half vinegar, half water, and let it soak for 30 minutes.
Rinse and Dry
Rinse thoroughly with warm water and dry completely.
Step 6: Using Enamel-Safe Cleaners
If natural remedies don’t fully clean your Dutch oven enamel, consider using specialized enamel-safe cleaners. These products are designed to remove tough stains without damaging the surface.
Follow Instructions Carefully
Always read and follow the product instructions. Test the cleaner on a small area first to ensure no discoloration occurs.
Rinse Thoroughly
After cleaning, rinse your Dutch oven thoroughly to remove any cleaner residue and dry completely.
Step 7: Preventive Tips for Maintaining Enamel Cleanliness
- Clean soon after use: Don’t let food dry and harden on your Dutch oven enamel.
- Avoid metal utensils: Use wooden, plastic, or silicone tools to protect the enamel surface.
- Use low to medium heat: Overheating can cause discoloration or damage.
- Store with care: Place a soft cloth or paper towel between stacked cookware to avoid scratches.
- Regular deep cleaning: Periodically clean with baking soda or vinegar to prevent buildup.
Troubleshooting Common Issues
Stubborn Burnt Stains Don’t Come Off
If baking soda and boiling water methods don’t work, try a longer soak with vinegar and baking soda mixture. Avoid harsh abrasives, which can damage enamel.
Enamel Chipping or Cracking
Once enamel chips, it cannot be repaired easily. Avoid sudden temperature changes (like cold water on hot enamel) to prevent cracking.
Rust on Exposed Cast Iron Edges
Dry your Dutch oven thoroughly after washing. For rust spots, gently scrub with a soft brush and apply a light coat of cooking oil.
Conclusion
Cleaning Dutch oven enamel doesn’t have to be hard. With gentle, natural products like baking soda and vinegar, plus the right techniques, you can keep your enamel Dutch oven looking beautiful and working well for years. Remember to avoid abrasive tools, clean promptly after use, and take care when cooking. With these tips, your Dutch oven will stay your trusted kitchen companion for all your favorite recipes.