How to Make Dutch Oven Popcorn
Making Dutch oven popcorn is a fun and easy way to enjoy fresh, homemade popcorn with family or friends. In this guide, you’ll learn the best techniques for popping kernels in a Dutch oven, including tips for heat control, seasoning ideas, and troubleshooting common problems to get perfect popcorn every time.
Key Takeaways
- Simple Ingredients: You only need popcorn kernels, oil, and seasonings to get started.
- Proper Heat Control: Maintaining the right temperature ensures even popping without burning.
- Use a Heavy Dutch Oven: A cast iron Dutch oven distributes heat evenly for perfect popcorn.
- Shake for Even Popping: Gently shaking the pot prevents kernels from burning and helps all kernels pop.
- Season Immediately: Adding butter and seasonings right after popping locks in flavor.
- Troubleshooting Tips: Learn how to avoid unpopped kernels and burnt popcorn.
- Versatile and Fun: Dutch oven popcorn is great for camping, backyard gatherings, or cozy nights at home.
How to Make Dutch Oven Popcorn
Welcome! If you love popcorn and enjoy cooking with a Dutch oven, you’re in the right place. This guide will teach you everything you need to know to make delicious, perfectly popped popcorn using a Dutch oven. Whether you’re cooking over a campfire or your stove, you’ll learn how to get fluffy popcorn with minimal effort. Let’s dive in!
What You’ll Need
Before we start, gather your ingredients and tools. Here’s a simple list:
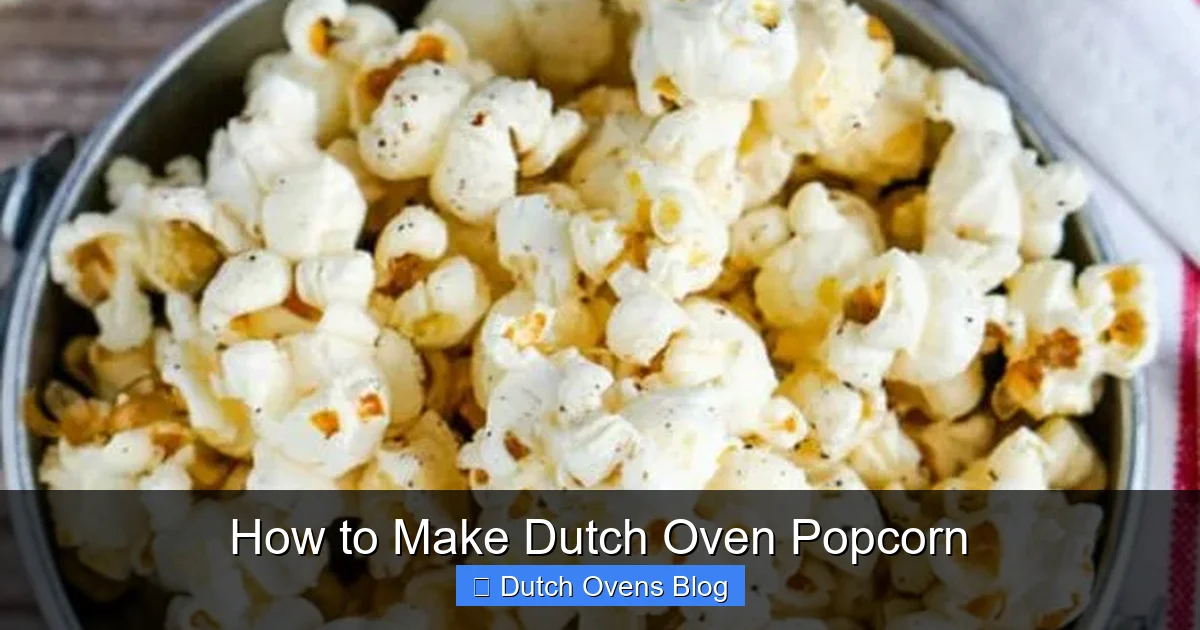
Visual guide about How to Make Dutch Oven Popcorn
Image source: accidentalhappybaker.com
- Popcorn kernels (about ½ cup for a medium batch)
- Cooking oil with a high smoke point (such as vegetable, canola, or coconut oil)
- Butter or other seasonings (salt, cheese powder, cinnamon sugar, etc.)
- 1 Dutch oven, preferably cast iron (around 4 to 6 quarts works well)
- Stove, campfire, or portable burner
- Oven mitts or heat-resistant gloves
- Wooden spoon or heat-safe spatula
- Large bowl for serving
Step 1: Prepare Your Dutch Oven
Start by ensuring your Dutch oven is clean and dry. Place it on your heat source and add 2 to 3 tablespoons of oil. The oil is key because it helps the kernels pop and prevents sticking.
Choosing the Right Oil
Use an oil with a high smoke point to avoid burning. Vegetable oil, canola oil, and refined coconut oil are excellent choices. Avoid butter at this stage as it can burn quickly.
Heating the Oil
Heat the oil on medium heat for about 1-2 minutes. To test if it’s ready, drop 2 or 3 popcorn kernels into the oil. When these test kernels pop, your oil is hot enough to add the rest of the kernels.
Step 2: Add the Popcorn Kernels
Once your oil is hot and your test kernels have popped, add the rest of the popcorn kernels in an even layer. Spread them out so they cover the bottom of the Dutch oven but don’t overcrowd it.
Cover and Wait
Place the lid on the Dutch oven to trap heat and steam, which helps the kernels pop better. Keep the heat at medium to avoid burning.
Shake the Dutch Oven
Every 15-20 seconds, lift the Dutch oven with oven mitts and gently shake it back and forth. This keeps the kernels moving, prevents burning, and helps all kernels pop evenly.
Step 3: Listen and Watch
The popcorn will start popping quickly after a minute or two. You’ll hear rapid popping sounds — that’s a good sign! When the popping slows to about 2 seconds between pops, it’s time to remove the pot from the heat.
Be Careful Not to Burn
Removing the Dutch oven promptly prevents burnt popcorn. If you’re using a campfire, move the pot to a cooler spot instead of directly over the flames when popping slows.
Step 4: Season Your Popcorn
Once your popcorn is popped, transfer it to a large bowl. Now, add melted butter or your favorite seasoning while the popcorn is still hot. The heat helps the seasoning stick better.
Popular Seasoning Ideas
- Classic salt and melted butter
- Parmesan cheese and garlic powder
- Cinnamon sugar for a sweet treat
- Chili powder and lime for a spicy twist
- Nutritional yeast for a cheesy vegan option
Step 5: Enjoy!
Your Dutch oven popcorn is ready to enjoy! Serve immediately for the best texture and taste. It’s perfect for movie nights, campfire snacks, or anytime you want a homemade treat.
Practical Tips for Perfect Dutch Oven Popcorn
- Don’t overcrowd the pot: Too many kernels can cause uneven popping and burning.
- Use fresh kernels: Older kernels may not pop well.
- Keep the lid on: This traps heat and moisture to help kernels pop better.
- Shake often: Moving the pot distributes heat and prevents burning.
- Experiment with seasonings: Try different flavors to find your favorite.
Troubleshooting Common Issues
Popcorn is Burning
Reduce the heat slightly and shake more frequently. Make sure not to leave the Dutch oven unattended. Using a heat diffuser or moving the pot off direct flames can help.
Too Many Unpopped Kernels
Make sure your oil is hot enough before adding kernels. Shake the Dutch oven to redistribute kernels. Also, using fresh, high-quality kernels improves pop rate.
Popcorn is Soggy or Chewy
Popcorn that looks wet might be due to moisture. Ensure the lid is slightly ajar to let steam escape or remove the pot from heat as soon as popping slows.
Conclusion
Making popcorn in a Dutch oven is a simple and rewarding process that brings a bit of old-fashioned fun to your kitchen or campsite. With a few basic ingredients and some easy steps, you can enjoy fresh, flavorful popcorn anytime. Remember to control your heat, shake the pot, and season to taste. Now you’re ready to impress your friends and family with delicious Dutch oven popcorn—happy popping!
🎥 Related Video: How to Make Dutch Oven Popcorn
📺 Le Creuset
Did you know you could make popcorn in your Le Creuset Dutch Oven? It’s fast, easy and delicious, especially when the freshly …