
How to Dry Dishes Without a Dish Rack: 8 Easy Methods That Work

Quick Answer
You can dry dishes without a dish rack by placing them on a clean drying mat, clean absorbent towel, over-sink roll-up mat, or another raised surface that allows drainage and airflow. I prefer air-drying instead of rubbing wet dishes dry with a towel, which also lines up with FDA air-drying guidance used for food-service utensils.
Easy rack-free drying methods
- Drying mat: Set dishes separately on a washable microfiber or silicone mat.
- Clean towel: Use a fresh towel underneath dishes as a temporary drying surface.
- Over-sink mat: Let water drip directly into the sink while keeping the counter clear.
- Oven rack: Place a clean, cool removable rack over a protected surface for extra airflow.
- Dishwasher: Use an empty dishwasher as a temporary draining space when appropriate.
- Counter setup: Angle bowls and cups so trapped water can escape.
One rule I always follow
- Keep wet dishes separated instead of stacking them together, because airflow matters more than having a traditional rack.
I went without a dish rack for several weeks when I needed every inch of counter space. At first, I assumed drying dishes without one would create a wet, messy pile.
It didn’t. Once I focused on drainage, airflow, and keeping dishes separated, several simple setups worked almost as well.
What Does Drying Dishes Without a Dish Rack Mean?
Rack-free dish drying means allowing washed dishes to drain and air-dry without placing them in a traditional countertop dish rack. The drying surface can be a mat, towel, roll-up platform, or another clean surface that keeps water controlled.
The important part isn’t the rack itself. You need somewhere for water to go and enough open space for moisture to evaporate.
- Drainage: Water should drip away instead of pooling inside cups or bowls.
- Airflow: Wet surfaces should not stay pressed tightly together.
- Cleanliness: The surface touching your clean dishes should also be clean.
- Stability: Glasses, plates, and knives shouldn’t be balanced where they can fall.
What Is the Best Way to Dry Dishes Without a Dish Rack?
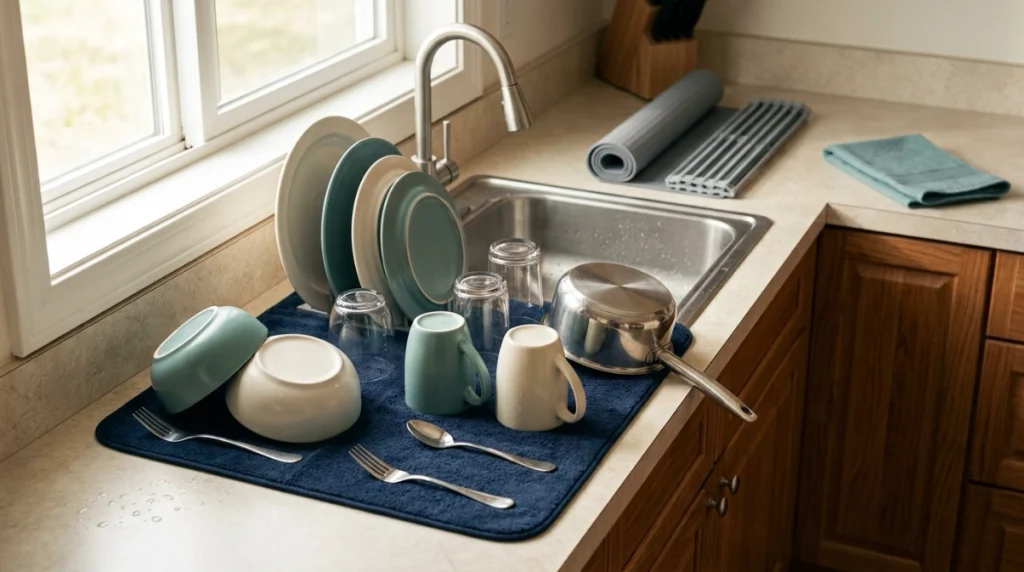
For most kitchens, I find a washable drying mat the easiest replacement. It takes little storage space and gives plates, bowls, glasses, cookware, and utensils a defined place to dry.
I tested several arrangements before settling on this approach. Spreading items across an unprotected counter worked, but cleaning the puddles afterward wasn’t worth it.
1. Use a microfiber drying mat
A microfiber drying mat catches drips while giving you a much flatter setup than a full rack. It works especially well when you wash a few dishes at a time.
- Place the mat beside the sink.
- Set plates on their edges when they can stand safely.
- Turn cups and glasses upside down with a slight tilt.
- Place bowls open-side down or at an angle.
- Spread utensils rather than piling them together.
- Dry the mat completely between uses.
I like this method in a small kitchen because the mat folds away when I’m finished. There is no permanent object taking up preparation space.
2. Use a silicone drying mat
A silicone mat doesn’t absorb water like microfiber. Instead, it creates a washable barrier that keeps drips off the countertop.
Models with raised ribs are more useful because they lift dishes slightly above collected water. I still wipe or drain the mat after the dishes are put away.
- Best for: Cookware, mixing bowls, mugs, and glasses.
- Main advantage: Easy rinsing and cleaning.
- Main drawback: Water remains on the surface until you remove it.
3. Use a clean dish towel temporarily
A fresh towel can work when you need a drying surface immediately. I treat this as a short-term solution rather than my everyday setup.
A towel becomes less useful once it is saturated. Replace it instead of leaving dishes sitting on wet fabric.
- Start with a freshly washed, completely dry towel.
- Spread it flat on a clean counter.
- Leave gaps between dishes.
- Move the towel once it becomes noticeably wet.
- Launder and dry it before reuse.
4. Dry dishes over the sink
An over-sink roll-up platform is one of my favorite solutions when counter space is the main problem. Water falls into the sink instead of collecting beside it.
These platforms roll into a narrow bundle after use. Measure the sink opening before buying one because the ends need firm support.
- Good for: Cups, bowls, cookware, food containers, and cutting boards.
- Storage: Rolls up instead of occupying permanent counter space.
- Drainage: Drips fall directly into the sink.
- Caution: Don’t overload a platform beyond its manufacturer’s limits.
5. Use a clean cooling rack or removable oven rack
A clean cooling rack gives wet dishes airflow underneath. I place it over a drying mat or rimmed surface so dripping water doesn’t spread across the counter.
A removable oven rack can serve the same purpose if it is completely cool and thoroughly clean. Don’t use one coated with grease or baked-on food residue.
6. Use your dishwasher as temporary drying space
An empty, clean dishwasher can hold hand-washed items while they drain. This works best when you already have a dishwasher but don’t want another object living beside the sink.
- Make sure the dishwasher interior is clean.
- Load hand-washed dishes without overcrowding them.
- Leave items positioned for drainage.
- Don’t mix clean dishes with dirty dishes waiting for a wash cycle.
7. Lean plates safely against a stable surface
Plates dry faster when both faces are exposed to air. I sometimes lean a few plates against a heavy cutting board placed on a drying mat.
Stability matters here. I wouldn’t use this method for delicate china or anywhere a plate could slide onto the floor.
8. Dry large cookware separately
Pots, pans, baking sheets, and mixing bowls can overwhelm any small drying setup. I wash these separately and give each large item its own drying space.
- Set pans upside down or at a drainage angle.
- Stand cutting boards upright when stable.
- Turn mixing bowls open-side down.
- Keep handles away from counter edges.
- Give trapped seams and rims extra drying time.
Which Rack-Free Drying Method Works Best?
Your best method depends on counter space, dish volume, and how much dripping water you normally create. A mat works well for everyday loads, while an over-sink platform gives better direct drainage.
If moisture control is your biggest concern, my guide to what to put under a dish-drying area explains the differences between drainboards, silicone, microfiber, and other water-catching surfaces.
| Method | Counter Space | Water Handling | Storage | Best Use |
|---|---|---|---|---|
| Microfiber mat | Low to medium | Absorbs drips | Folds flat | Daily light loads |
| Silicone mat | Low to medium | Contains water | Rolls or stores flat | Cookware and glasses |
| Clean towel | Low | Absorbs limited water | Very easy | Temporary use |
| Over-sink roll-up mat | Very low | Drains into sink | Rolls compactly | Tiny kitchens |
| Cooling rack | Medium | Needs mat underneath | Easy | Extra airflow |
How Do You Dry Plates, Bowls, Glasses, and Utensils Safely?
Different dishes trap water in different places. I position each type so gravity can do most of the work.
Once everything is fully dry, move it to clean storage instead of closing damp dishes inside a cabinet. My guide to the best way to store dishes covers that next step in more detail.
- Plates: Stand upright when securely supported, or place separately with both surfaces exposed.
- Bowls: Turn upside down or angle them so water doesn’t collect in the base.
- Mugs: Invert them and leave a slight gap underneath for air movement.
- Glasses: Turn upside down on a clean, stable surface and avoid crowding rims together.
- Forks and spoons: Spread them out rather than leaving them in a wet pile.
- Knives: Keep blades visible and positioned where nobody can grab them accidentally.
- Food containers: Dry lids separately so moisture doesn’t stay trapped inside.
Is Air-Drying Better Than Towel-Drying Dishes?
For my normal routine, yes. I prefer letting dishes air-dry after proper washing because it requires less handling and avoids wiping every clean surface with the same cloth.
University of Minnesota Extension also advises letting cleaned dishes and utensils air-dry instead of cloth-drying them. FoodSafety.gov recommends washing dishes and utensils with hot, soapy water, especially after contact with raw animal foods.
That doesn’t mean every kitchen towel is automatically dirty. It means the towel becomes another item you need to keep clean and dry.
- Wash dishes thoroughly first.
- Rinse away soap and loosened residue.
- Position items for drainage.
- Allow enough time for surfaces and recessed areas to dry.
- Store only when everything feels dry.
How Do You Keep the Counter Dry Without a Rack?
Control the drips before washing a large batch. A mat should extend beyond the dishes, and anything likely to release lots of water should sit closest to the sink.
If puddles keep appearing, my routine for keeping the dish-drying area dry and clean can help you find where the water is escaping.
- Start dry: Wipe the counter before laying down the mat.
- Use enough coverage: Don’t squeeze ten wet items onto a tiny surface.
- Check cup rims: Water often hides around recessed bases and lips.
- Remove puddles: Don’t leave standing water trapped underneath silicone.
- Dry the base: Wash and completely dry reusable mats between sessions as needed.
What Mistakes Make Rack-Free Dish Drying Slower?
The biggest mistake is treating the counter like one large plate-stacking area. Wet surfaces pressed together lose the airflow that makes air-drying effective.
- Stacking wet plates: Moisture stays between their faces.
- Nesting bowls: Water gets trapped between curved surfaces.
- Overloading a towel: The fabric becomes saturated and stays wet.
- Leaving cups upright: Water collects inside instead of draining.
- Using a dirty surface: Clean dishes shouldn’t be placed on a questionable counter or rack.
- Ignoring the mat: Drying surfaces need cleaning too.
- Putting dishes away damp: Give hidden rims and recessed bases extra time.
How Do You Dry Dishes Without a Rack in a Small Kitchen?
In a tiny kitchen, choose a setup that disappears after use. My first choice is either a folding microfiber mat or a roll-up platform placed across the sink.
This approach became much more useful to me than dedicating permanent counter space to drying. As of 2026, compact drying options make a traditional fixed rack far from essential.
- Studio apartment: Use a folding microfiber mat.
- Almost no counter: Use a properly sized over-sink platform.
- Occasional washing: Keep a clean drying towel ready.
- Lots of cookware: Wash and dry in two smaller batches.
- Existing dishwasher: Use its clean racks as temporary draining space when practical.
When Is a Dish Rack Still Worth Using?
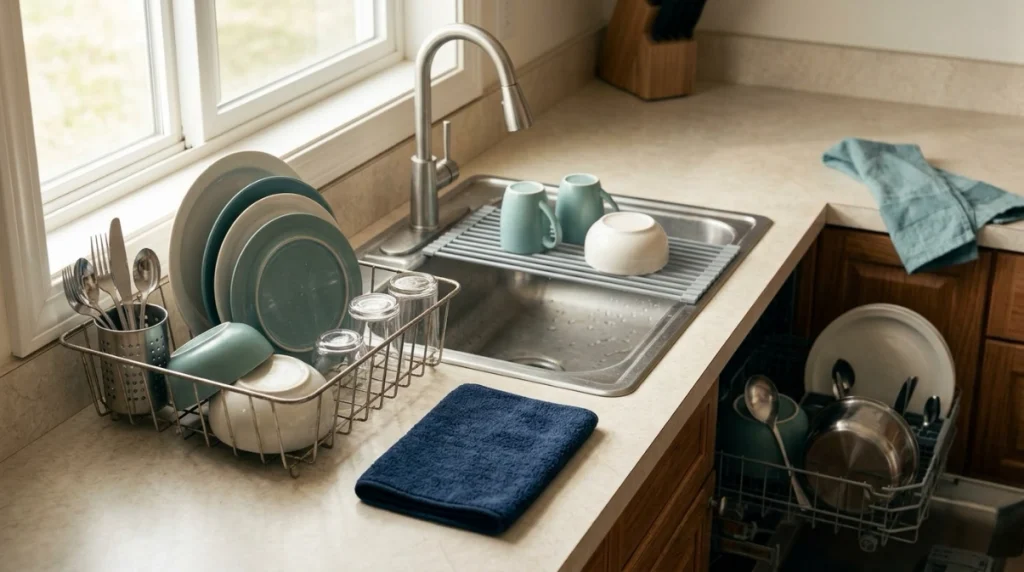
A traditional rack still makes sense when you hand-wash many dishes every day and want dedicated plate slots, utensil storage, and predictable drainage. It can also keep fragile pieces more securely separated.
If you decide rack-free drying isn’t convenient enough, compare your alternatives with my 2026 dish drying rack guide before giving up more counter space than necessary.
- Choose a rack for large daily washing loads.
- Choose a mat for flexibility and easy storage.
- Choose an over-sink platform when counter space is scarce.
- Use your dishwasher when it already solves the storage problem.
Rack-Free Dish-Drying Products I Would Consider
If you’re ready to create a simple rack-free setup, these are the three products I’d consider first. I chose each for a different drying style rather than filling the list with near-identical mats.
🏆 Best Silicone Option
OXO Good Grips Large Silicone Drying Mat
★★★★☆ 4.6/5
This flexible silicone mat measures about 16.9 by 12.5 inches and uses raised ribs to improve drainage around dishes. I like it for cookware and glassware because it rolls away when the counter needs to become prep space again.
💧 Best Absorbent Mat
S&T INC. Microfiber Dish Drying Mat
★★★★☆ 4.5/5
The standard mat measures 16 by 18 inches and folds for compact storage. I would choose this when absorbing normal drips matters more than creating a rigid elevated drying surface.
🚰 Best for Tiny Kitchens
Surpahs Over-the-Sink Roll-Up Drying Rack
★★★★☆ 4.7/5
The small version measures about 17.5 by 13.1 inches and rolls up after use. I like this style when the real goal is eliminating a permanent countertop rack while letting drips fall straight into the sink.
Frequently Asked Questions
Can you dry dishes on a towel instead of a dish rack?
Yes. Place dishes on a clean, dry towel and leave space between them so air can circulate, but replace the towel once it becomes wet. I prefer a washable drying mat for everyday use because it gives me a more predictable drying area.
Is it okay to leave dishes on the counter to air-dry?
Yes, as long as the counter or drying surface is clean and the dishes are positioned so water can drain. I put a drying mat underneath because leaving repeated puddles directly on the counter creates unnecessary cleanup.
How can I dry dishes quickly without a rack?
Spread dishes apart, turn bowls and cups downward, and use a raised or ribbed surface when possible. Avoid stacking wet items, because surfaces touching each other retain moisture and reduce airflow.
What is the best dish rack alternative for a small kitchen?
A foldable microfiber drying mat or over-sink roll-up platform works well in a small kitchen. Both can disappear after the dishes are dry, which lets you reclaim valuable counter space instead of dedicating it permanently to a rack.
Can I put wet dishes straight into a cabinet?
I wouldn’t. Let plates, glasses, bowls, and utensils dry completely before placing them in enclosed storage, paying special attention to recessed bases and rims where droplets can remain hidden.
Final Takeaway: You Don’t Need a Dish Rack to Dry Dishes
You can dry dishes without a dish rack as long as you control water, provide airflow, and keep clean dishes off questionable surfaces. A microfiber mat, silicone mat, over-sink platform, or clean temporary drying surface can all work.
My favorite solution is simple: use a washable mat for normal loads and dry oversized cookware separately. Once everything is dry, fold the mat away and get your counter back.