How to Clean Cast Iron Dutch Ovens
How to clean cast iron Dutch ovens is essential for maintaining their durability and cooking performance. This guide covers easy, practical steps to clean your Dutch oven without damaging its seasoning, ensuring it lasts for years with consistent, safe use.
Key Takeaways
- Proper cleaning preserves seasoning: Avoid harsh soaps and scrubbing that strip the protective layer.
- Use simple tools: Mild scrubbers, coarse salt, and hot water can effectively clean your Dutch oven.
- Dry immediately: Prevent rust by thoroughly drying and lightly oiling after washing.
- Re-season if needed: Occasional re-seasoning keeps the surface non-stick and rust-resistant.
- Regular maintenance matters: Clean after every use to avoid buildup and prolong cookware life.
- Handle stubborn stains carefully: Use natural abrasives and gentle methods rather than harsh chemicals.
- Store properly: Keep your Dutch oven in a dry place with the lid off or slightly ajar.
How to Clean Cast Iron Dutch Ovens
Cast iron Dutch ovens are beloved kitchen tools prized for their heat retention and versatility. But to keep them performing at their best, proper cleaning is key. In this guide, you’ll learn how to clean cast iron Dutch ovens safely and effectively, preserving their seasoning and preventing rust.
Whether you’re a beginner or looking to refresh your cleaning routine, this step-by-step guide will walk you through everything from daily cleaning to tackling tough stains. Let’s get started!
Why Proper Cleaning Matters for Cast Iron Dutch Ovens
Cast iron cookware, including Dutch ovens, develops a natural non-stick surface called seasoning. This seasoning is a layer of polymerized oil that protects the iron from rust and improves cooking performance. Using harsh soaps or scrubbing too hard can strip this essential layer, causing your Dutch oven to rust or lose its non-stick qualities.
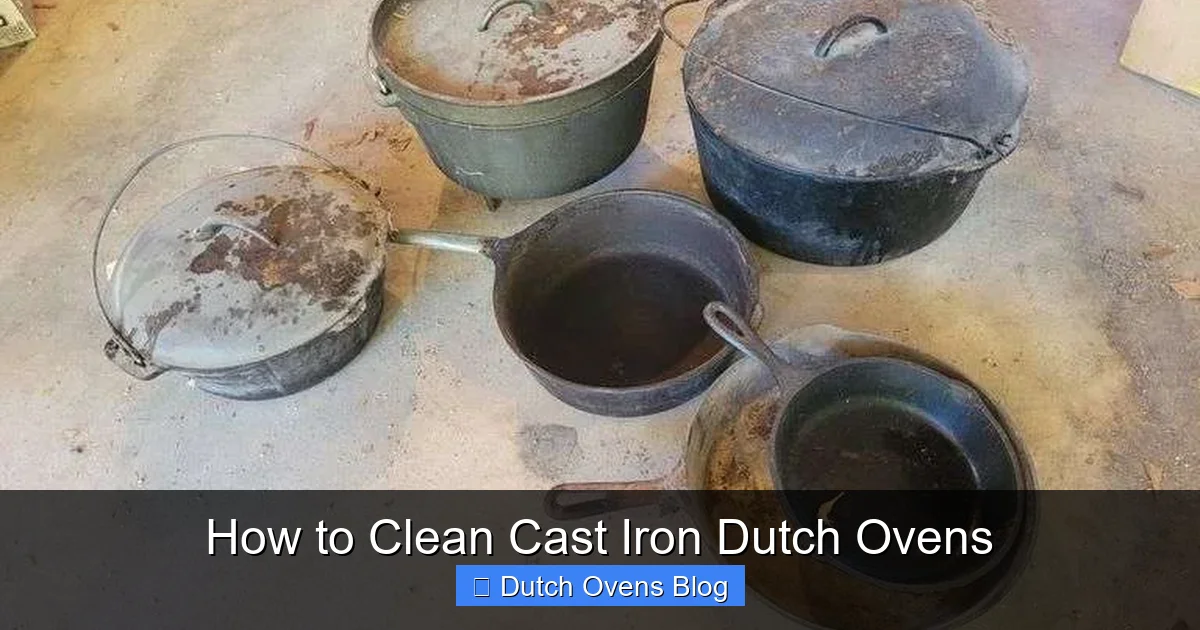
Visual guide about How to Clean Cast Iron Dutch Ovens
Image source: d3j17a2r8lnfte.cloudfront.net
Cleaning properly means maintaining the seasoning while removing food residue and preventing rust. This balance is the secret to keeping your Dutch oven in top shape for decades.
What You’ll Need
- Hot water
- Non-metal scrub brush or sponge
- Coarse kosher salt (optional)
- Vegetable oil or flaxseed oil
- Paper towels or a clean cloth
- Plastic scraper or wooden spatula (optional)
Step-by-Step Instructions to Clean Cast Iron Dutch Ovens
Step 1: Let the Dutch Oven Cool
After cooking, allow your Dutch oven to cool down before cleaning. Sudden temperature changes can cause the cast iron to crack.
Step 2: Remove Food Residue
Use a plastic scraper or wooden spatula to gently remove stuck-on bits of food. Avoid metal utensils that can scratch the surface.
Step 3: Rinse with Hot Water
Rinse your Dutch oven under hot running water. The heat helps loosen food particles and grease.
Step 4: Scrub Gently
Using a non-metal scrub brush or sponge, gently scrub the inside of the Dutch oven. If food is stubborn, sprinkle a tablespoon of coarse kosher salt inside. The salt acts as a natural abrasive to lift residue without damaging seasoning.
Step 5: Avoid Soap or Use Sparingly
Traditional advice says to skip soap entirely because it can strip seasoning. However, a small amount of mild dish soap can be used occasionally if necessary. Just be sure to rinse thoroughly.
Step 6: Dry Immediately
Dry your Dutch oven completely with paper towels or a clean cloth right after washing. Avoid air drying as moisture can cause rust.
Step 7: Apply a Light Coat of Oil
Once dry, rub a thin layer of vegetable or flaxseed oil over the entire cooking surface. This replenishes the seasoning and protects the metal.
Step 8: Heat to Set the Oil
Place the Dutch oven on the stovetop or in the oven at low heat for 5-10 minutes. Heating helps the oil bond to the cast iron, reinforcing the seasoning.
Additional Tips for Maintaining Your Cast Iron Dutch Oven
- Clean promptly: Try to clean your Dutch oven soon after use to prevent food from hardening.
- Use warm water only: Avoid soaking your Dutch oven in water for extended periods as it promotes rust.
- Store dry and uncovered: Keep the lid slightly ajar to allow air circulation and prevent moisture buildup.
- Avoid acidic foods: Cooking highly acidic foods like tomatoes frequently can wear down seasoning faster.
Troubleshooting Common Issues
Rust Spots
If you notice rust on your Dutch oven, scrub the area gently with steel wool or a scrub brush. Rinse, dry thoroughly, and re-season the surface by applying oil and heating.
Sticky or Flaky Residue
This usually means excess oil was applied during seasoning or cleaning. To fix it, scrub lightly with hot water and salt, then re-season with a thinner layer of oil.
Food Sticking Frequently
Your seasoning may be worn out. Perform a full re-seasoning by cleaning thoroughly, drying, and applying multiple thin coats of oil with heat.
How to Re-Season Your Cast Iron Dutch Oven
If your Dutch oven loses its smooth surface or develops rust, a full re-seasoning is necessary.
Re-Seasoning Steps
- Preheat your oven to 375°F (190°C).
- Wash the Dutch oven with warm water and mild soap to remove old seasoning and debris.
- Dry thoroughly with towels and heat on stovetop or oven.
- Apply a thin, even coat of vegetable or flaxseed oil all over the Dutch oven, inside and out.
- Place upside down in the oven with a foil-lined tray underneath to catch drips.
- Bake for one hour, then turn off the oven and let the Dutch oven cool inside.
- Repeat oiling and baking 2-3 times for a strong, durable seasoning.
Conclusion
Cleaning cast iron Dutch ovens doesn’t have to be difficult or intimidating. With the right methods, you can maintain the natural seasoning that makes cast iron such a fantastic cooking tool. Remember to clean gently, dry thoroughly, and oil regularly. Following these steps will keep your Dutch oven rust-free, non-stick, and ready to create delicious meals for years to come.
Enjoy the timeless benefits of your cast iron Dutch oven with a simple cleaning routine that protects its unique qualities every time you use it.